Installing Rocky Linux on a cloud server is a useful hands-on exercise for beginners who want to understand cloud computing, server administration, and Linux environments. It is an enterprise-oriented Linux distribution that can be launched on Amazon EC2 using an appropriate Amazon Machine Image (AMI). In this guide, we will launch it on AWS EC2, configure the required instance settings, connect to the server using MobaXterm, and verify the operating system and system resources.
Table of Contents
Prerequisites
Before starting, make sure you have:
- An AWS account
- Access to the Amazon EC2 console
- Rocky Linux 10 AMI available in your AWS Region
- A key pair for SSH access
- MobaXterm installed on your Windows computer
- Internet connectivity
AWS EC2 uses a key pair consisting of a public key and private key. The public key is placed on the Linux instance, while the private key is kept by the user and is required for SSH authentication.
Step 1: Open Amazon EC2
Sign in to the AWS Management Console and open the EC2 service. Choose Launch instance to start creating the server. Enter a suitable instance name, such as:
Rocky Linux 10 Server
The EC2 launch wizard allows you to configure the AMI, instance type, key pair, networking, storage, and other settings before launching the instance.
Step 2: Select the Rocky Linux 10 AMI
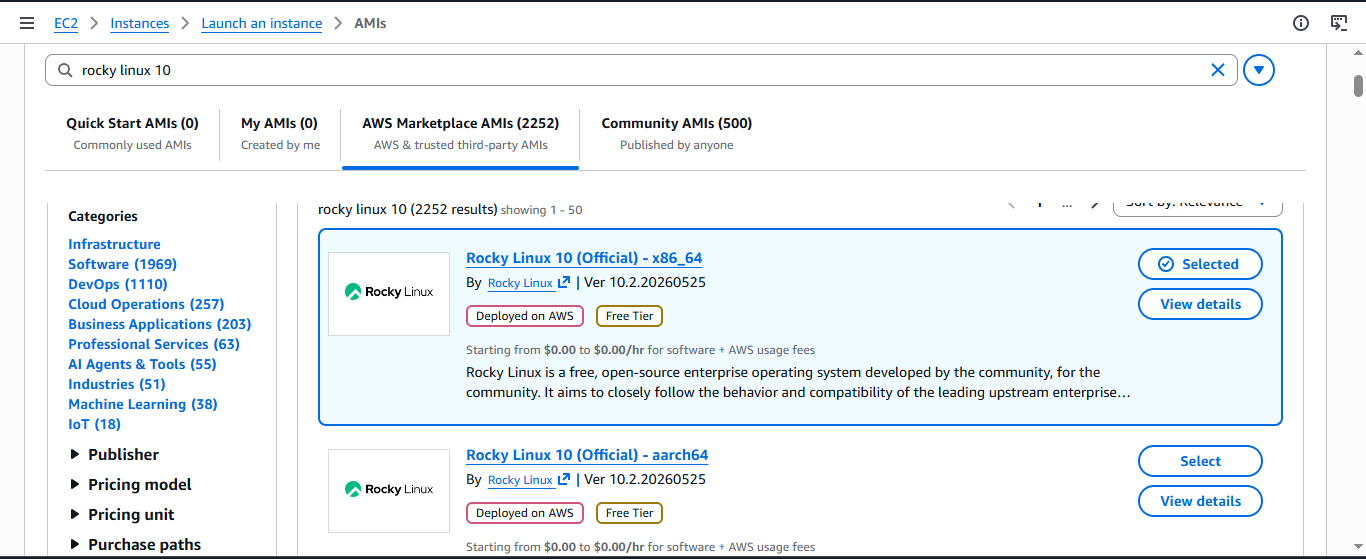
Under Application and OS Images, search for it.
Select:
Rocky Linux 10 Official x86_64
In your setup, the available image was shown as a Free Tier option.
The AMI determines the operating system and initial software configuration of the EC2 instance.
Step 3: Choose the Instance Type
AWS displayed several instance types eligible under the account’s current Free Tier/credit terms. For this project, t3.small was selected. The exact Free Tier eligibility depends on AWS account age, credits, and current AWS terms. AWS documentation currently lists several instance types, including t3.small, among options that may be available under the newer Free Tier structure.
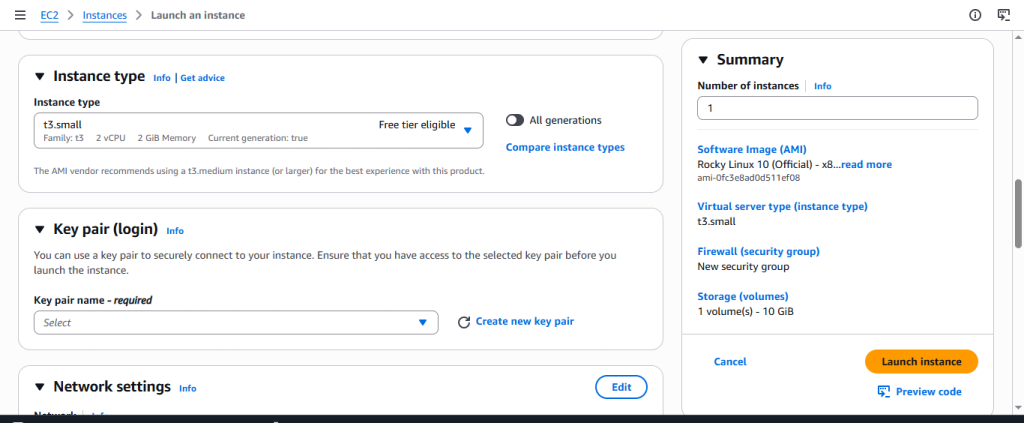
Step 4: Configure the Key Pair
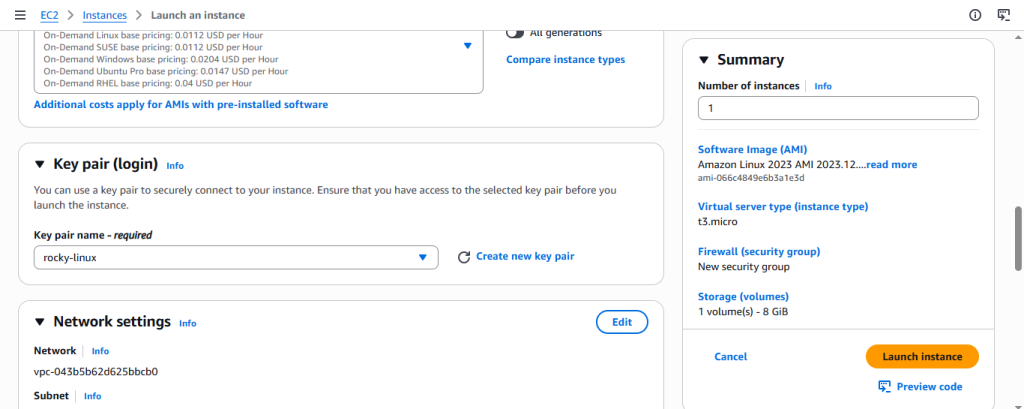
The previously used key pair was not available in the new launch configuration, so a new key pair was created for this Linux instance. Choose Create new key pair, enter a suitable name, select the appropriate key type, and download the private .pem file. Store the .pem file securely. AWS does not keep a copy of your private key, so losing it can prevent normal key-based SSH access to the instance.
Step 5: Configure the Security Group
Under Network settings, configure a security group that allows SSH access.
The required rule is:
| Type | Protocol | Port |
| SSH | TCP | 22 |
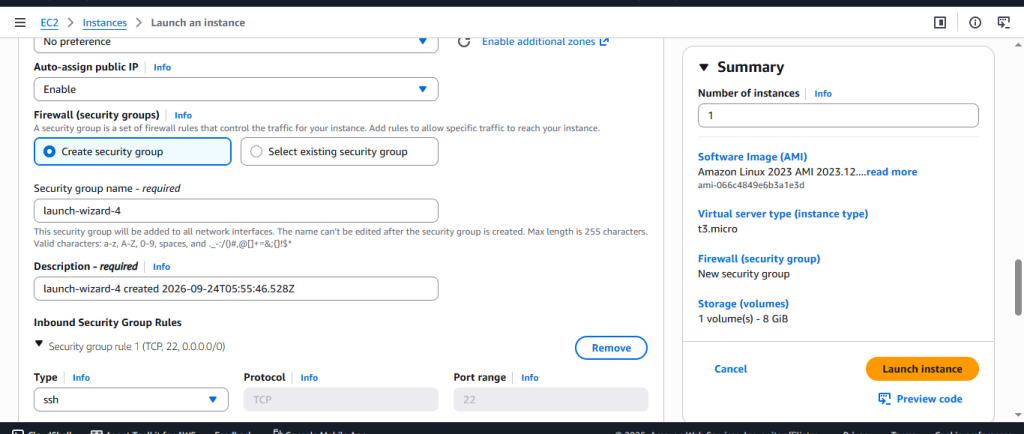
SSH uses port 22 for secure remote access to the Linux instance. AWS security groups work as virtual firewalls and control inbound and outbound traffic associated with the instance.For a test environment, access can be restricted to your current IP address when possible rather than allowing SSH from every IP address.
Step 6: Configure Storage
Review the Configure storage section.
For this basic installation project, the default root storage configuration was sufficient. The root volume contains the operating system and provides the main storage for the instance. AWS notes that the root volume is required for an EC2 instance and that additional EBS volumes can be added when necessary.
Step 7: Launch the Rocky Linux Instance
Review all the settings and choose Launch instance.
AWS displays a success message after the instance is successfully created.
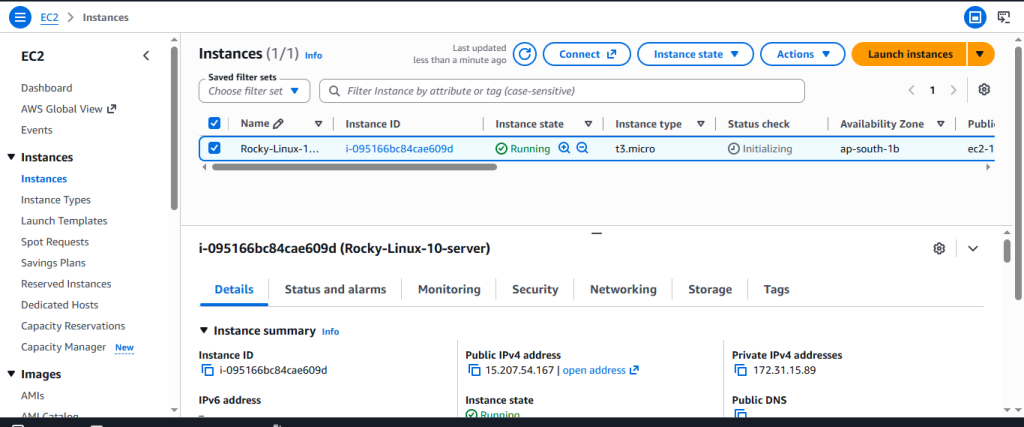
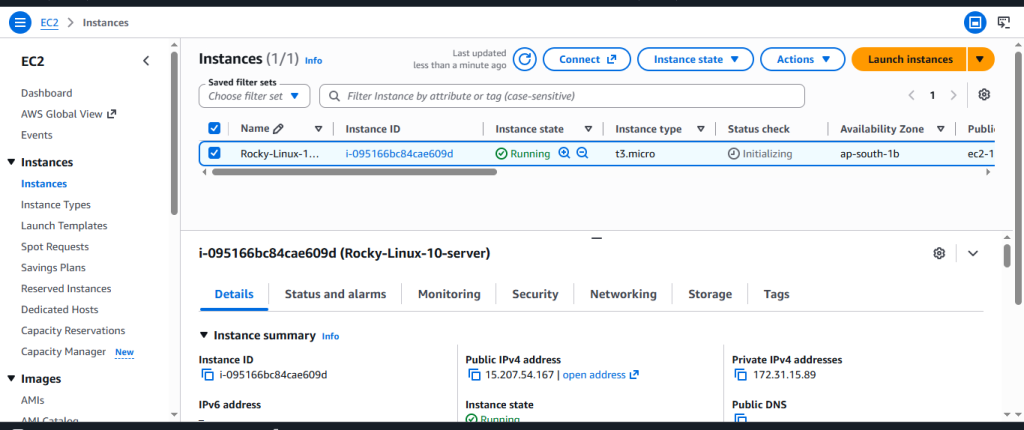
Next, open EC2 → Instances and wait until the instance state changes to:
Running
You can also check that the instance has passed its status checks.
Step 8: Connect to Rocky Linux Using MobaXterm
For this project, MobaXterm was used instead of the Windows command prompt.
Open MobaXterm and create an SSH session with the following settings:
- Remote host: Public IPv4 address of the Rocky Linux instance
- Port: 22
- Username: rocky
- Private key: the .pem file created for the new instance
The correct username and private key are important because SSH authentication depends on the credentials configured for the instance. After connecting successfully, MobaXterm displayed the Rocky Linux environment and the terminal prompt:
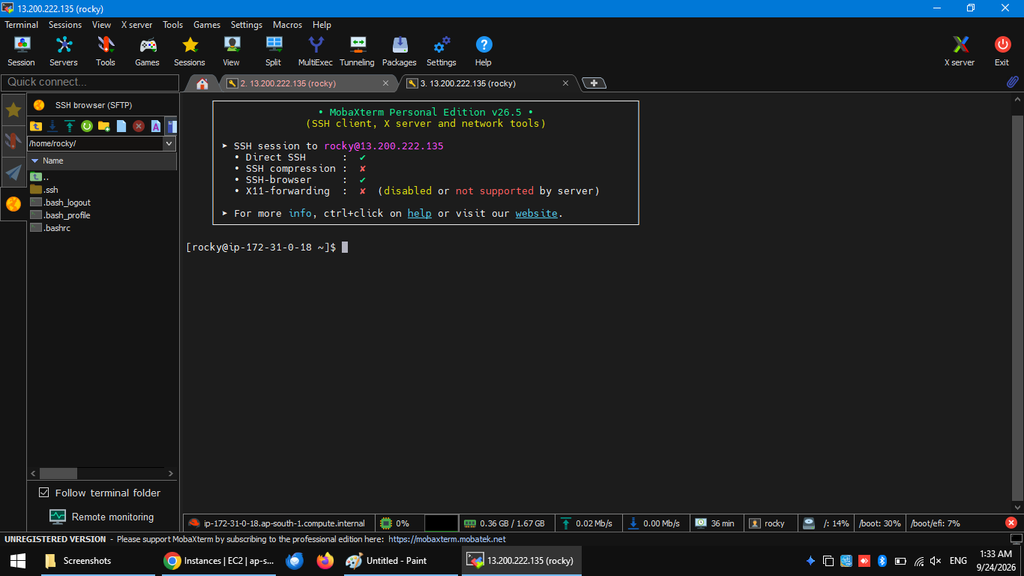
[rocky@ip-172-31-0-18 ~]$
Step 9: Verify the Rocky Linux Version
Run:
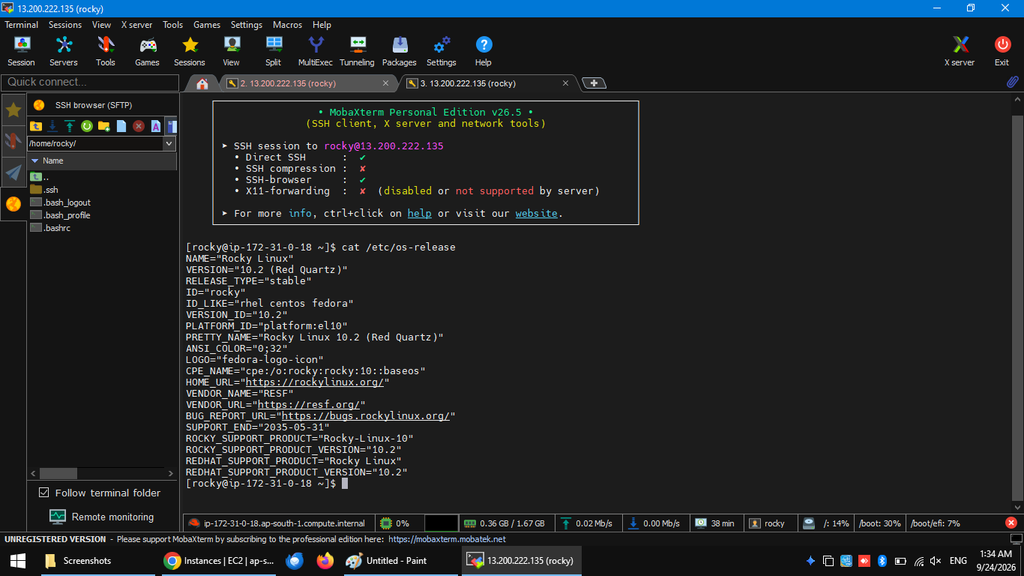
cat /etc/os-release
This displays information about the installed operating system, including the Rocky Linux release.
This verification confirms that the EC2 instance is running the intended Rocky Linux environment.
Step 10: Update the System
Update the installed packages using:
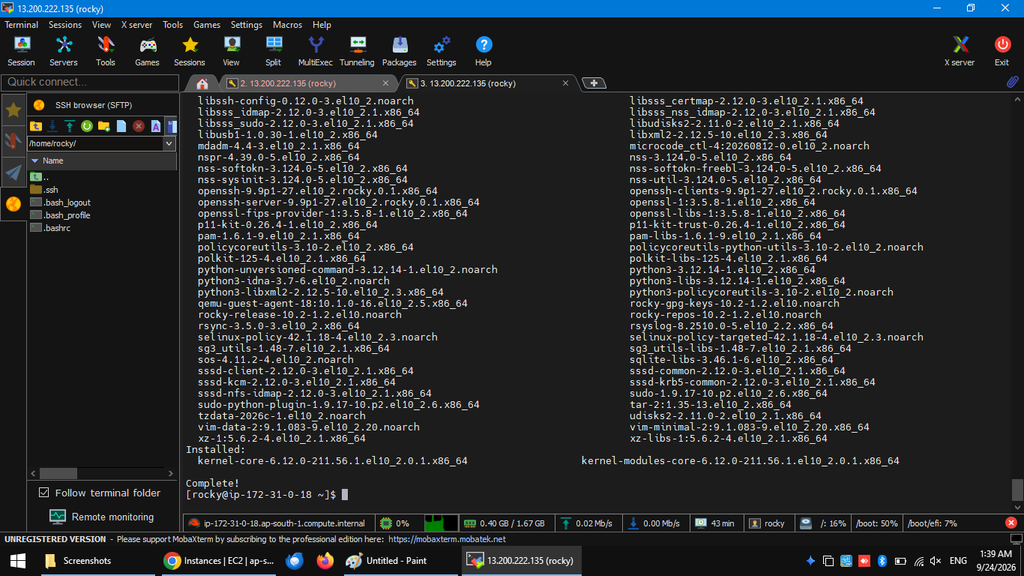
sudo dnf update -y
The dnf package manager is used for package management in Rocky Linux. Rocky Linux 10 uses the newer DNF5 technology, with changes to package and repository management compared with earlier Rocky Linux releases. Wait until the update process finishes and the terminal prompt returns.
Step 11: Check System Information
After updating the system, several commands were used to verify the server configuration.
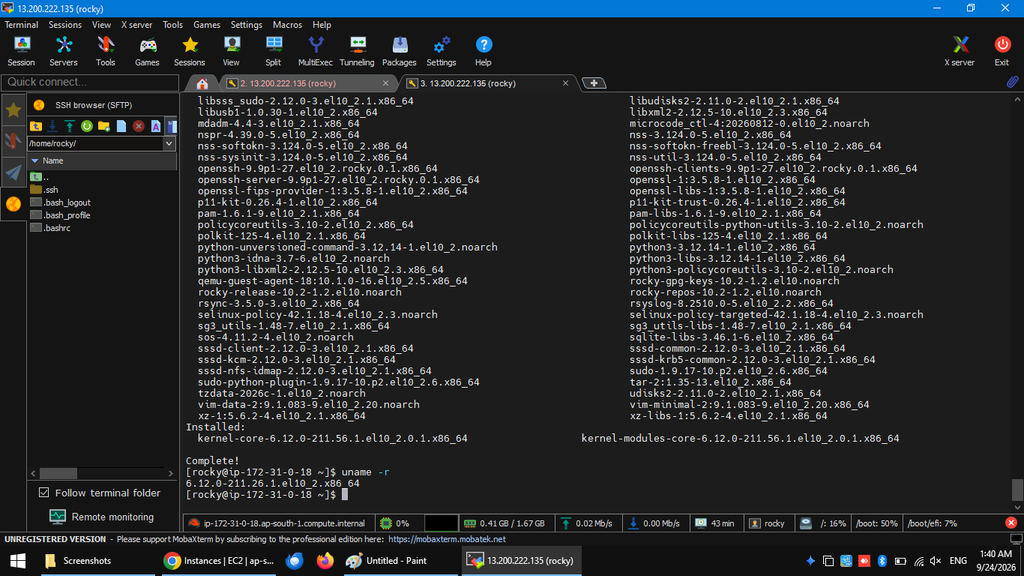
Check the kernel
uname -r
Check disk space
df -h
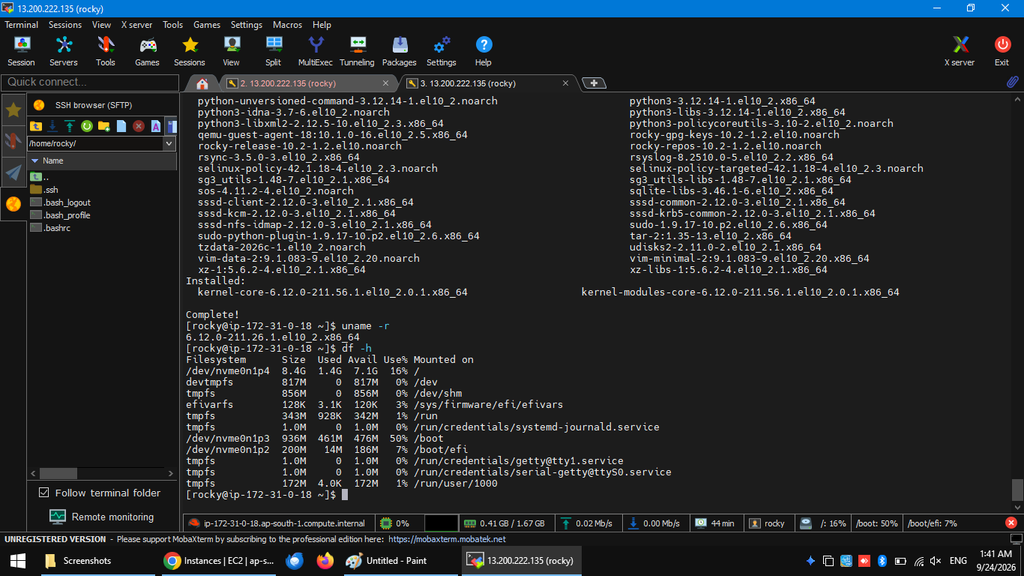
This displays disk usage in a human-readable format.
Check memory
free -h
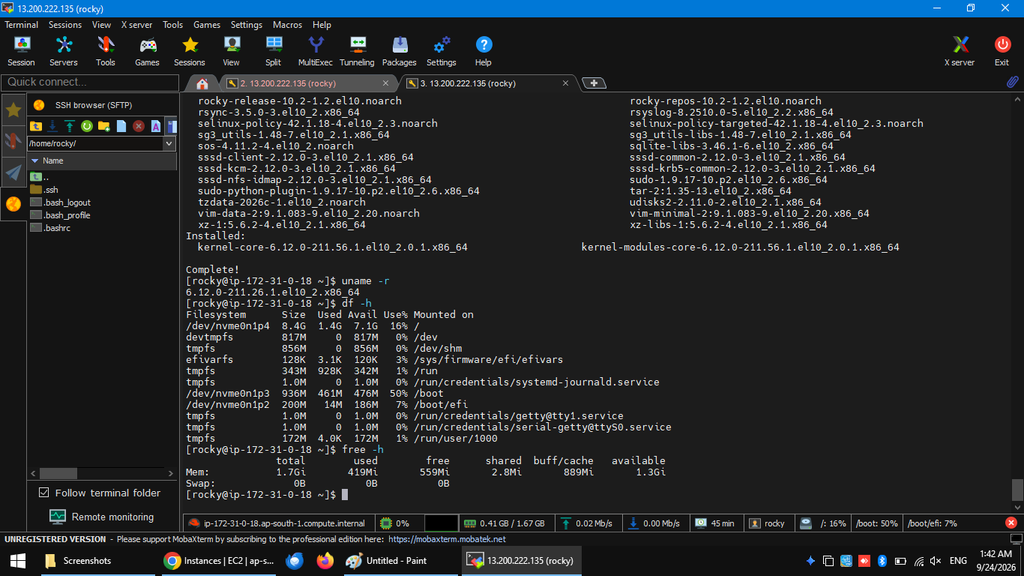
This displays total, used, free, and available memory.
Check CPU information
lscpu
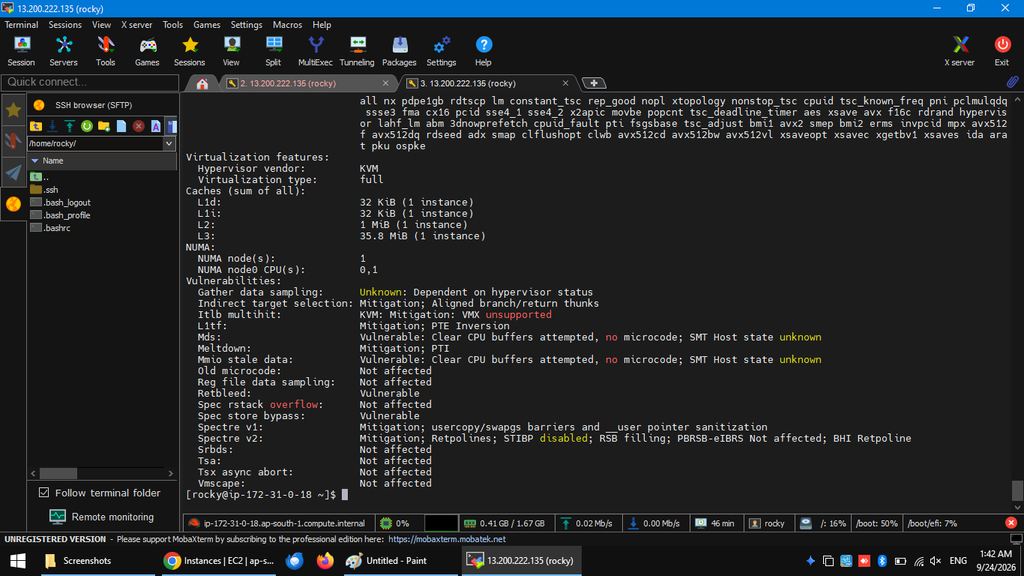
Check the hostname
hostname
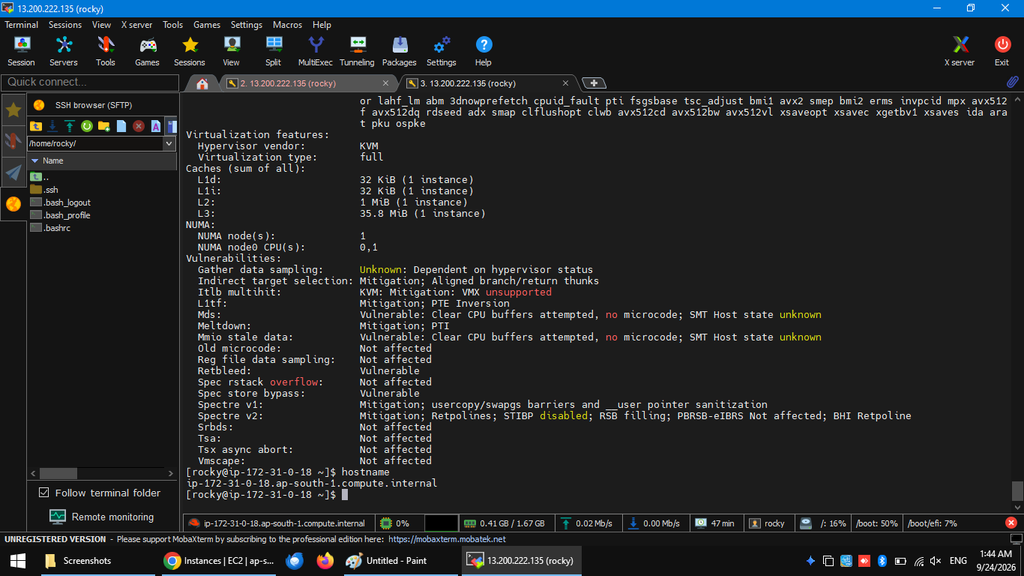
Check network information
ip addr
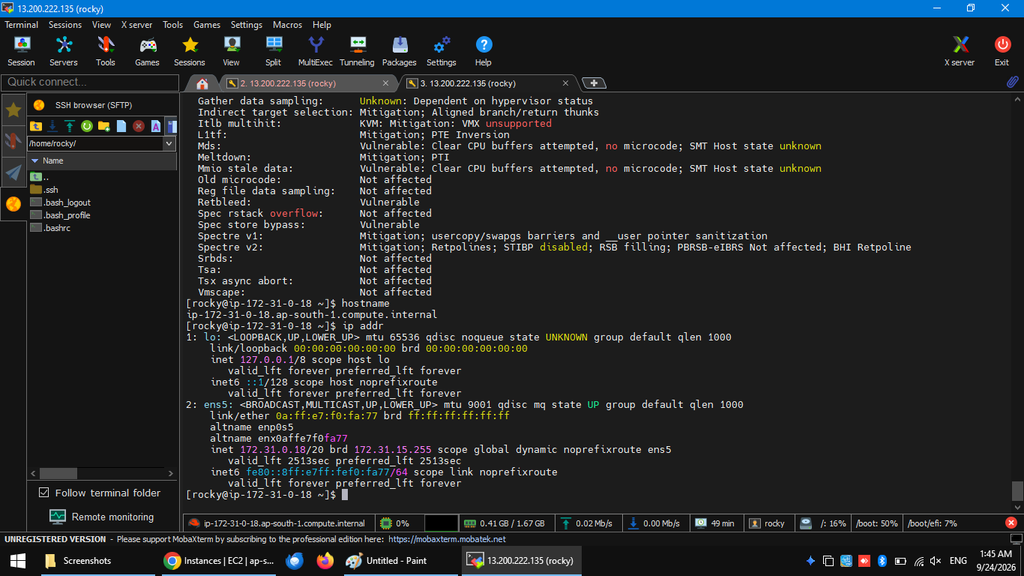
These commands provide a basic health and configuration check of the newly launched Linux serv
Step 12: Verify the DNF Package Manager
Run:
dnf –version
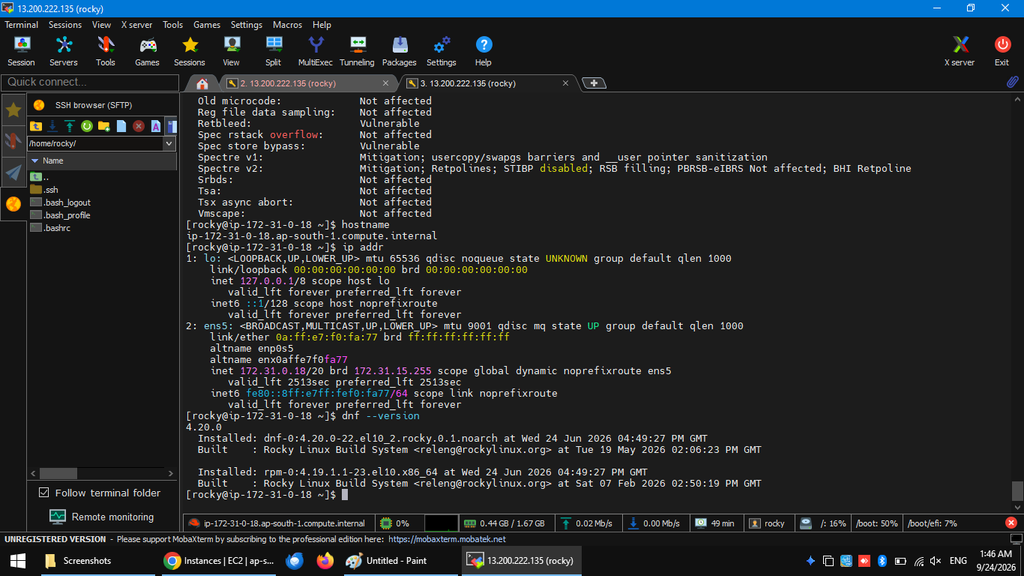
This confirms that the package manager is available and working.
Step 13: Install and Verify Wget
To demonstrate package installation, install wget:
sudo dnf install wget -y
After installation, verify it with:
wget –version
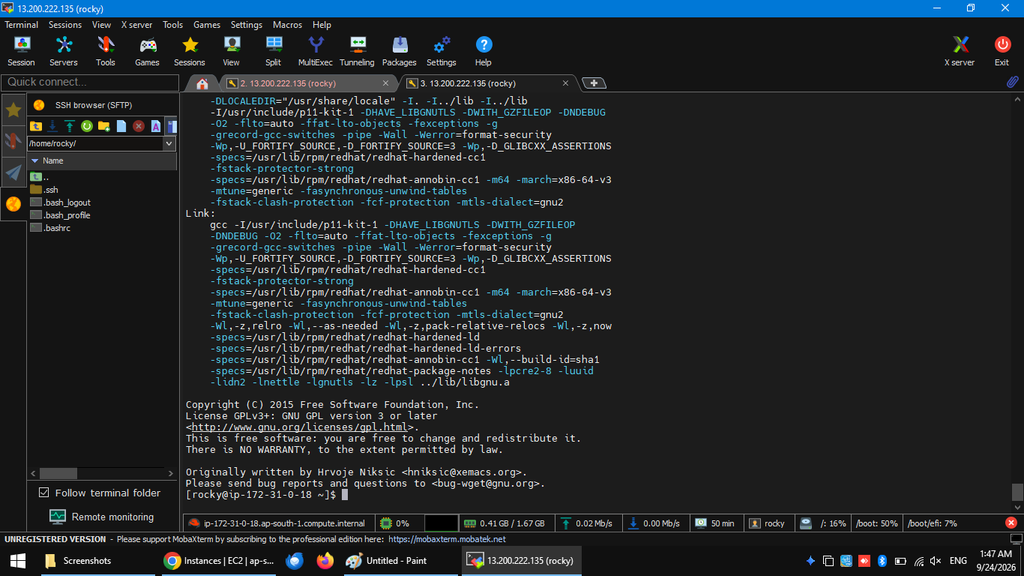
Step 14: Final System Verification
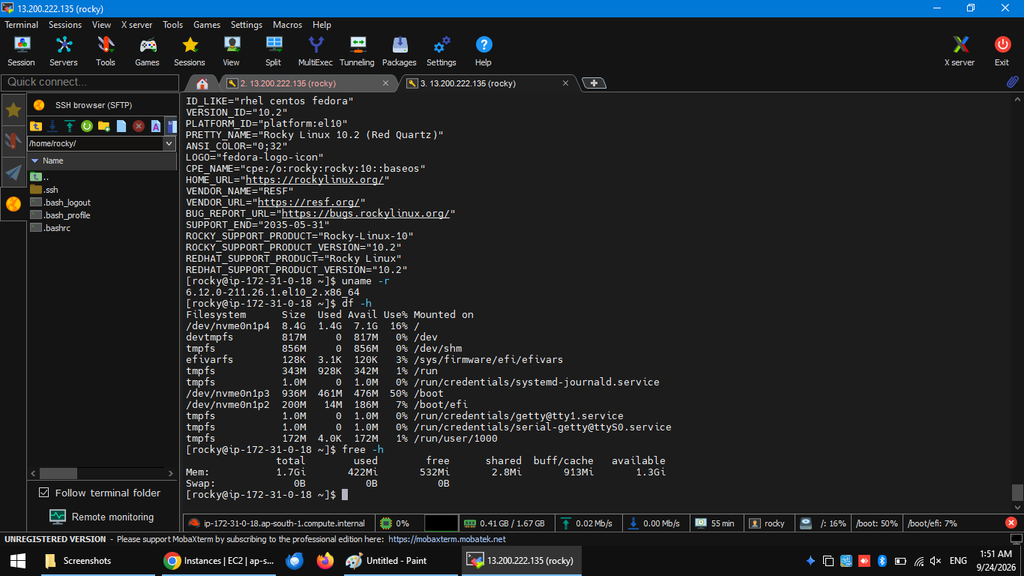
Finally, the main system information was checked again using:
cat /etc/os-release
uname -r
df -h
free -h
Running these commands confirm the operating system, kernel, disk capacity, and memory information.
Troubleshooting
MobaXterm connection timed out
Check that:
The EC2 instance is running.
The public IPv4 address is correct.
The security group allows TCP port 22.
The correct .pem key is selected.
The username is rocky.
AWS identifies the security group and key pair as important components of an SSH connection.
Server refused the key
Make sure the private key used by MobaXterm corresponds to the key pair selected when the instance was launched. AWS places the selected public key on the Linux instance, so the matching private key is required for authentication
Conclusion
Launching Rocky Linux 10 on AWS EC2 provides a practical way to learn Linux server administration in a cloud environment. In this project, the Rocky Linux 10 AMI was selected, an eligible EC2 instance type was configured, a new SSH key pair was created, and port 22 was configured for remote access. The instance was successfully connected through MobaXterm, and the Rocky Linux environment was verified using standard Linux commands.
System updates were performed with DNF, and CPU, memory, storage, networking, hostname, and kernel information were checked. Finally, wget was installed and verified. This hands-on project demonstrates the complete workflow from EC2 instance creation to Rocky Linux verification, making it a useful addition to a cloud-focused technical-writing portfolio.
FAQs
1. What is Rocky Linux?
Rocky Linux is an enterprise-oriented, open-source Linux distribution. Rocky Linux 10 is a major release in the Rocky Linux series.
2. Why was an EC2 AMI used instead of installing Rocky Linux from an ISO?
An EC2 AMI provides a prepared image that AWS can use to launch an instance. This avoids manually installing the operating system from an ISO in the cloud environment.
3. Why is port 22 required?
Port 22 is the standard port used for SSH connections. The security group must allow SSH traffic for remote access.
4. Why is the .pem file important?
The .pem file contains the private key needed for key-based SSH authentication. It should be stored securely because AWS does not retain a copy of the private key.
Discover more from Root Learning
Subscribe to get the latest posts sent to your email.