
Today, Let’s talk about how to install WordPress on Localhost and it is super easy to do that. Same steps you can do for webserver. Firstly, We have to understand few things in brief.
Table of Contents
What is WordPress?
WordPress is one of the most popular Content Management System (CMS) used to create websites. It started as a blogging platform but now it can build wide variety of websites including ecommerce stores.
Now, We will start the process of installation of WordPress on our LAMP server. We have already installed the LAMP server in our last post. If you don’t know how to create a LAMP server, Please click on the link to learn.
LAMP server is much need to install WordPress on any Linux Server. So, let’s begin with our CentOS 9.
How to install WordPress?
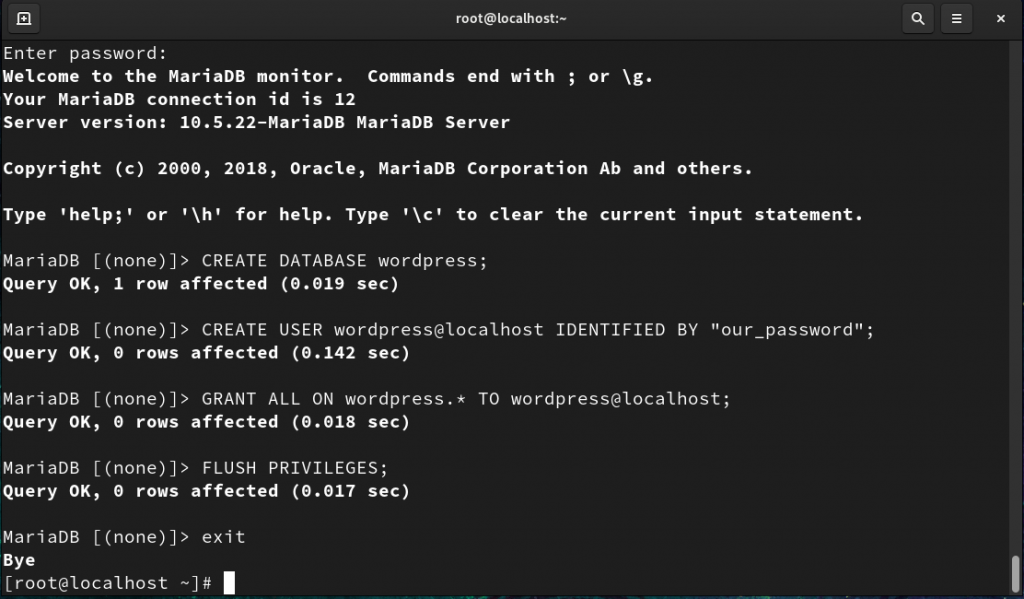
First, We will create the database for the WordPress as it is a dynamic platform that will need separate database and database user for the website. We will start by “mysql -u root -p” command then we have to enter our password.
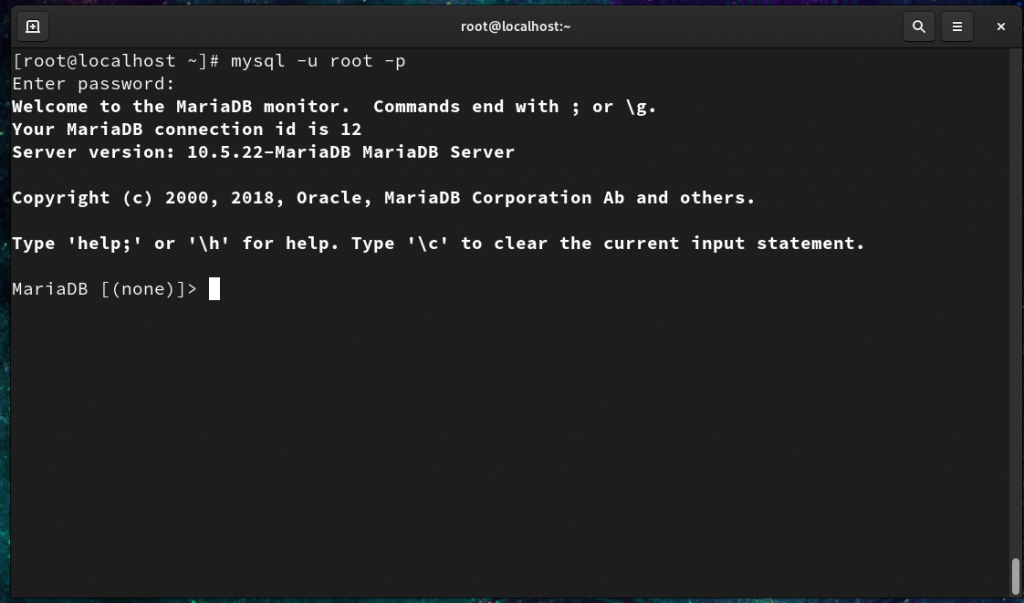
As we already know that whole Linux is case-sensitive with their words and MySQL/MariaDB is also the same. So, type the commands in same way you will see here.
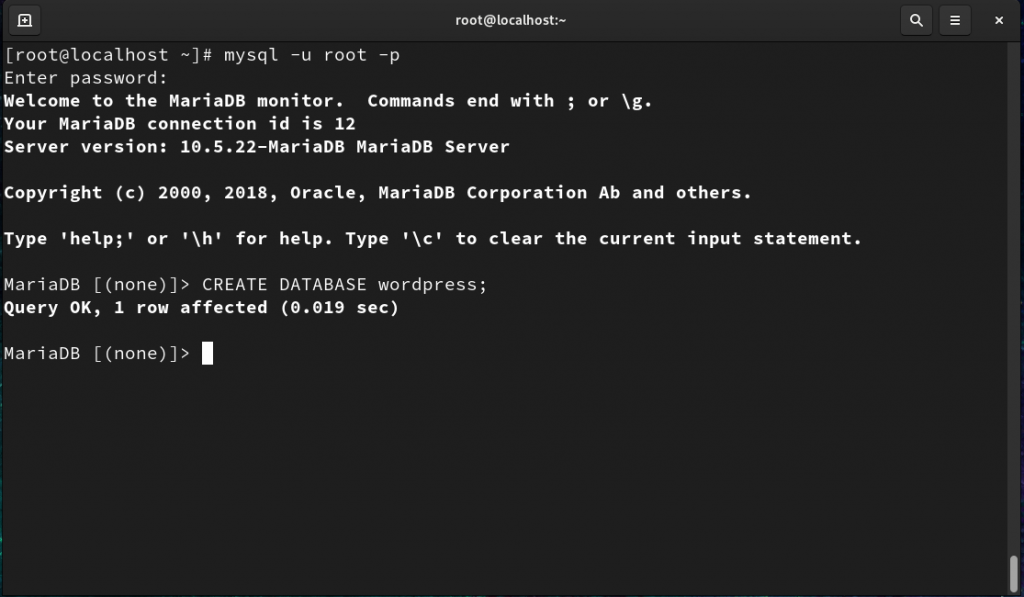
We will create database named WordPress by “CREATE DATABASE wordpress;“. You will get Query OK message after that for successful creation.
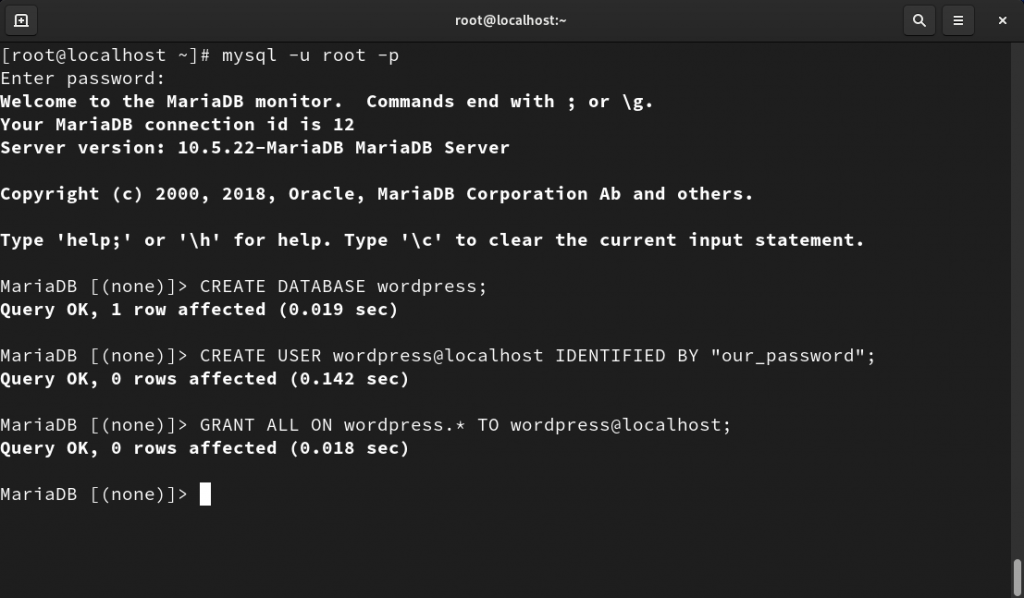
Now, We will create a user for our wordpress database by “CREATE USER wordpress@localhost IDENTIFIED BY “our_password;” command. It will again give the same Query OK message.

Next, We will grant all the privileges to our user for our wordpress database by “GRANT ALL ON wordpress.* TO wordpress@localhost;“. It will give the same Query OK message.
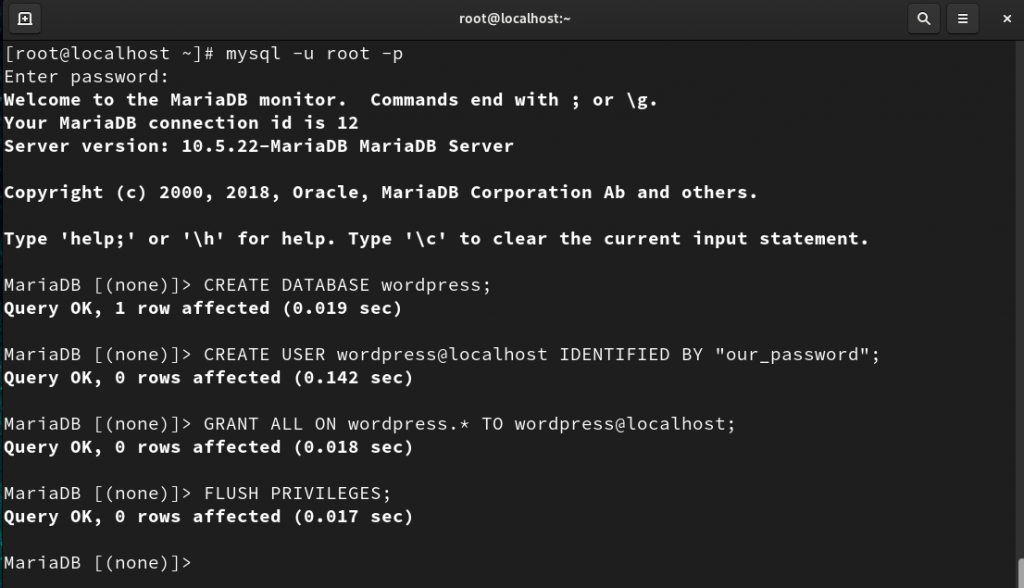
We have to remove now some default or extra privileges also by “FLUSH PRIVILEGES“. You will get Query OK message.
Now we can exit from the MySQL/MariaDB wizard by “exit” command.
This is the end of our database configuration in WordPress installation. If you want to learn more about database. Check it out from its official website. Now we will start with downloading the latest WordPress files using the wget command.
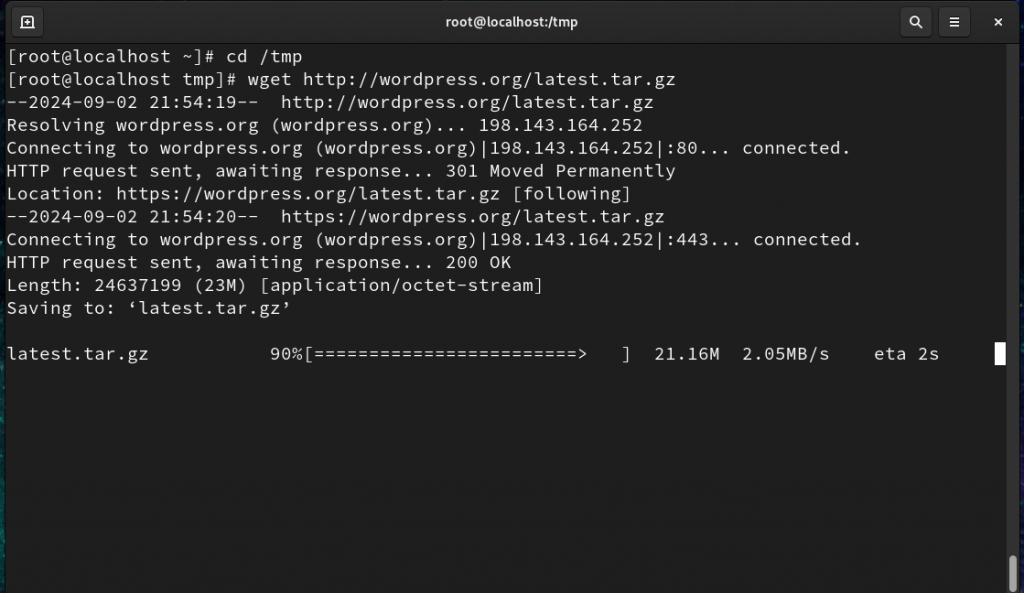
We will go to /tmp directory to download it by “wget http://wordpress.org/latest.tar.gz“.
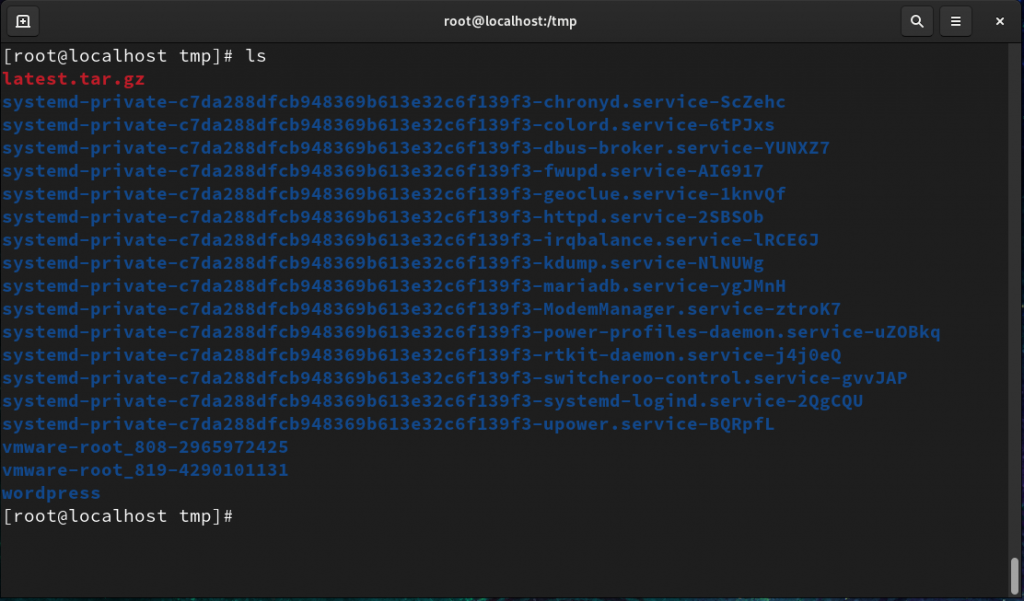
Now, We can check it by using ls command.

The file type we have downloaded for WordPress is tar, We have to extract it for using. For tar extraction, We have to use the tar command with the options -xvzf and the name of the file.
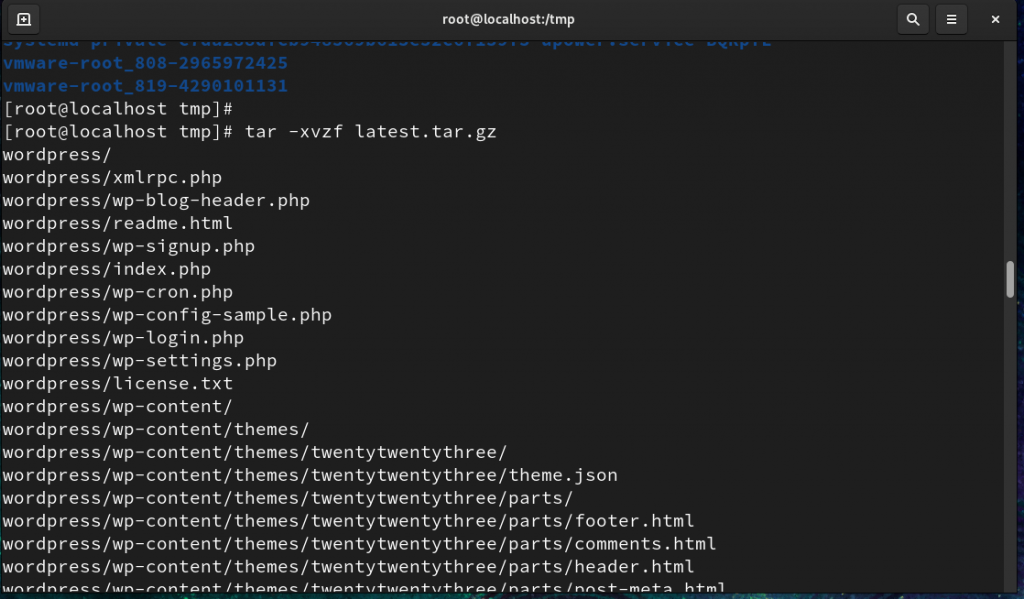
After all the files will get extracted, You can see the new folder named ‘wordpress‘ by ls command.
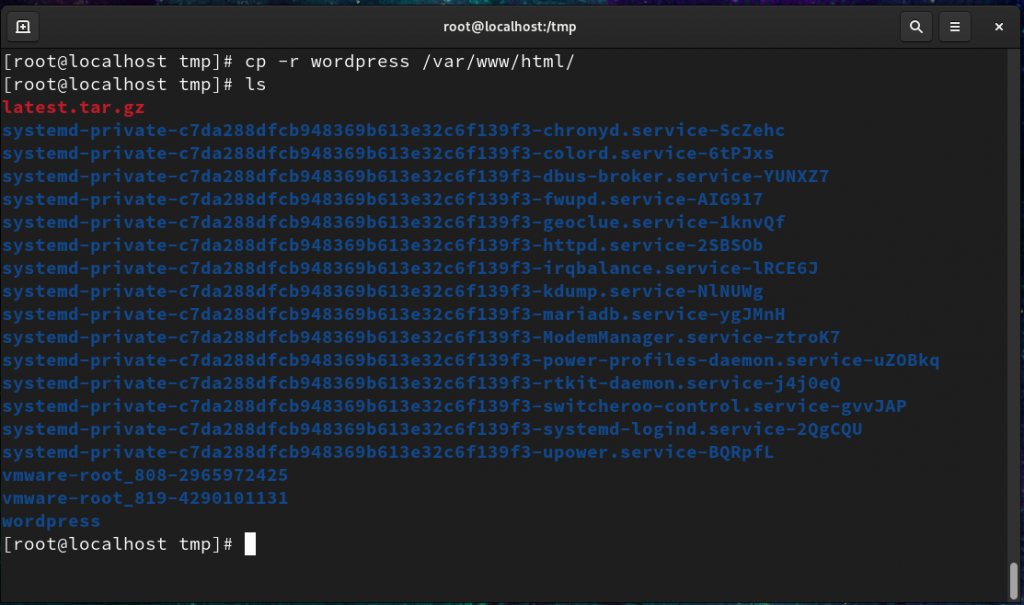
Next, We will copy the ‘wordpress‘ directory from /tmp to /var/www/html as our apache webserver use to read the files from there. For copying we have to use “cp -r wordpress /var/www/html/“.
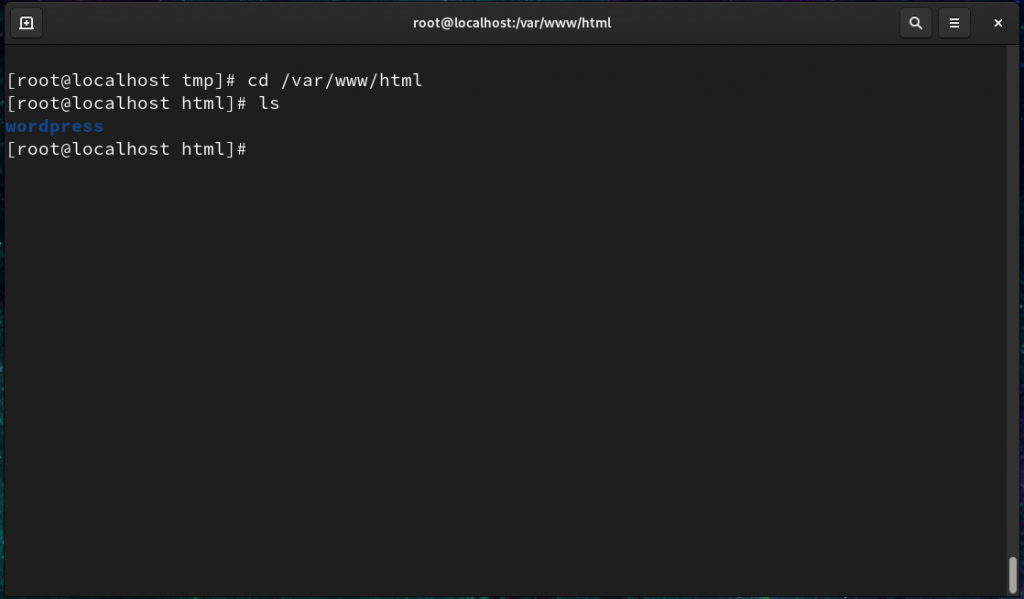
After copying, You have to go to /var/www/html for providing right permissions to wordpress directory.
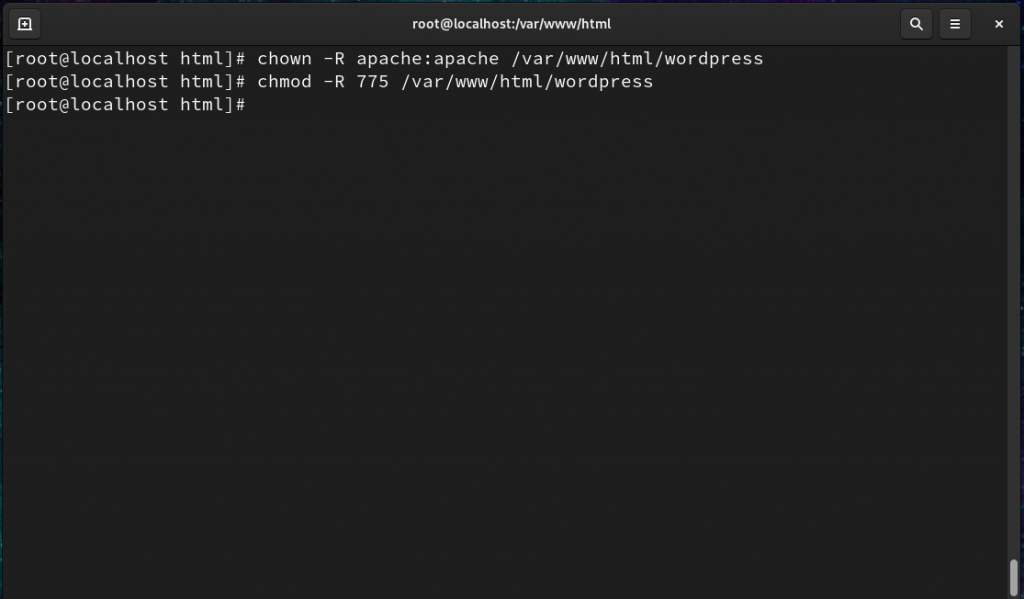
Now it is time to change the permissions of wordpress directory to make it work well with apache webserver by chown and chmod commands. We will make a separate post about them soon.
We will run the following commands now for necessary permission “chown -R apache:apache /var/www/html/wordpress” and “chmod -R 775 /var/www/html/wordpress“.
Now, We are good to go to access WordPress on our local IP that you can find by ‘ifconfig‘ command. In my case the IP address is 192.168.29.104

We will run and configure further WordPress with the help of our browser. We have to enter our local address on browser like http://ip/wordpress/wp-admin
We may face the issue of php and our database connection error that would be written as “Please check that the mysqli PHP extension is installed and enabled“. We can solve it by installing the extension by “yum install php-mysqli” and then entering the above address on our browser.
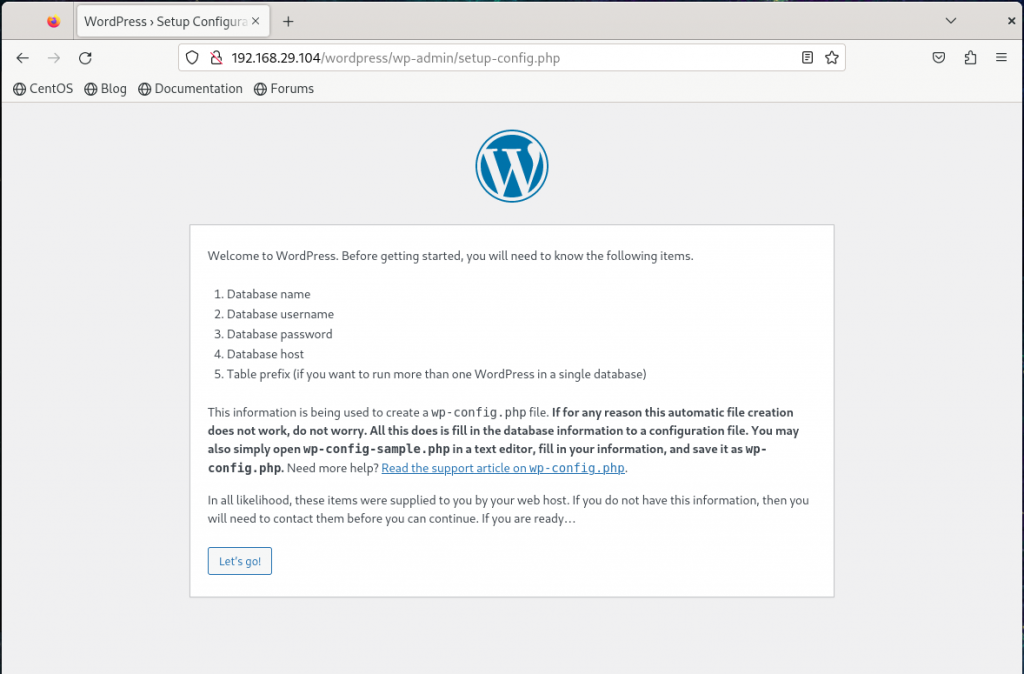
You will get the above screen and now you have to Click on Let’s go! button to start setting up your WordPress configuration.
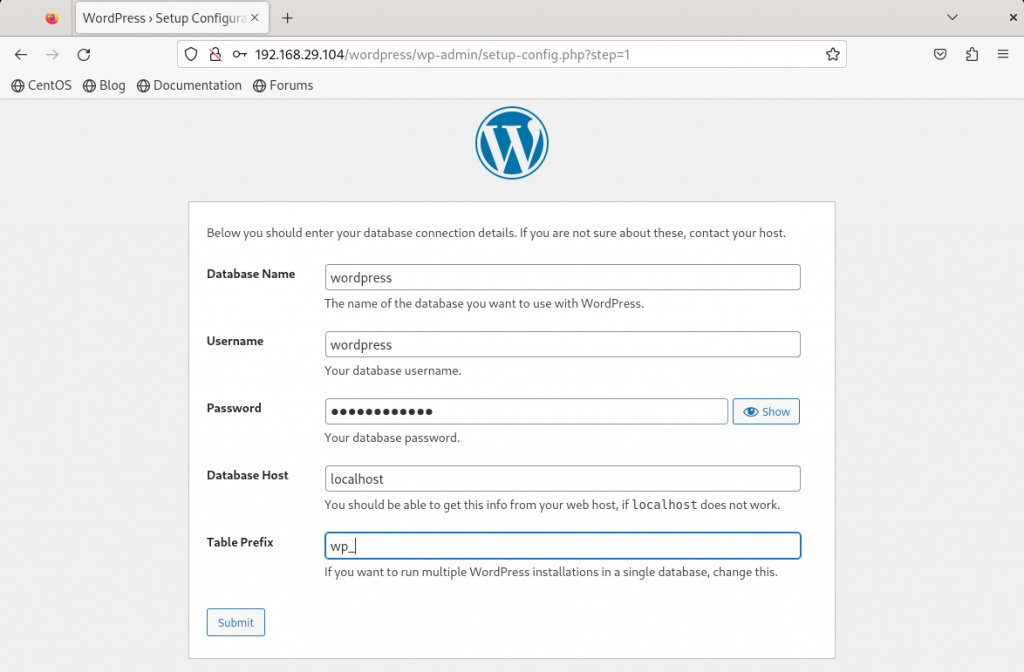
After that, We have to fill the details of our database to attach it with WordPress that we have made earlier.
You may get the another issue in which you have to create a wp-config.php file manually with the given content by WordPress before you run the installation.

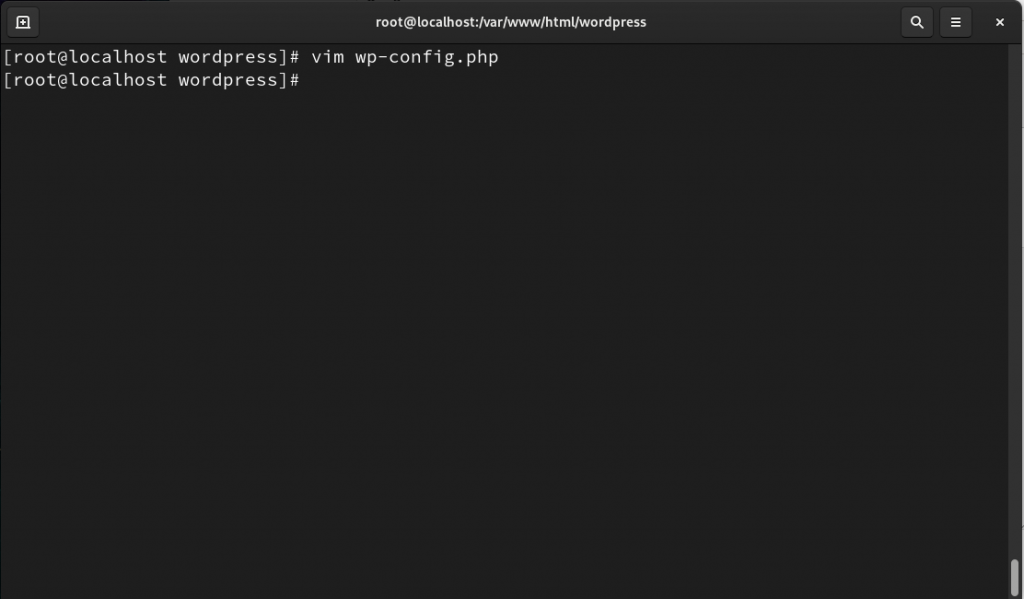
After creating the wp-config.php file, We are good to go further by clicking on Run the installation button.
Next, We have to fill the details of our site.
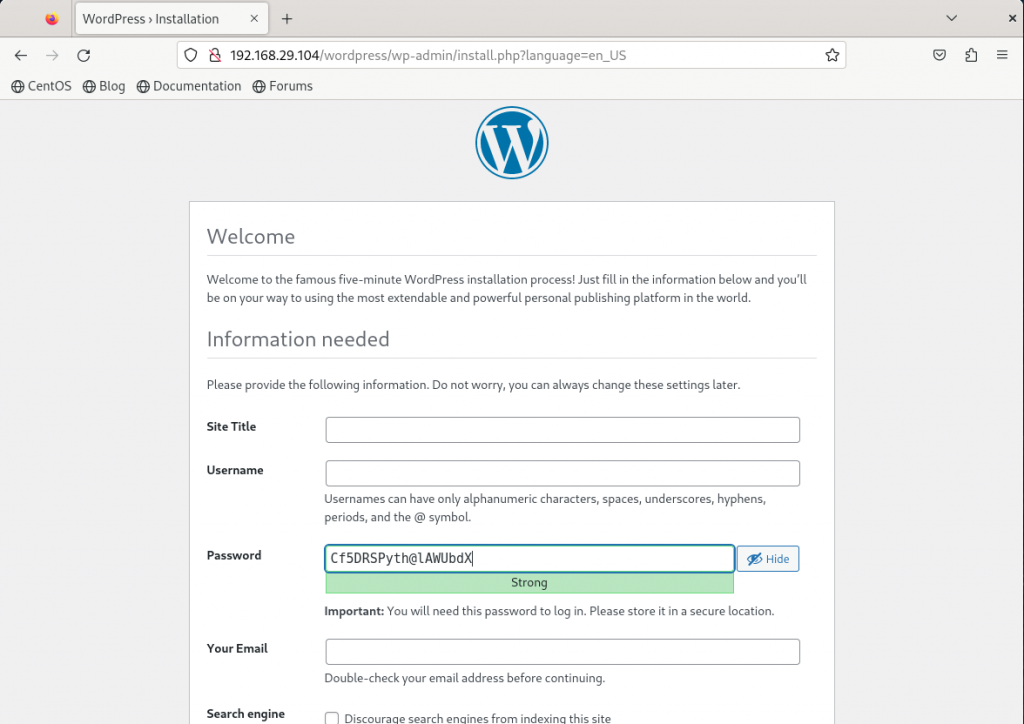
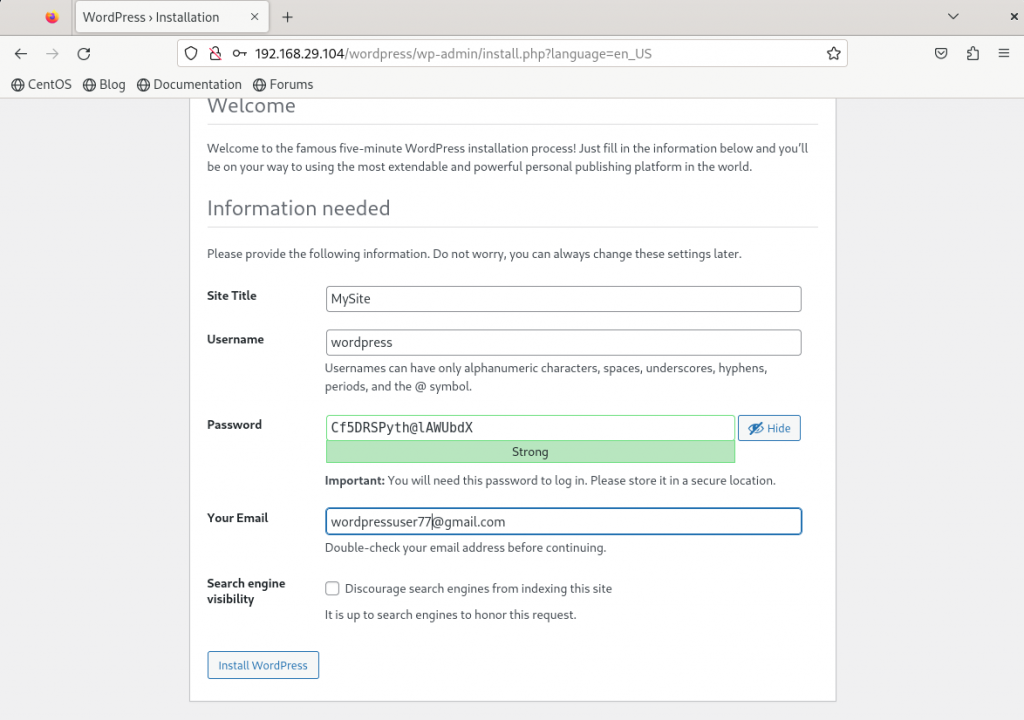
We have to click on “Install WordPress” after filling the details. Don’t forget to copy your password and save it somewhere.
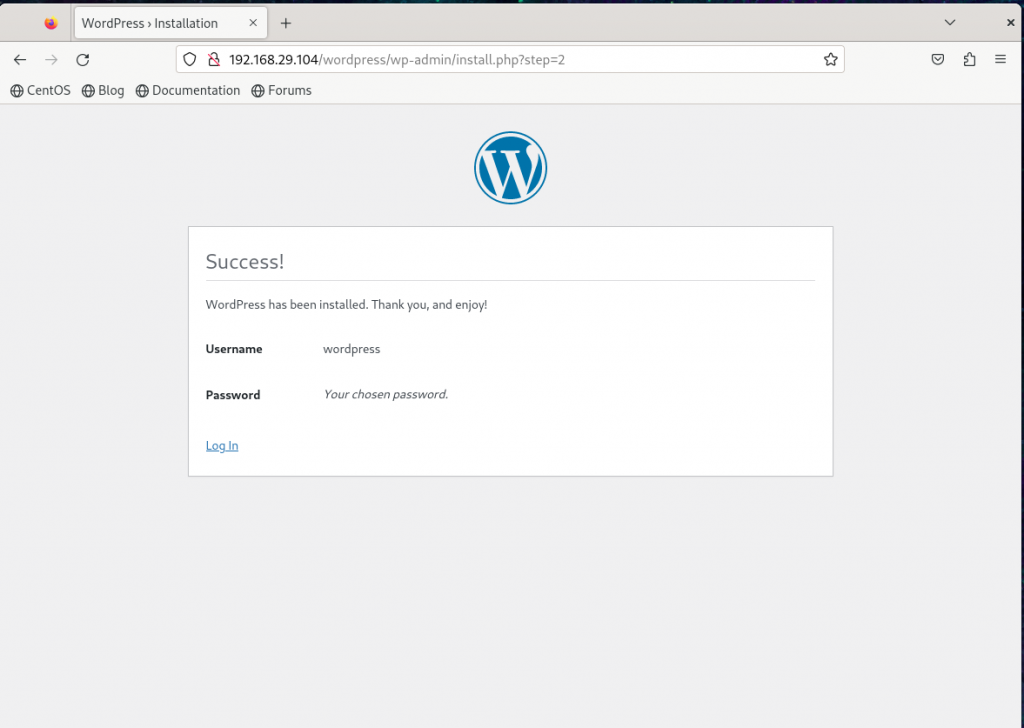
You can log in now and start building your website as per your preference.
That’s all for “How to install WordPress on Localhost”.
FAQ on How to Install WordPress
Q. What is a localhost?
A. A localhost is a local server environment on your computer where you can develop and test websites before deploying them to a live server. It simulates a web server environment on your local machine.
Q. What information do I need to provide during installation?
A. Site Title: The name of your WordPress site.
Username: The username you will use to log in to your WordPress admin dashboard.
Password: A strong password for your WordPress admin account.
Your Email Address: The email associated with your WordPress admin account.
Search Engine Visibility: Check the box if you want to discourage search engines from indexing your site (useful for development purposes).
Q. How do I access the WordPress admin dashboard?
A. Go to http://localhost/wordpress/wp-admin (or http://localhost/your-folder-name/wp-admin).
Log in with the username and password you set during installation.
Q. What should I do after installation?
A. Explore the Dashboard: Familiarize yourself with the WordPress admin interface.
Install Themes and Plugins: Customize your site by installing themes and plugins.
Create Content: Start adding pages, posts, and other content.
Regular Backups: Regularly back up your local site as you develop it.
Discover more from Root Learning
Subscribe to get the latest posts sent to your email.


I’m really impressed together with your writing abilities as neatly as with
the format on your blog. Is this a paid topic or did you
modify it your self? Either way stay up the nice high quality writing, it is rare to peer a great weblog like this
one today.
Thanks for this much easy instruction 👍🏻
WordPress is really needed and you make it simple.
Installed several wordpress for my future business and blog with the help of this, thanks for sharing this information, keep going!!!!
One of the most important platform of this world now. Fully explained way 👍🏻
I have done it in one go 😌😌😌 Thanks for your easy steps.