
You can get your own local CentOS server for free with the help of VMware Workstation and CentOS ISO file.
Table of Contents
Let me guide you step by step to get it for free. There are 3 steps for making it possible.
Step 1
We have to download VMware Workstation, just search that on google and open the first link of VMware.
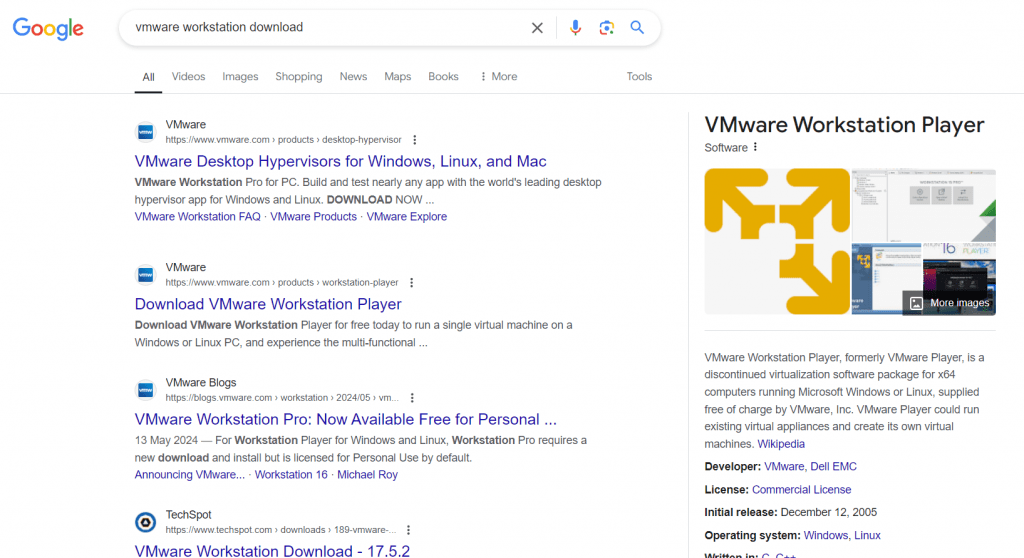
After opening the VMware website, click on “DOWNLOAD FUSION OR WORKSTATION“. It will open the new link of the parent company called Broadcom.

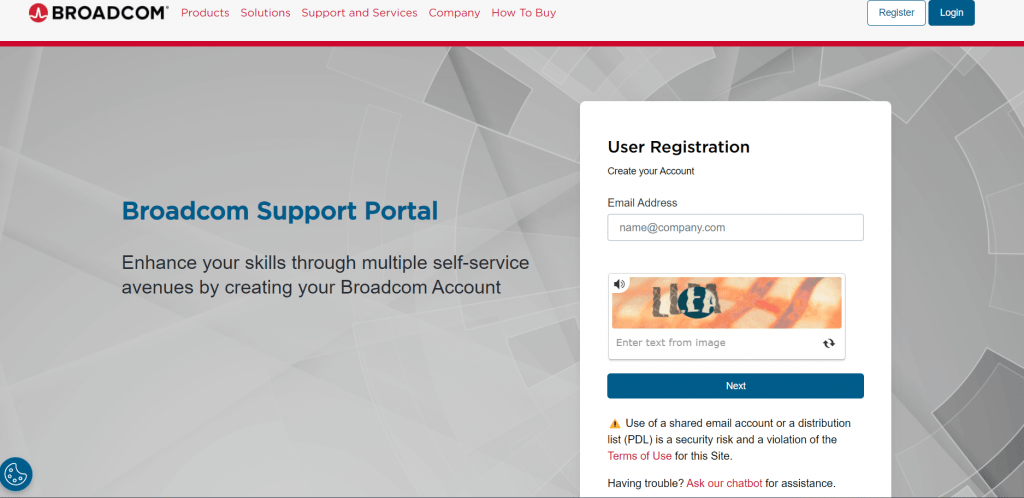
We have to register our account in Broadcom in order to download VMware Workstation. For that we have to click on LOGIN on the top right side and select register.

Next we have to fill the details that is email address and captcha to start creating your account.
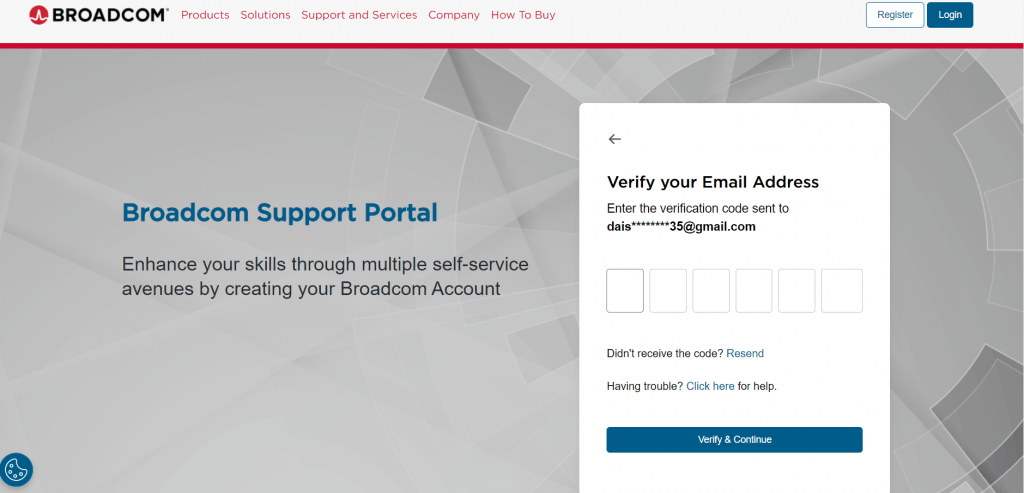
You have to enter the code sent on your email on the next screen and press verify and continue for the next page of account creation.
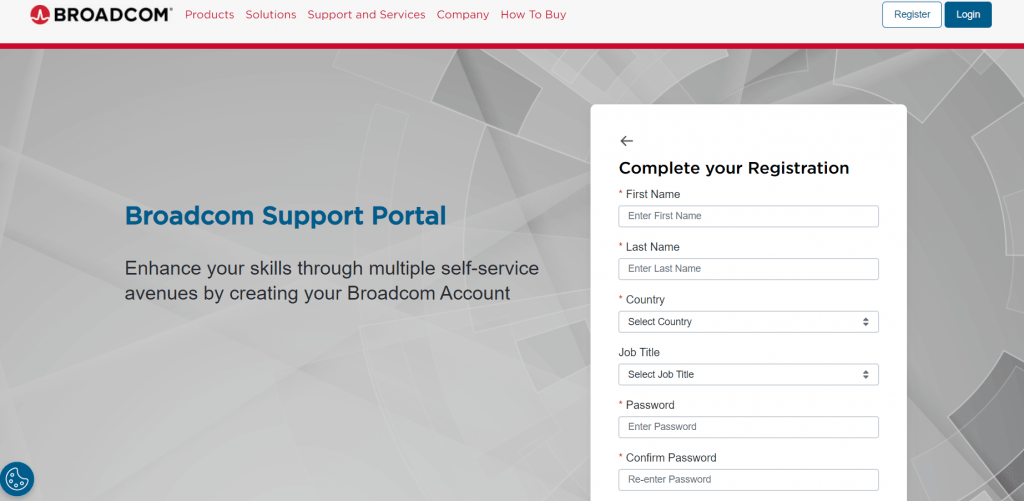
Now we have to enter our details like Name, Country, Job title that can be other for students and password creation as our last step in registration. Also, accept the policies at the last.
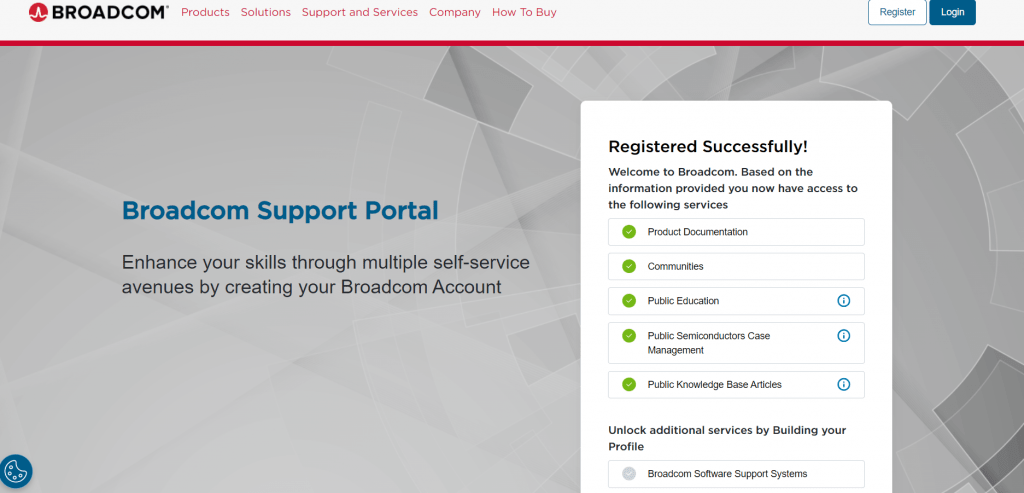
Now our account is ready, we will get the message for “Registered Successfully!“. Scroll down the page and click on “I’ll do it later” button.
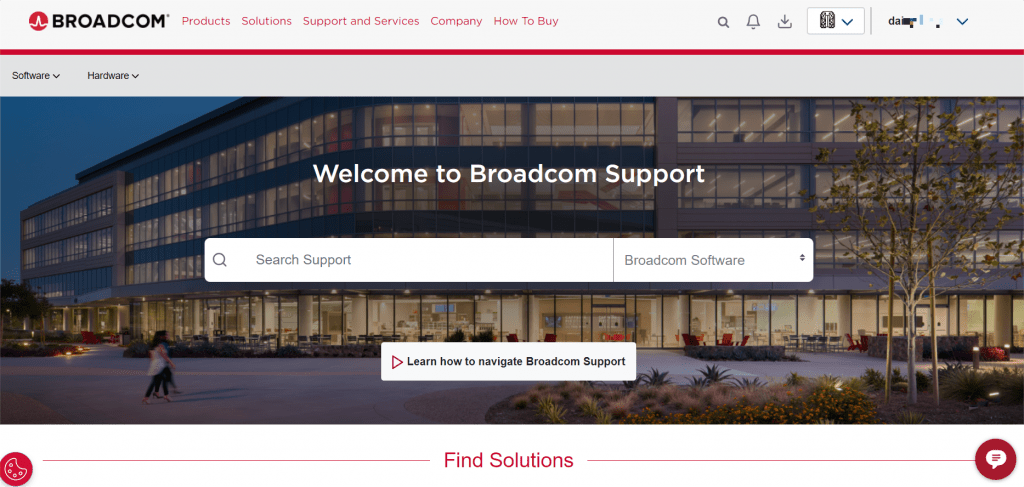
Next, Click on Login at the top right corner and log in your account. After logged in, You can see your name on the top right corner.
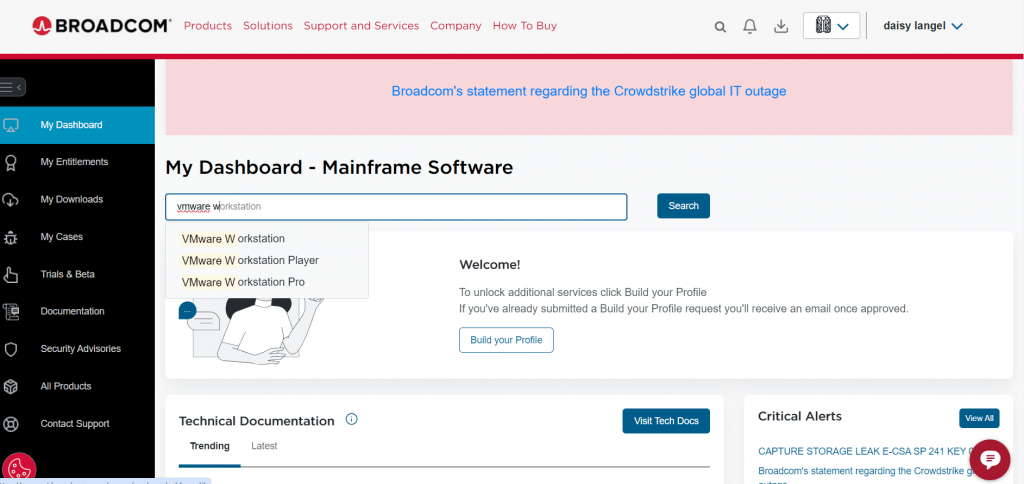
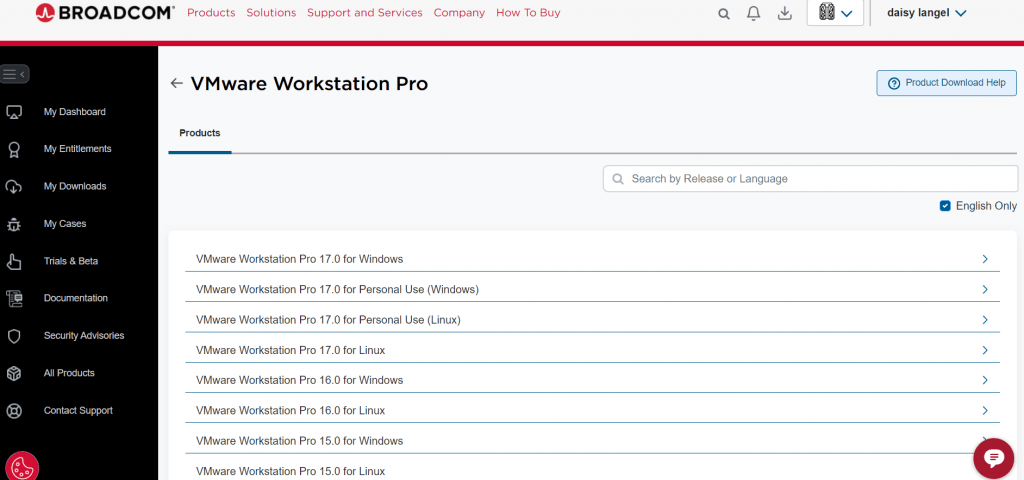
After that we have to go to My Dashboard in the left hand side menu and search for the VMware workstation pro and click on it.
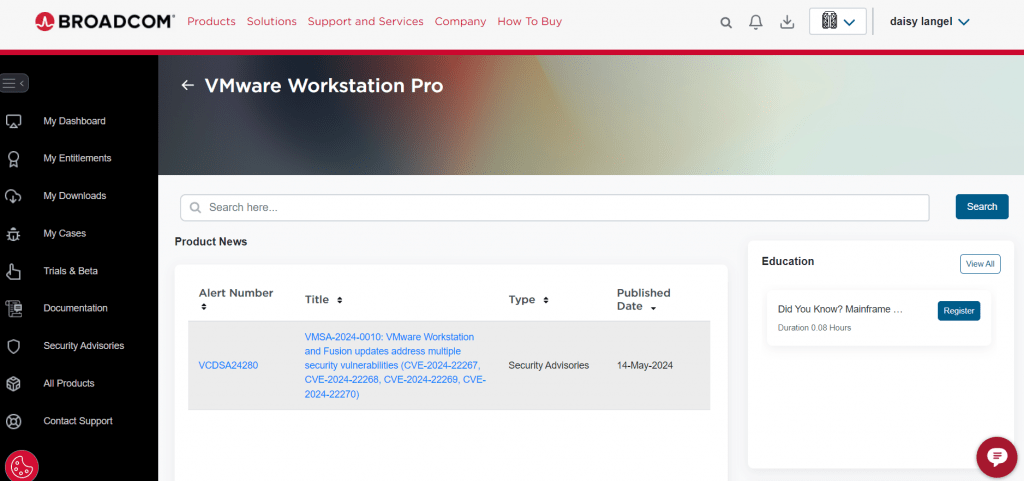
After selecting that we will get the page for our product with the link on it, Just click on that.
Next, we will get the below page after opening the link.

We have to scroll down and search for Workstation Pro (version) Downloads and Documentation. After that click on the first link to download.
Now we have to select our product that would be “VMware Workstation Pro 17.0 for Personal Use (Windows)“. To use it on a windows device.
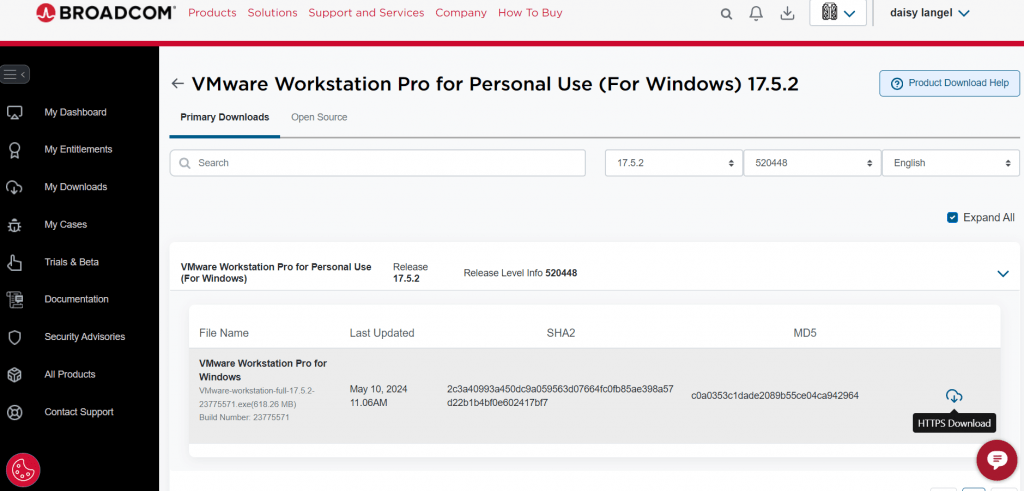
Also, We have to select the latest version of VMware Workstation Pro after clicking on it.
Next, The Download page will appear we have to agree to the terms and conditions and click on the download icon.

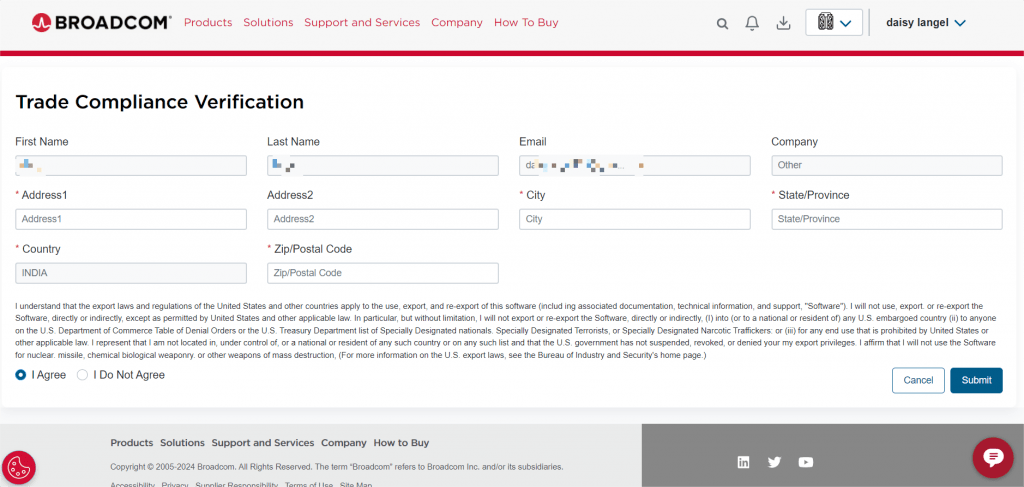
Click on Yes to proceed for additional verification.

We have to fill the remaining details like address, city, state and zip code. Click on “I agree” and submit button below.
After submitting these details, the same download page will appear and we have to download the VMware workstation. It will start the download automatically.
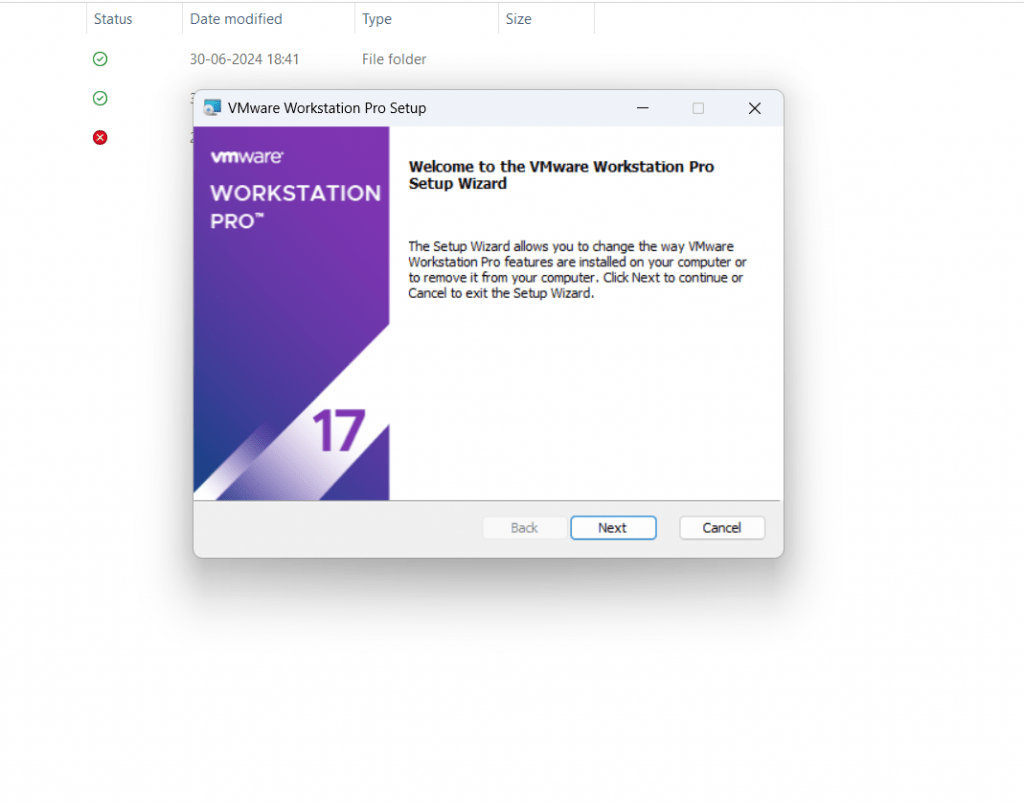
Now we have to begin installation of VMware Workstation pro. Go to your downloads and double click on the exe file to get the installation screen. Click on next on first screen.
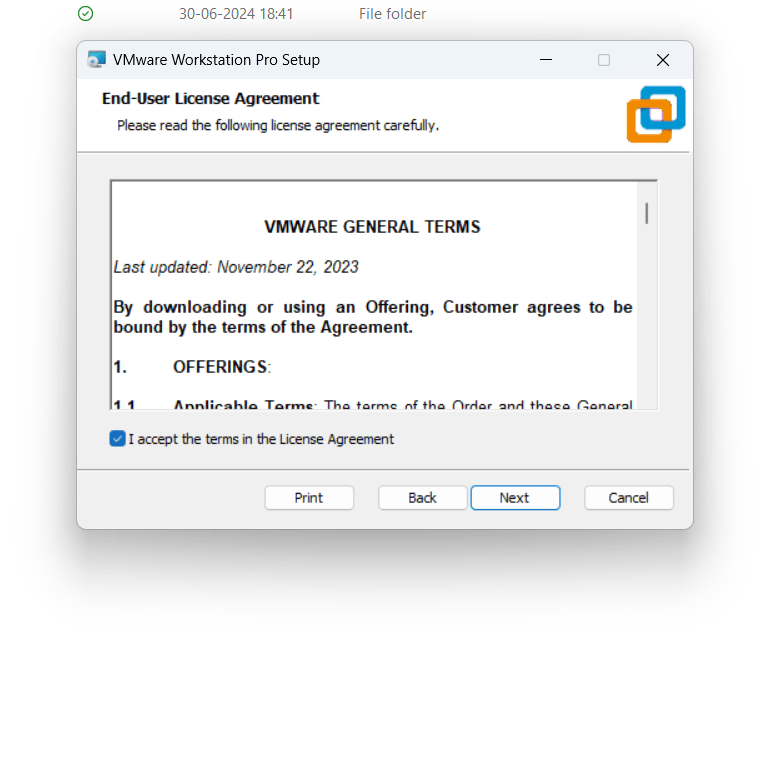
Now, Accept the VMware license agreement on the next screen and click Next to continue.
You can change the installation path in the screen but it is not necessary, Click Next to continue.

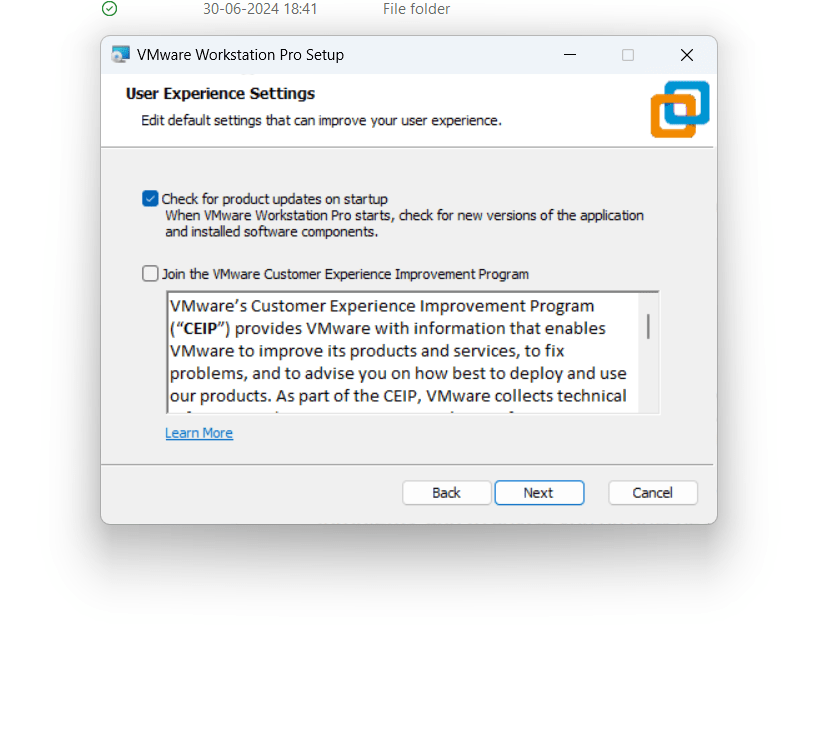
User Experience Setting screen will appear you can click Next to continue.
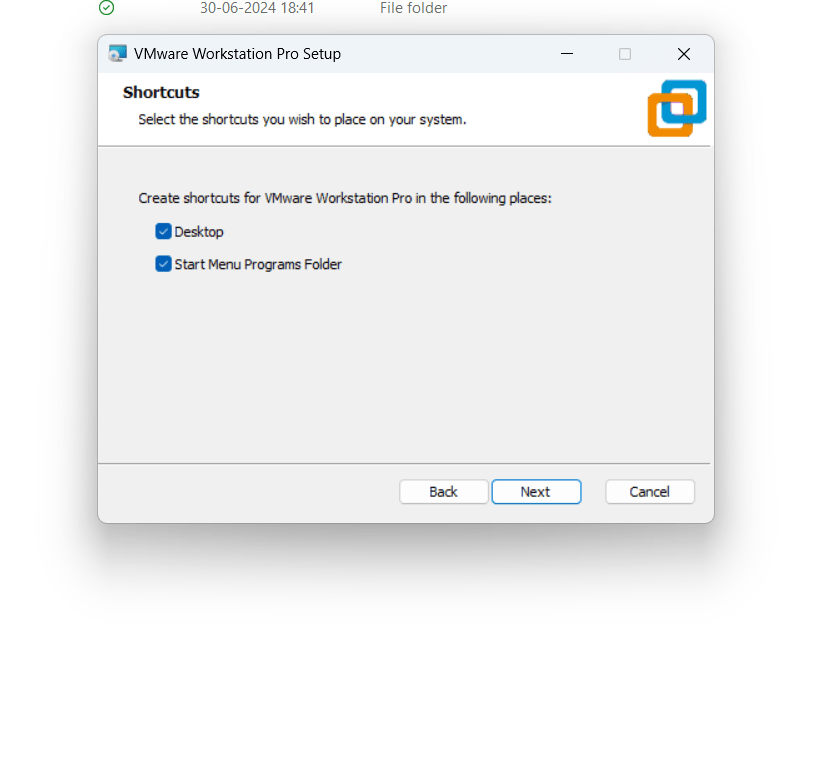
Select the shortcuts you want to create for easy access of VMware Workstation, Click Next to continue.
Finally, Click on Install button to start the installation.

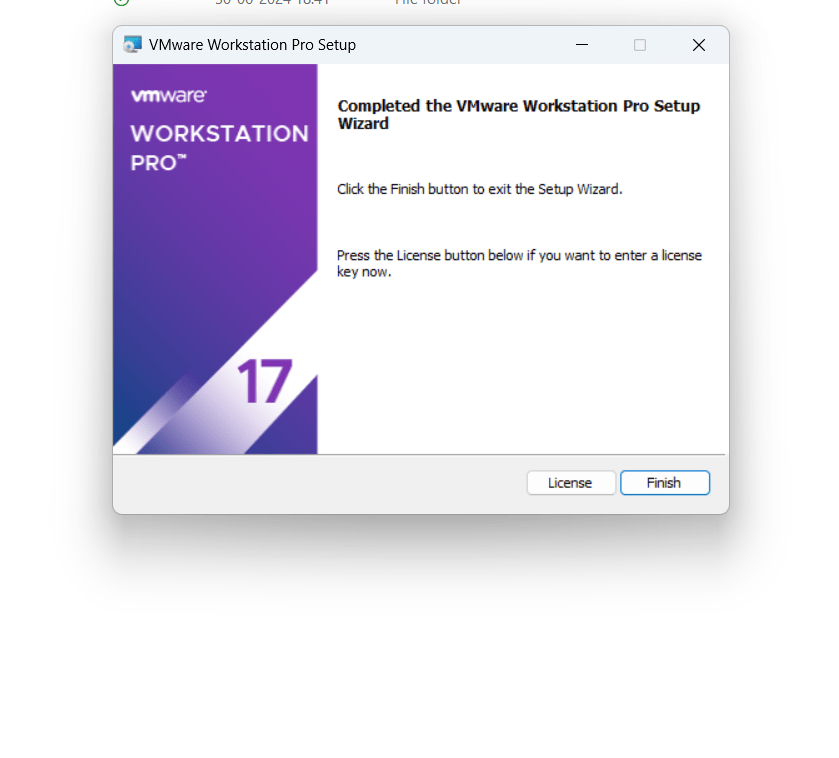
In few minutes your VMware Workstation is ready to start. Click on Finish button.
That’s all for part 1 in how to get your own local CentOS server for free.
You may like our other posts:
How to get your own local CentOS server for free (Part2)
FAQ on How to get your own local CentOS server for free (Part 1)
Q. What is VMware Workstation?
A. VMware Workstation is a hosted hypervisor that allows users to run multiple virtual machines (VMs) on a single physical host. It is available in two editions:
VMware Workstation Pro
VMware Workstation Player
Q. What are the system requirements for VMware Workstation?
A. Operating System: 64-bit Windows or Linux.
Processor: 64-bit CPU with VT-x/AMD-V support.
Memory: Minimum 2GB (4GB or more recommended).
Disk Space: At least 1GB for the application and plus storage for VMs.
Q. How do I create a virtual machine in VMware Workstation?
A. Open VMware Workstation.
Click File > New Virtual Machine.
Choose between Typical or Custom setup.
Select the operating system installation source (ISO file, disc, or network installation).
Configure hardware settings (e.g., CPU, memory, disk size).
Complete the setup and power on the VM.
Q. How do I take a snapshot of a virtual machine?
A. Power on the VM.
Click VM > Snapshot > Take Snapshot.
Name the snapshot and provide a description.
Click OK.
Discover more from Root Learning
Subscribe to get the latest posts sent to your email.


I am really impressed along with your writing talents as well as with the structure in your
blog. Is this a paid topic or did you customize it your self?
Either way stay up the excellent high quality writing, it is
rare to look a nice blog like this one nowadays.
Achy post hay bhaijan
Good for a beginner.
Most useful post among all..
VMware at its best.
Very nice post to make own server at home!!