Virtualization has become one of the most useful technologies for developers, students, and tech enthusiasts who want to experiment with different operating systems without affecting their main system. Instead of installing a new operating system directly on your computer, virtualization allows you to run it inside a virtual environment. One of the most reliable tools for this purpose is VMware Workstation or VMware Player, which allows you to run Linux distributions like Fedora Workstation 43 smoothly on a Windows or Linux host machine.
Fedora Workstation 43 is one of the latest versions of Fedora Linux and is widely known for its cutting-edge features, developer-friendly environment, and strong open-source community. By installing it inside VMware, beginners can safely explore Linux, practice system administration, or test software without risking their main operating system.
This complete beginner’s guide will walk you through everything you need to know about installing and setting up Fedora Workstation 43 in VMware Workstation or VMware Player in 2026.
Table of Contents
Understanding Fedora Workstation 43
Fedora Workstation is a modern Linux distribution designed primarily for desktop users, developers, and students. It is maintained by the Fedora Project and sponsored by Red Hat. Fedora is often used as a testing ground for new Linux technologies before they appear in enterprise systems.
Fedora Workstation 43 continues this tradition by offering improved performance, updated packages, and the latest GNOME desktop environment. It is widely appreciated for its stability, security features, and compatibility with modern development tools.
Running Fedora in a virtual machine is an excellent way to learn Linux without altering your primary operating system.
Why Use VMware for Fedora?
VMware Workstation and VMware Player are among the most popular virtualization platforms available today. They allow users to run multiple operating systems simultaneously on a single computer.
Using VMware for Fedora installation offers several advantages. First, it provides a safe testing environment where you can experiment freely without damaging your main system. Second, VMware offers powerful features like snapshots, easy networking, and hardware customization. Third, it allows beginners to learn Linux in a flexible environment.
Another benefit is that VMware allows you to allocate specific resources such as RAM, CPU cores, and storage to your virtual machine. This makes the system run efficiently even on moderate hardware.
System Requirements for Running Fedora 43 in VMware
Before starting the installation process, it is important to ensure that your system meets the minimum requirements for virtualization.
A modern computer with at least 8 GB of RAM is recommended for running virtual machines smoothly. While Fedora itself can run with less memory, assigning at least 4 GB RAM to the VM improves performance significantly.
You should also have at least 25–30 GB of free disk space available. Fedora requires about 20 GB for installation, but additional storage helps with updates and software installations.
Finally, your processor must support hardware virtualization technologies such as Intel VT-x or AMD-V, which should be enabled in your BIOS or UEFI settings.
Step 1: Download Fedora Workstation 43 ISO
The first step in setting up Fedora in VMware is downloading the official Fedora Workstation ISO file. This file contains the complete operating system installer.
Visit the official Fedora website and download the latest Fedora Workstation 43 ISO. The file size is usually around 2–3 GB, so the download may take a few minutes depending on your internet connection.
Once downloaded, store the ISO file in a location that is easy to access, such as your Downloads folder.

Step 2: Install VMware Workstation or VMware Player
Next, you need to install VMware virtualization software on your computer.
VMware Workstation Pro offers advanced features like snapshots and cloning, while VMware Player provides a simpler interface for beginners. Both versions can run Fedora virtual machines effectively.
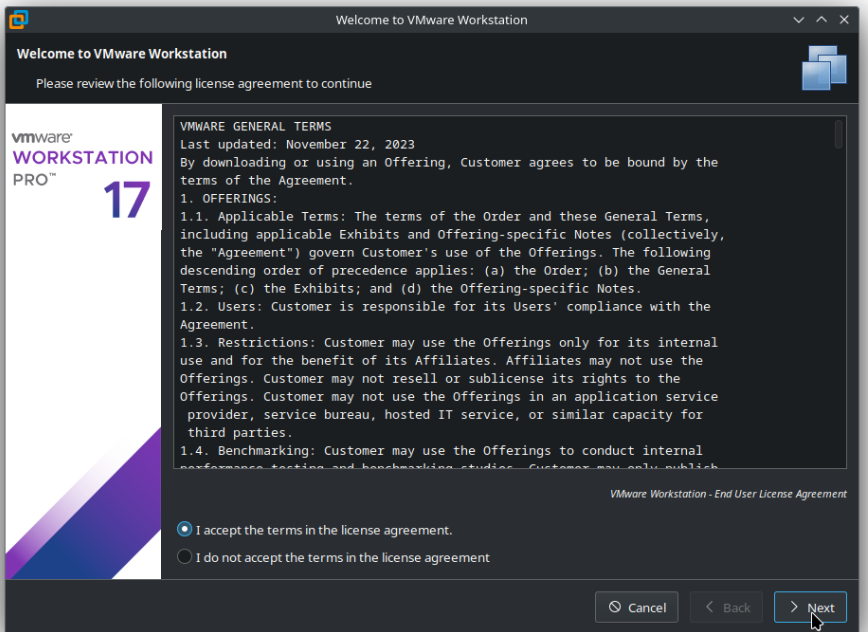
Download the VMware installer from the official VMware or Broadcom support portal. After downloading the installer, run the setup file and follow the on-screen instructions to complete the installation.
Once installed, launch VMware Workstation or VMware Player on your system

Step 3: Create a New Virtual Machine
After opening VMware, the next step is to create a new virtual machine.
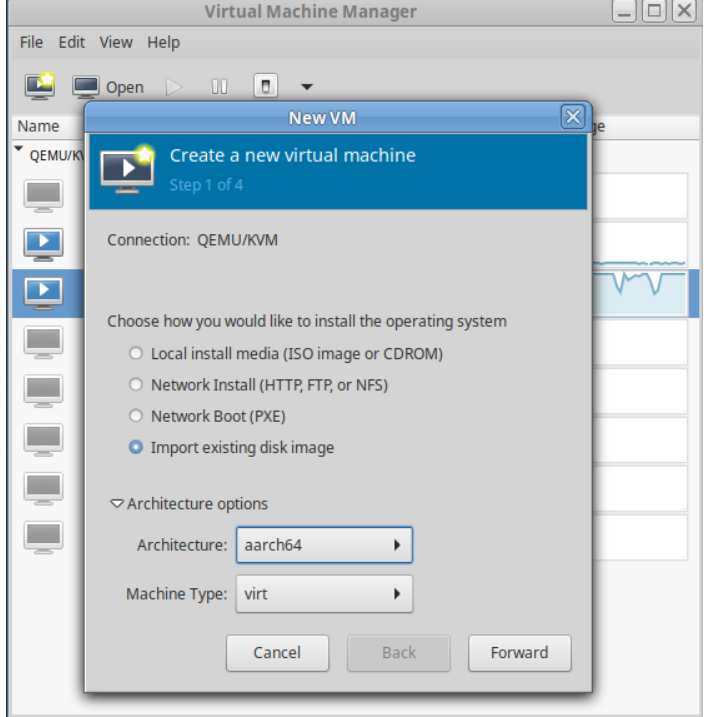
Click on the option that says Create a New Virtual Machine. VMware will then launch a setup wizard that guides you through the configuration process.
Choose the option to install the operating system later or select the Fedora ISO directly if VMware asks for an installer image. Selecting the ISO at this stage allows VMware to automatically configure some settings.
When prompted to choose the operating system type, select Linux and then choose Fedora 64-bit as the version.
Step 4: Configure the Virtual Machine
The next stage involves configuring the hardware settings for your Fedora virtual machine.
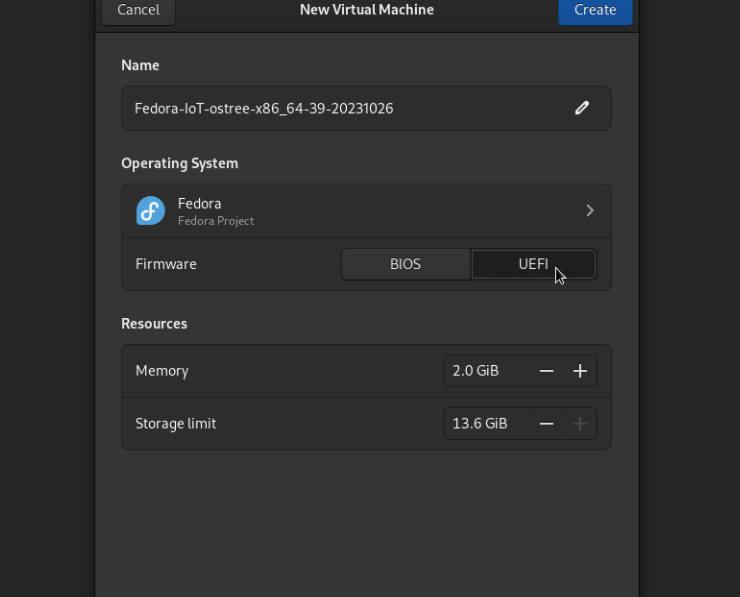
First, give your virtual machine a name such as “Fedora43_VM”. Choose a location on your system where VMware will store the VM files.
Next, configure the virtual disk size. Fedora typically requires at least 20 GB of disk space, though allocating 30–40 GB is recommended for better flexibility. VMware allows you to store the disk as a single file or split it into multiple files. Both options work well for most users.
After configuring storage, you can customize the hardware settings.
Assign at least 4 GB of RAM to the virtual machine and allocate 2 processor cores for smooth performance. If your system has more resources available, you can increase these values.
You may also enable 3D acceleration, which improves graphics performance inside the virtual machine.
Once the virtual machine configuration is complete, you can start installing Fedora.
Click Power on this virtual machine in VMware. The system will boot using the Fedora ISO file you selected earlier.
You will see the Fedora boot menu appear. Select the option to Start Fedora Workstation Live. After loading, the system will open the Fedora live environment where you can test the OS before installing it.
On the desktop, click the Install to Hard Drive icon to launch the Fedora installer.
Step 6: Configure Fedora Installation Settings
The Fedora installation wizard is simple and beginner-friendly.
First, choose your preferred language and region. This determines your system language, keyboard layout, and formatting preferences.
Next, configure the installation destination. VMware automatically creates a virtual disk, so you can simply select the default storage option.
You may also configure system settings such as the hostname and network configuration if needed.
After reviewing the settings, click Begin Installation.
During installation, you will be asked to create a user account and set a root password. Choose a strong password to ensure system security.
The installation process usually takes around 10–15 minutes depending on system performance.
Step 7: Restart and Boot Fedora
After the installation is complete, Fedora will prompt you to restart the system.
Click Reboot, and VMware will restart the virtual machine. At this stage, you should remove the ISO file from the virtual drive so that the system boots from the installed operating system instead.
When the VM restarts, Fedora Workstation 43 will boot directly into the GNOME desktop environment.
You can now log in using the user account you created during installation.
Step 8: Install VMware Tools (Open VM Tools)
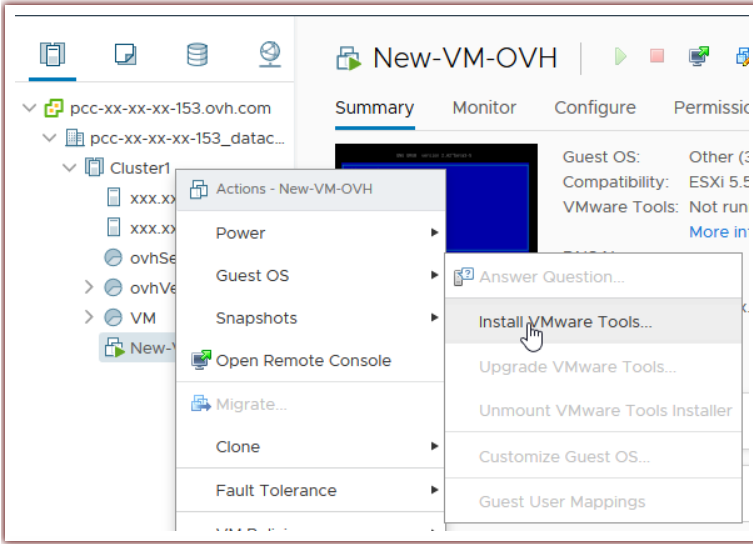
For better performance and improved integration between the host and guest system, it is recommended to install VMware Tools or Open VM Tools.
Open VM Tools usually comes pre-installed in many Linux distributions, including Fedora. These tools enable features such as improved graphics performance, shared clipboard functionality, and better mouse integration.
If Open VM Tools is not installed, you can install it using the terminal.
Once installed, restart the virtual machine to apply the changes
Optimizing Fedora Performance in VMware
After installing Fedora Workstation 43, you can further optimize the virtual machine for better performance.
Increasing the allocated RAM and CPU cores can significantly improve system responsiveness. Enabling 3D acceleration in VMware also enhances graphical performance for the GNOME desktop environment.
Another useful tip is to install system updates immediately after installation. Fedora frequently releases updates that improve stability and security.
You can update the system using the Fedora Software Center or through the terminal.
Common Issues and Troubleshooting
Although installing Fedora in VMware is usually straightforward, some users may encounter minor issues.
One common problem involves VMware kernel modules not compiling correctly on certain Fedora kernels. In such cases, installing required dependencies like kernel headers, GCC, and build tools may resolve the issue.
Another issue can occur if hardware virtualization is disabled in the BIOS. Without virtualization support, VMware cannot run virtual machines properly.
Performance problems may also appear if insufficient RAM or CPU resources are assigned to the VM.
Fortunately, most of these issues can be resolved by adjusting system settings or updating software packages.
Benefits of Running Fedora in a Virtual Machine
Running Fedora Workstation 43 in VMware offers many advantages.
For students and beginners, it provides a safe environment to learn Linux commands, programming, and system administration. Developers can also test applications across different operating systems without needing multiple physical machines.
Virtual machines also allow users to experiment with system settings, install new software, and explore Linux features without worrying about damaging their primary operating system.
Another benefit is the ability to create snapshots. Snapshots allow you to save the current state of the virtual machine and revert back if something goes wrong.
Final Thoughts
Setting up Fedora Workstation 43 in VMware Workstation or VMware Player is an excellent way for beginners to explore Linux safely and efficiently. Virtualization provides flexibility, security, and convenience, making it a powerful tool for learning and experimentation.
By following the steps outlined in this guide—downloading the Fedora ISO, creating a virtual machine, configuring hardware settings, and installing the operating system—you can easily run Fedora on your existing computer.
Whether you are a student learning Linux, a developer testing software, or simply someone curious about open-source operating systems, Fedora Workstation 43 in VMware offers a powerful and flexible environment.
With the right setup and a bit of experimentation, you can turn your virtual machine into a complete Linux workspace for coding, development, and everyday computing.
FAQs About Fedora Workstation 43 in VMware
Can Fedora Workstation 43 run smoothly in VMware Player?
Yes, Fedora Workstation 43 runs smoothly in VMware Player as long as your system has sufficient RAM and CPU resources.
How much RAM is recommended for Fedora 43 in VMware?
At least 4 GB of RAM is recommended for smooth performance, though allocating more memory improves responsiveness.
Is Fedora Workstation 43 free to use?
Yes, Fedora Workstation is completely free and open-source software maintained by the Fedora Project.
Do I need VMware Tools for Fedora 43?
Installing Open VM Tools improves graphics, clipboard sharing, and overall performance in VMware.
Can beginners learn Linux using Fedora in VMware?
Absolutely. Running Fedora in a virtual machine is one of the safest and easiest ways for beginners to learn Linux without modifying their main operating system.
Discover more from Root Learning
Subscribe to get the latest posts sent to your email.