
Today we will talk about how to create own email server for free with the help of Postfix, Dovecot and Roundcube. We will make this server on the latest CentOS 9 that is not available on the web with full details till now.
With the help of this post everyone can make their own email server with full perfection without any mistake and if you are able to make it properly on one go then do comment on the post and share it with your other friends.
Let’s begin, An email server can provide several advantages depending on your business or personal needs like full control over your email system, Data privacy and security, Cost efficiency for large scale, Compliance needs etc.
We will need two services to start our email server that is Postfix as SMTP and Dovecot as POP3/IMAP. Postfix operates as an SMTP server(MTA), meaning it listens for incoming SMTP connections and processes incoming emails. Dovecot is an open-source, high-performance Mail Delivery Agent (MDA) that is primarily used for managing email on a server.
While Postfix handles the sending and receiving of email (as a Mail Transfer Agent), Dovecot focuses on the storage and retrieval of email, allowing users to access their inboxes from various devices.
We will use “achra.in” as our domain name, 46.183.187.12 is our IP address for email server.
Table of Contents
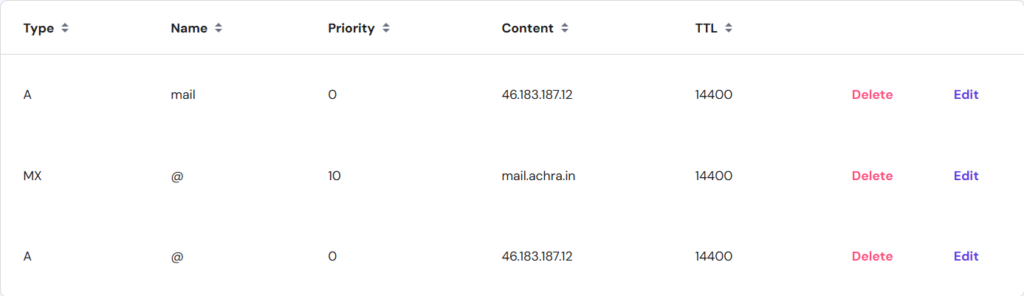
First, We will make MX record on our domain provider’s DNS system with the entry Type as ‘MX‘, Name as ‘@‘ or “Domain“, Priority as ‘10‘ or ‘default value’, Content as ‘hostname‘ and TTL as ‘14400‘ or ‘Default value’.
If you do not know how to connect your domain with server then click on the link.
Now, All the work will be done on the server with the help of SSH service.
We will check the hostname by ‘hostname‘ command and change the hostname by “hostnamectl set-hostname (new hostname)“.
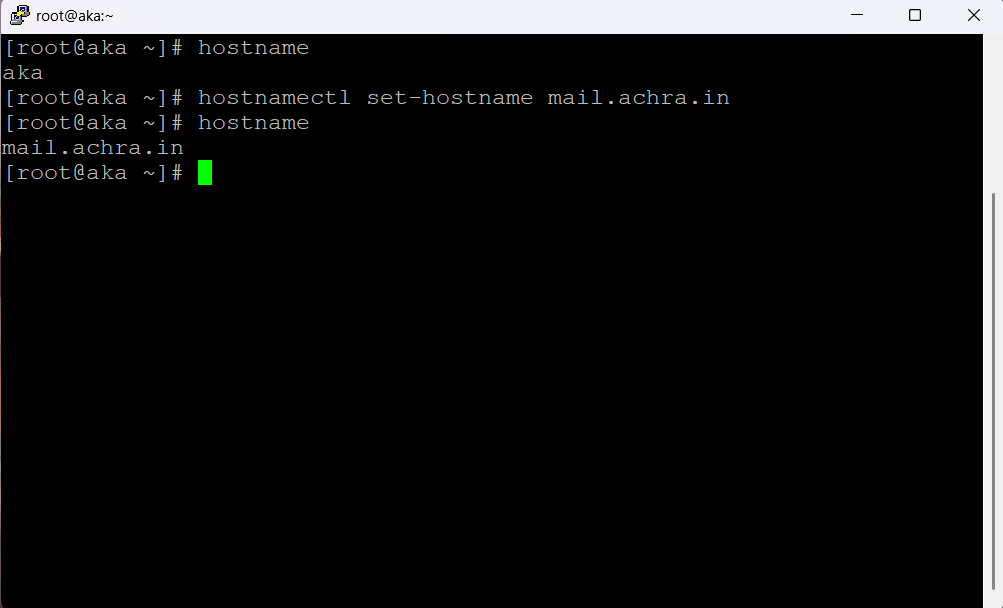
We have to change the hostname for our mail server to work properly with our server.
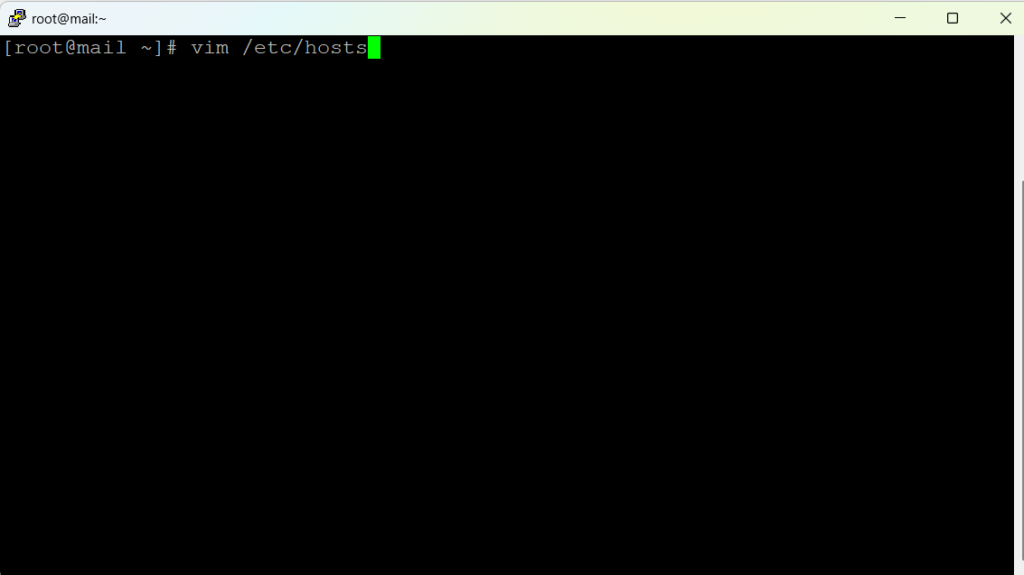
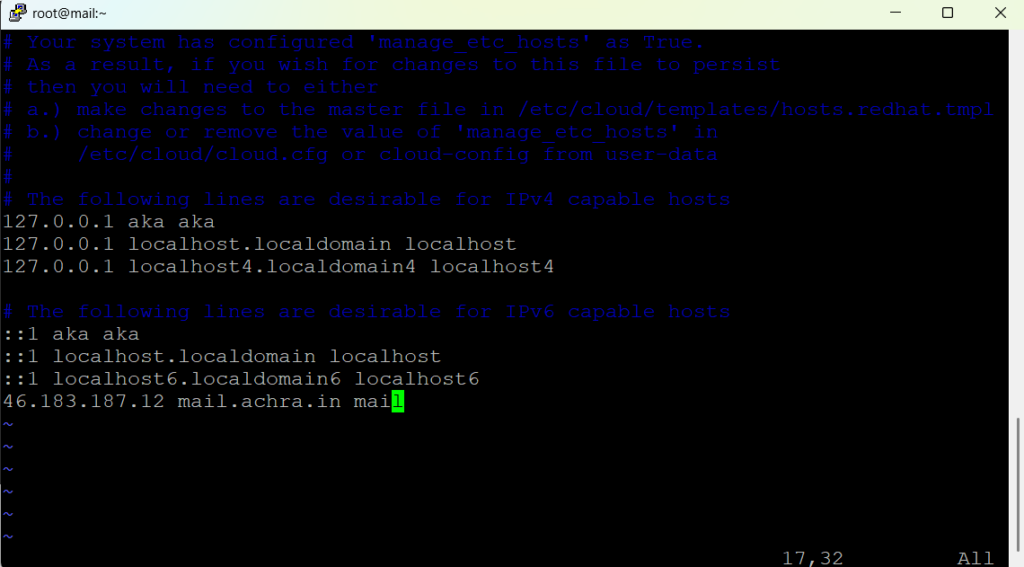
Next, We have to make the entry in “/etc/hosts” file to add our hostname and IP Address. The entry would be 46.183.187.12, mail.achra.in and mail.
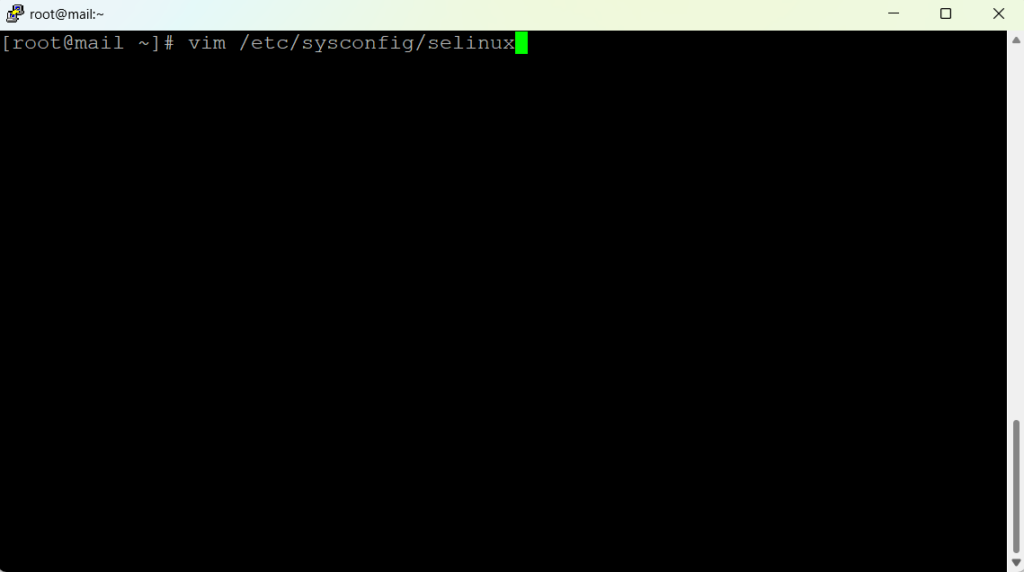
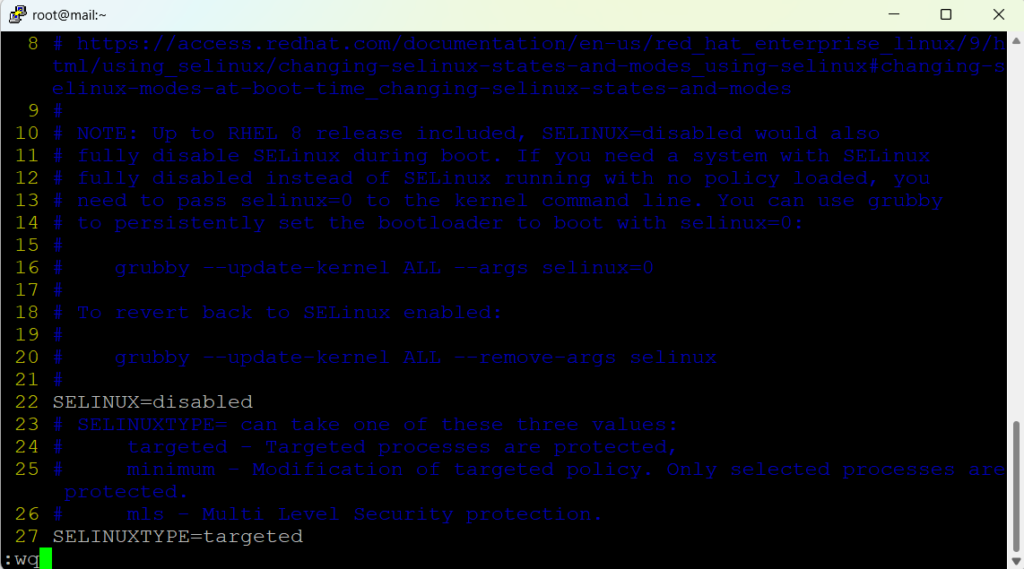
We will disable SELinux to reduce the complexity in postfix configuration by changing SELINUX=enforcing to SELINUX=disabled in “/etc/sysconfig/selinux“. (Line 22)
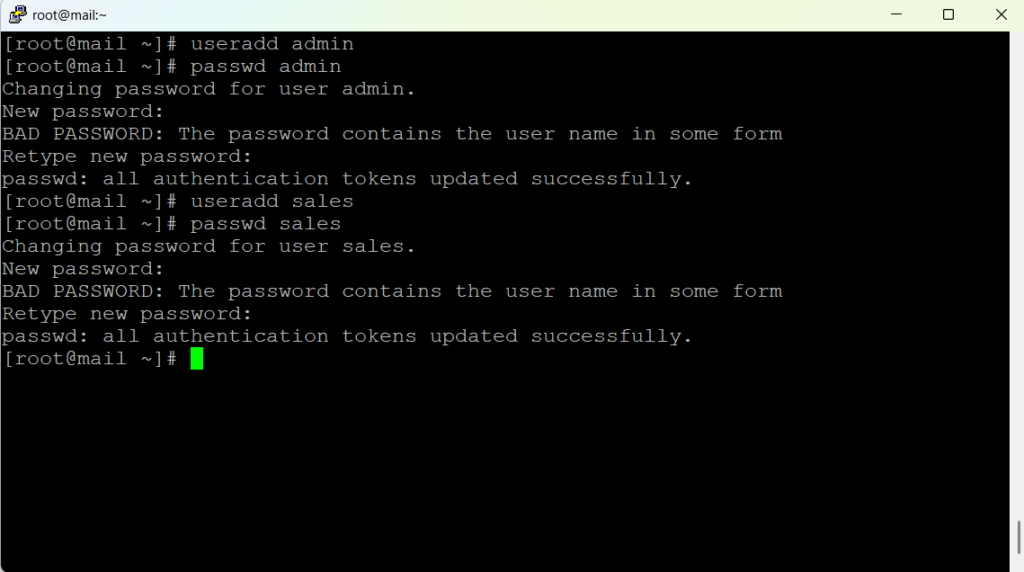
Next, We will create two users that would be our mailing address later with the name admin and sales. We will use ‘useradd‘ and ‘passwd‘ commands for it.
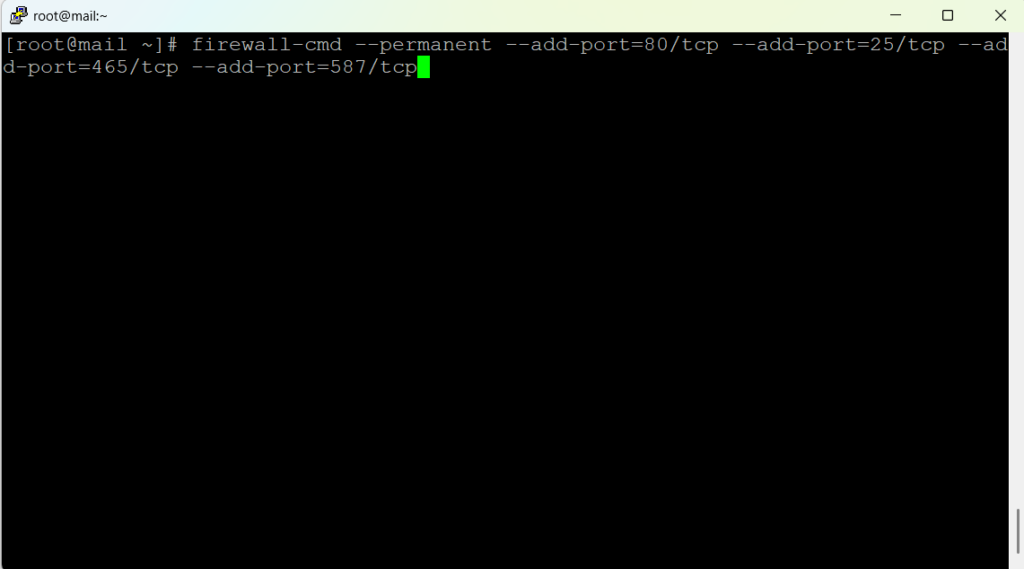
We will allow Apache default port 80, SMTP default port 25, port 465 and 587 for another SMTP services through firewall.
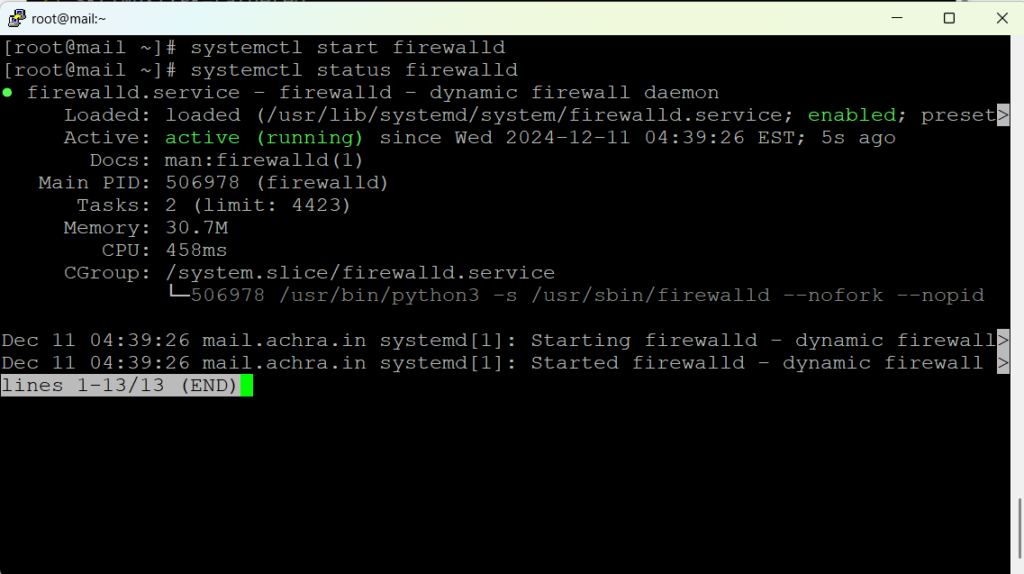
Let’s start and enable the firewall service with “systemctl start firewalld” and “systemctl enable firewalld” commands. If in case, firewalld service is not available then we have to install it by “dnf install firewalld -y” command.
We will get a success message for successfully adding the port to the firewall service. We have to reload the firewall by “firewall-cmd –reload” command and check our ports list by “firewall-cmd –list-all” command.
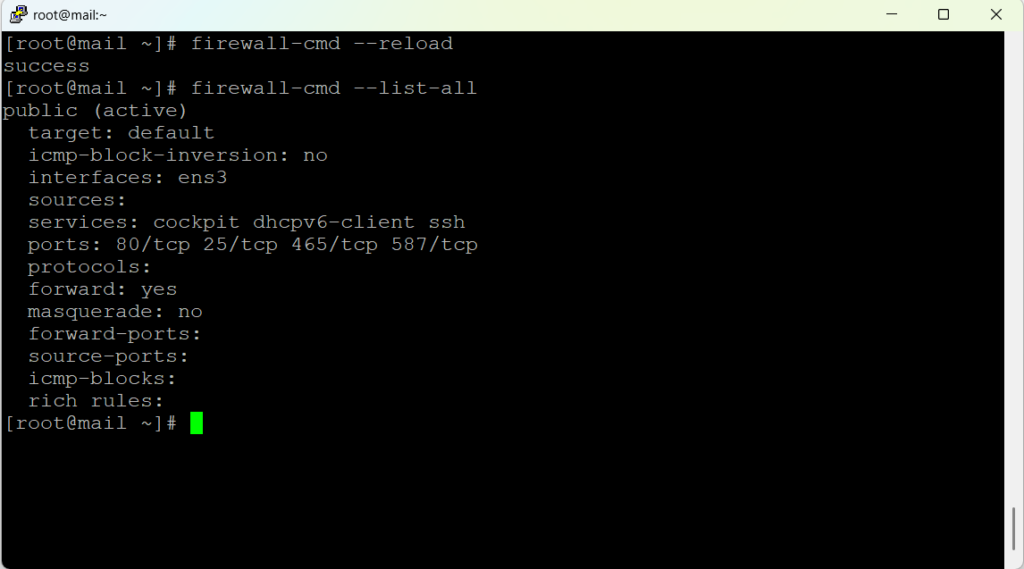
As we can see all our necessary ports are added in our server’s firewall.
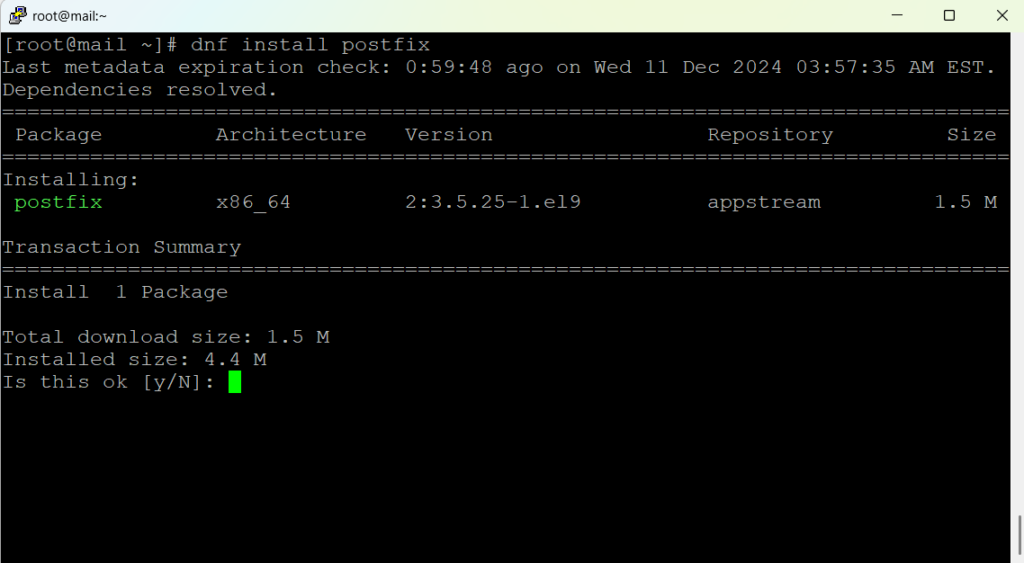
Let’s install Postfix now by “dnf install postfix” command.
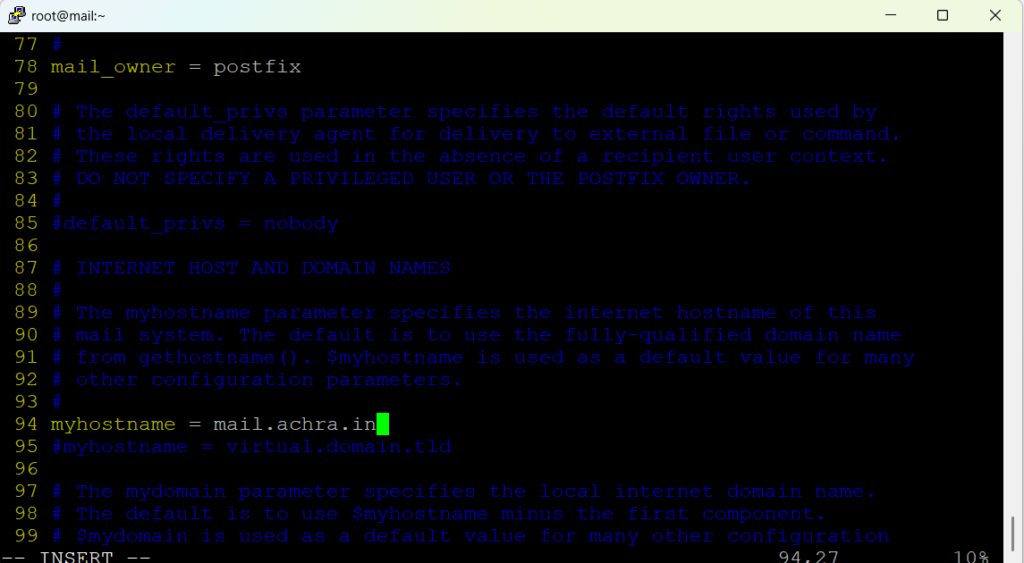
Now we will configure the Postfix according to our server. We will edit the configuration file at “/etc/postfix/main.cf“. Here uncomment means to remove ‘#‘ from the front of line.
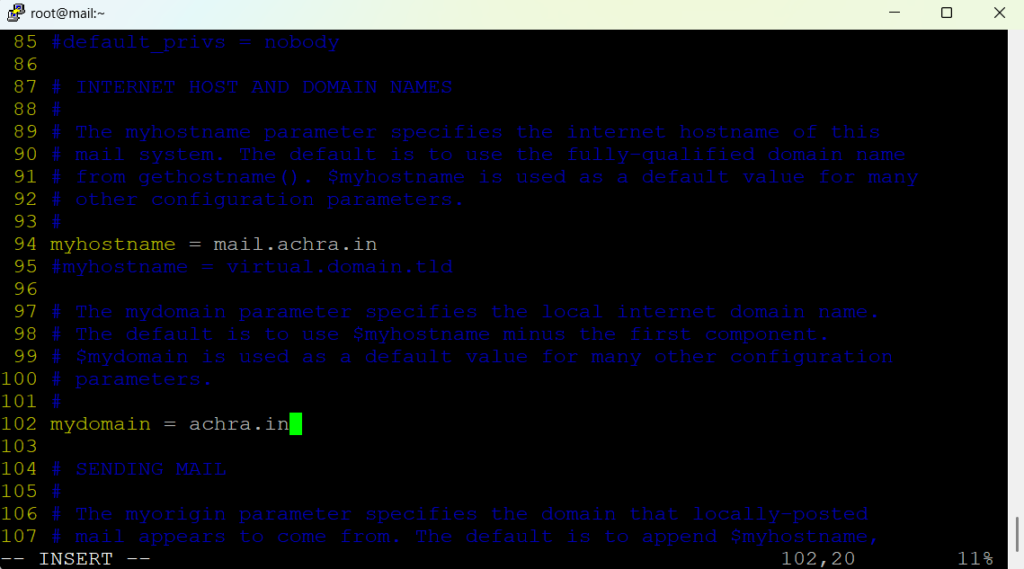
We have to go to line number 94, uncomment and set your full hostname as in our case “myhostname = mail.achra.in“.
Line number 102, uncomment and set your domain name as in our case “mydomain = achra.in“.
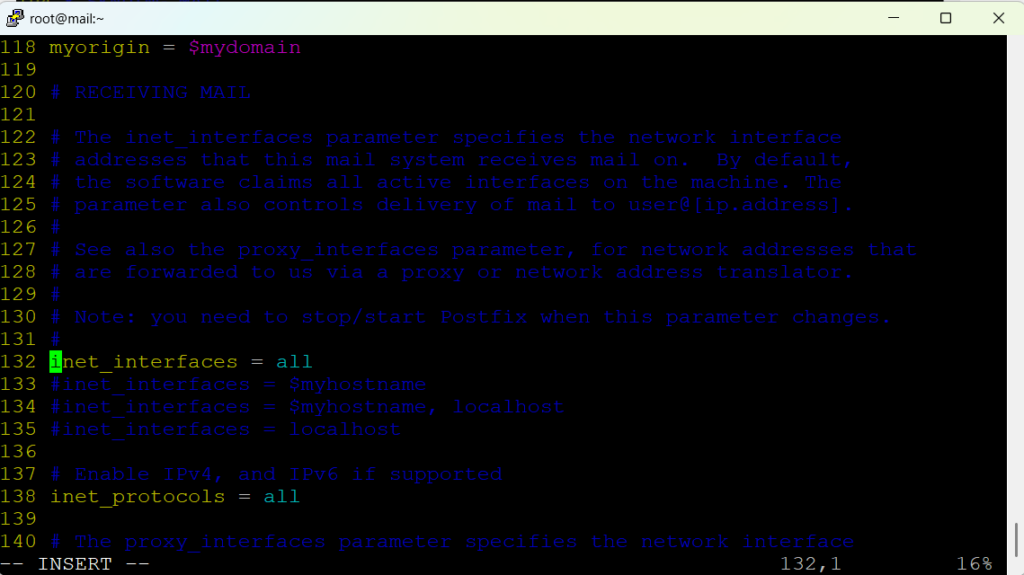
Line 118, Uncomment “myorigin = $mydomain“.

Line 132, Uncomment and comment line 135 that is “inet_interfaces = all“.
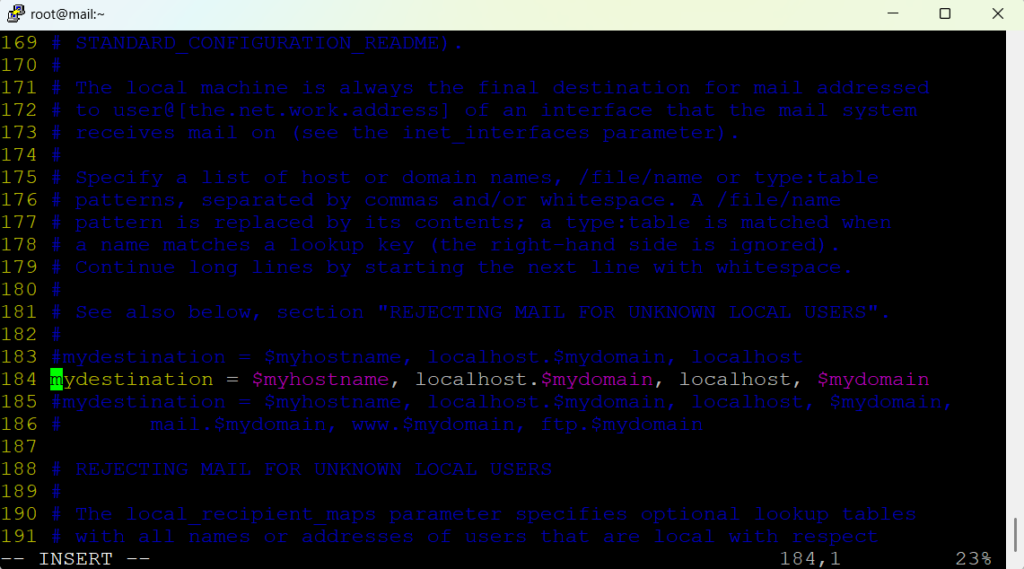
Comment line number 183 and uncomment line number 184 that is “mydestination = $myhostname, localhost.$mydomain, localhost, $mydomain“.
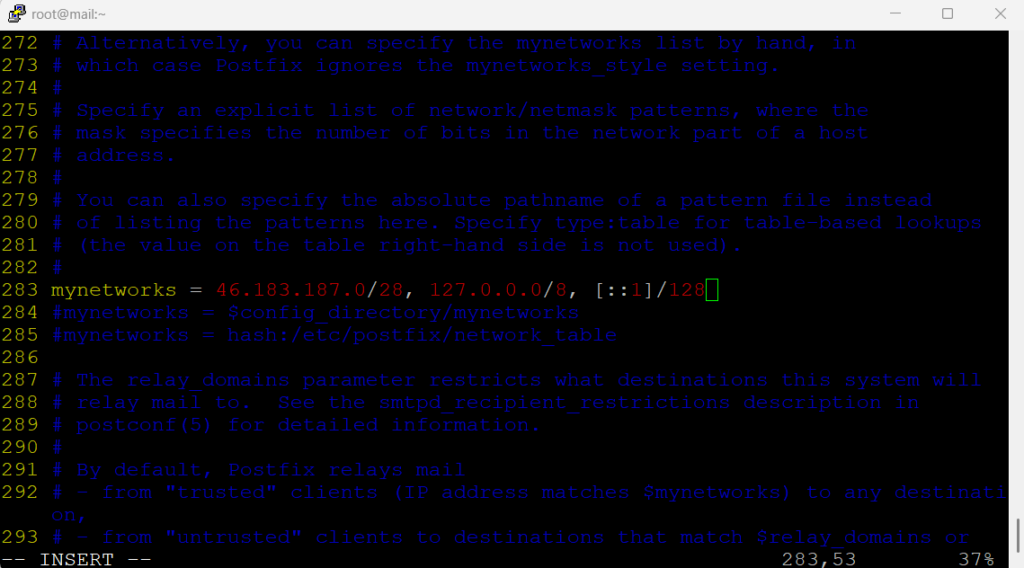
Line 283, Uncomment and edit the line with your own IP address with /28 subnet and localhost. In my case it is “46.183.187.0/28, 127.0.0.0/8, [::1]/128“.
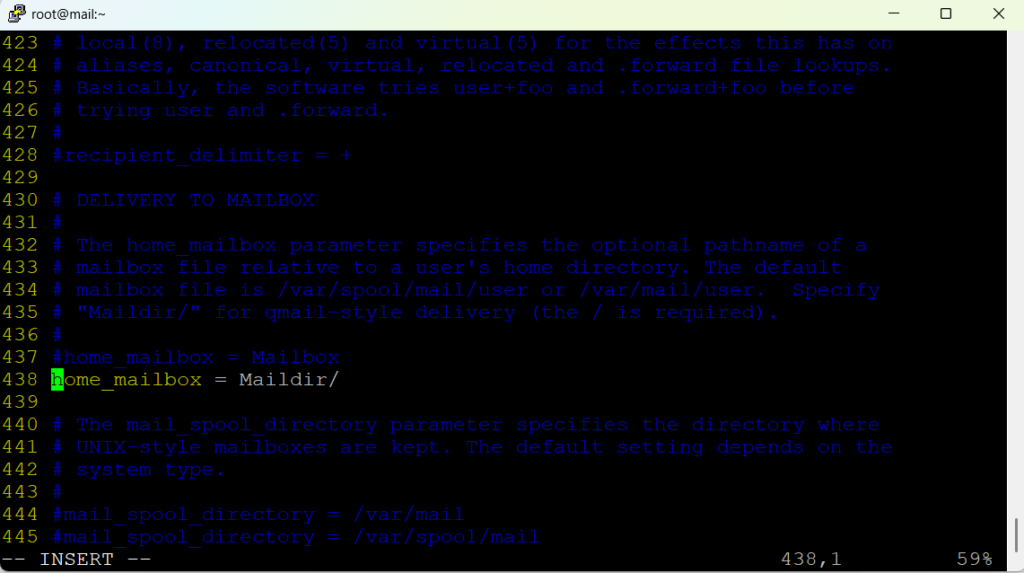
Line 438, Uncomment “home_mailbox = Maildir/“.
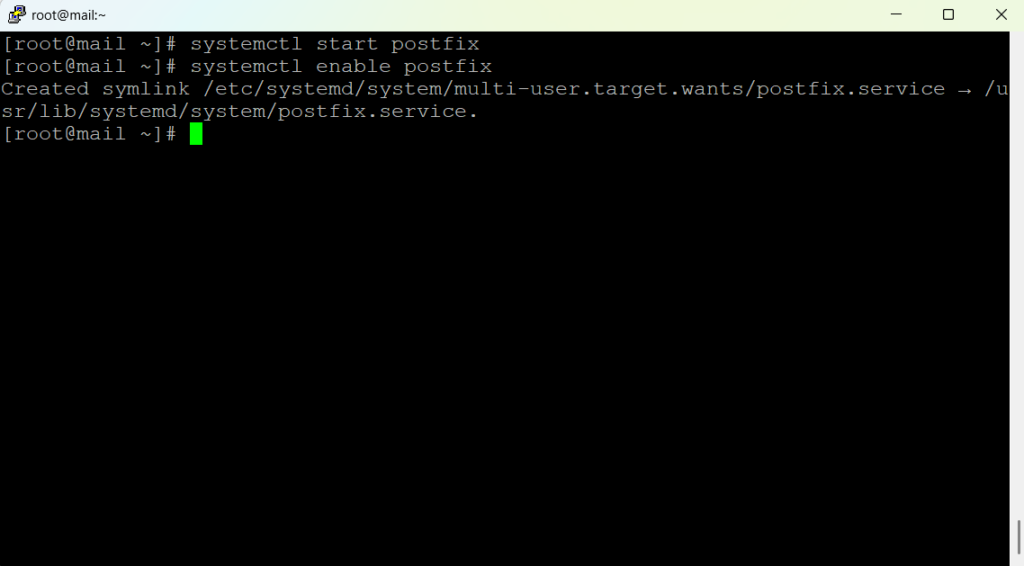
We will save and exit the file now. We have to start and enable the Postfix service by “systemctl start postfix” and “systemctl enable postfix“.
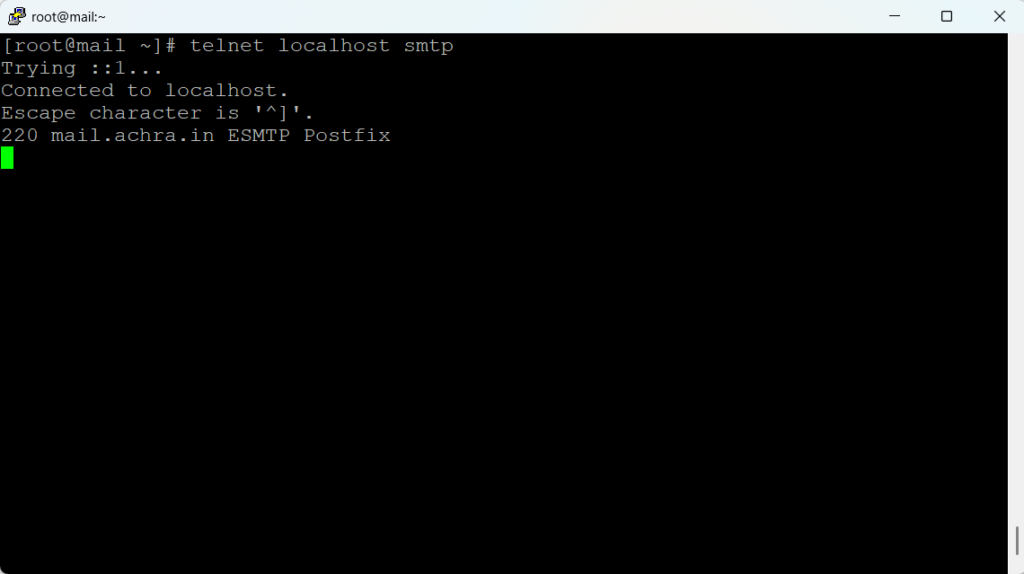
Now we will test our Postfix server with the help of accessing the server by telnet. We can install telnet by “dnf install telnet“.
We will use “telnet localhost smtp” command for testing.
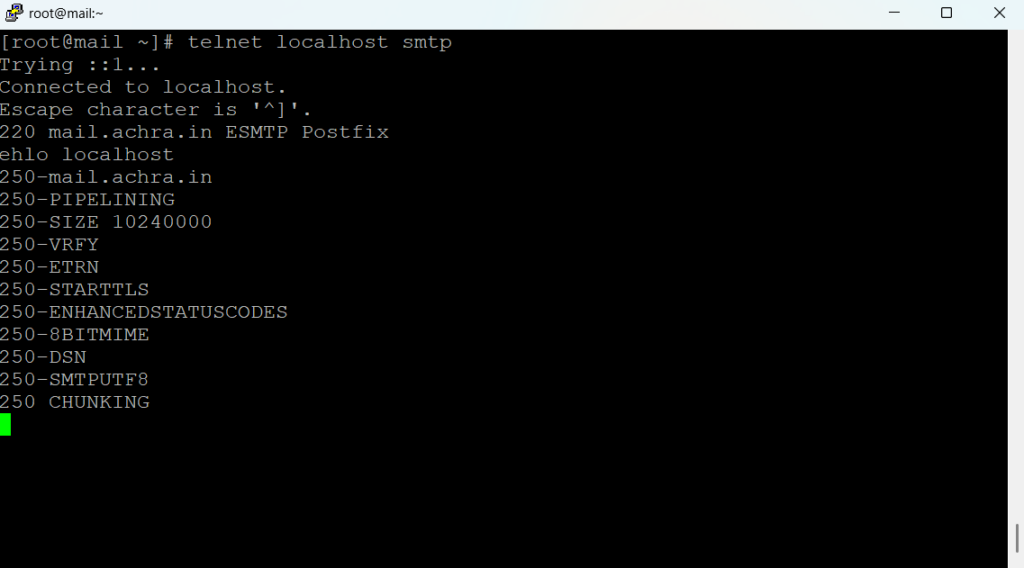
We have to write “ehlo localhost” for starting it.
Now we will write a mail from admin user to sales user by “mail from:<admin>” as a sender and “rcpt to:<sales>” as a receiver.
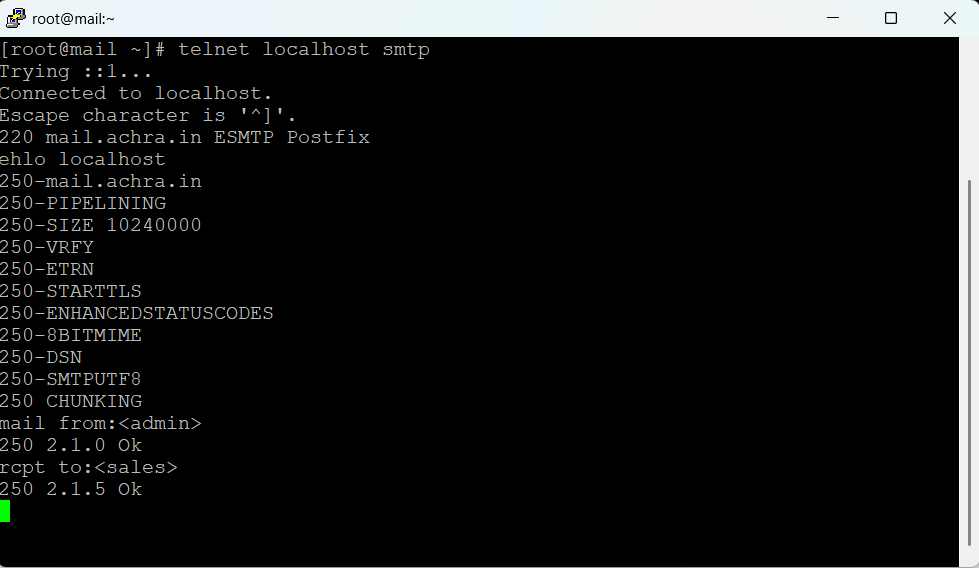
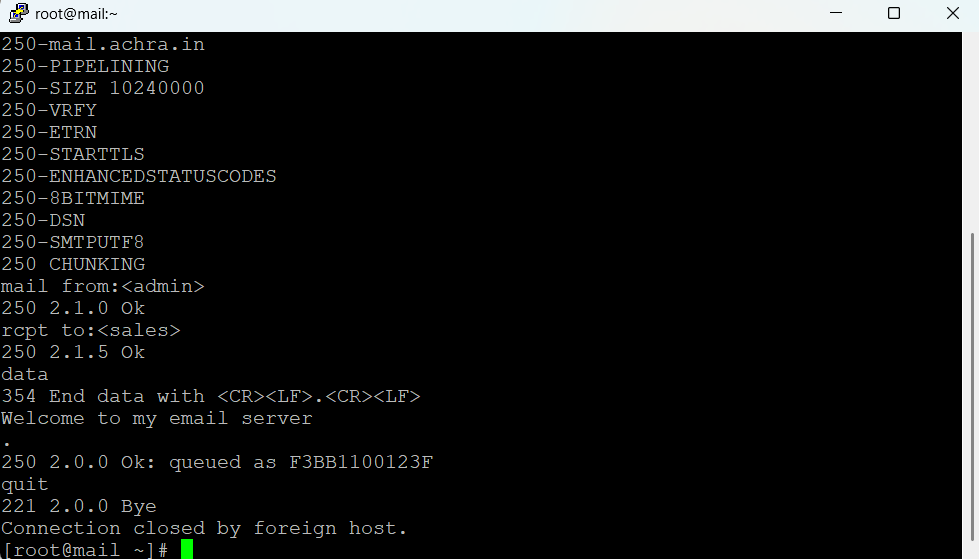
After OK from both the sides, We can write the body of the email by writing “data” and after that I wrote “Welcome to my email server“.
We will exit from telnet testing by writing “quit“.
Now, We will check the new email at “/home/sales/Maildir/new” as we have sent the email to the sales user.
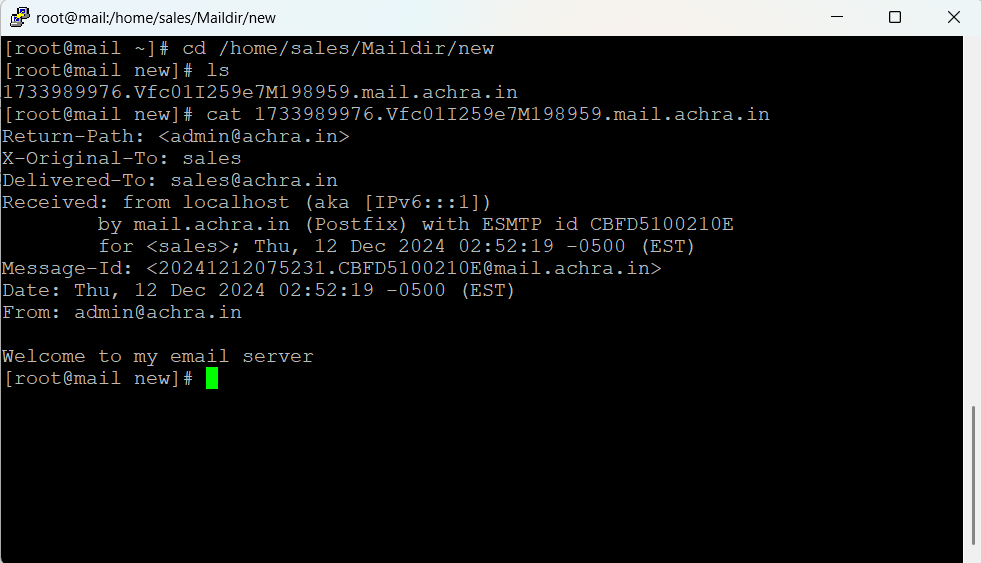
As we can see sales user have received the new “Welcome to my email server” email from admin user that means our Postfix is working well.
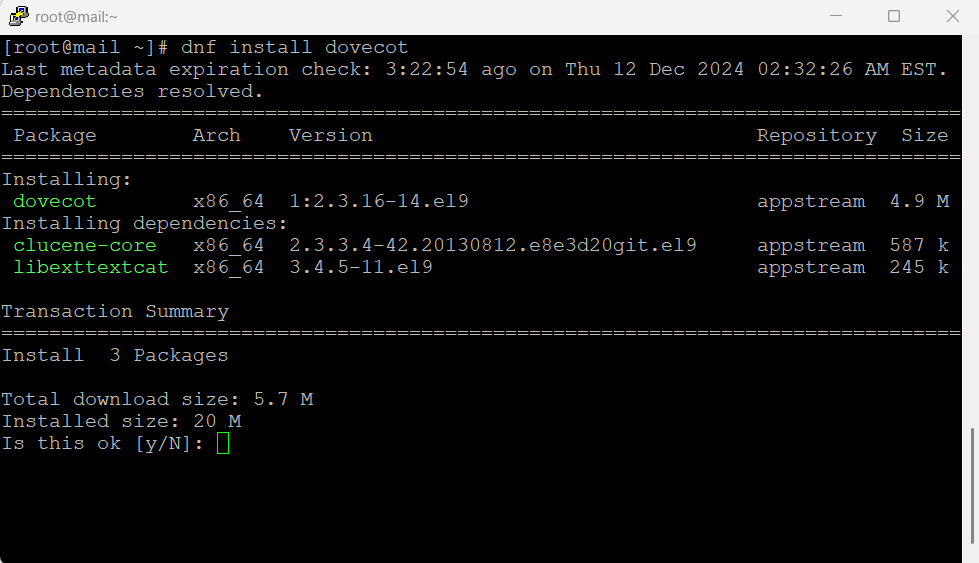
Now, Let’s start with Dovecot. We will install it with “dnf install dovecot” command.
We have to start configuring the dovecot according to our server. We will start with “/etc/dovecot/dovecot.conf” file.
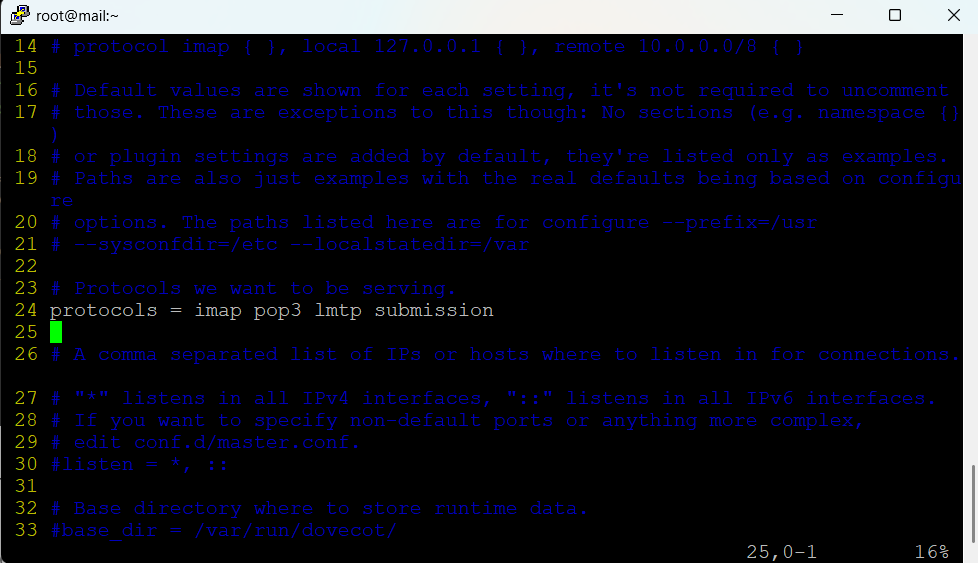
We have to uncomment “protocols = imap pop3 lmtp submission” in line number 24.
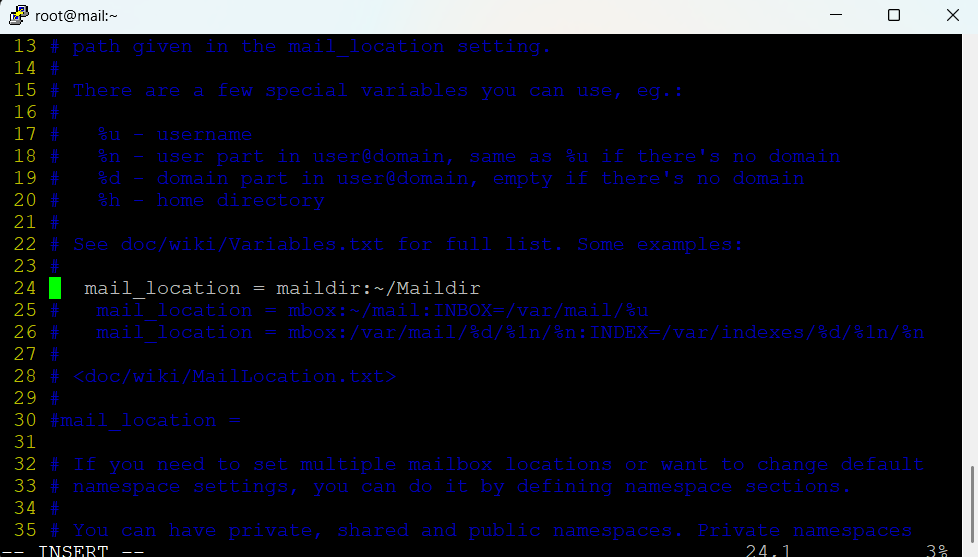
In “/etc/dovecot/conf.d/10-mail.conf“, Uncomment “mail_location = maildir:~/Maildir” in line number 24.
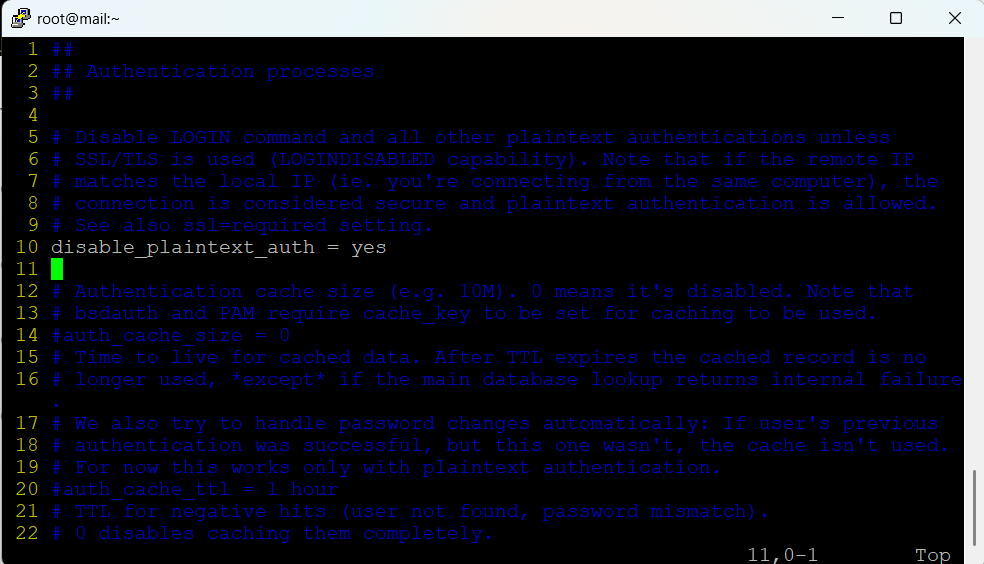
In “/etc/dovecot/conf.d/10-auth.conf“, Uncomment “disable_plaintext_auth = yes” in line number 10.
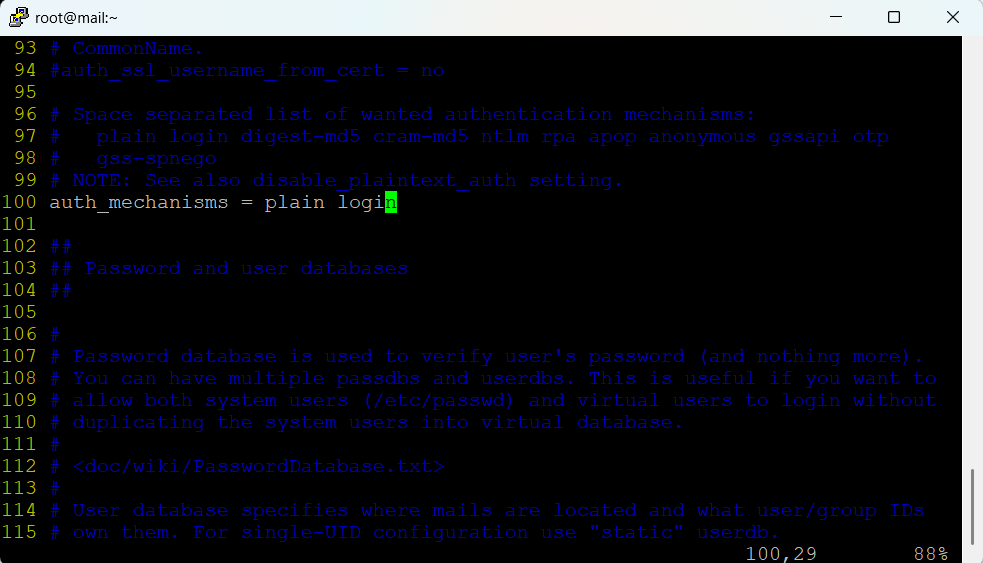
Line 100, We have to add the word “login” in “auth_mechanisms = plain login“.
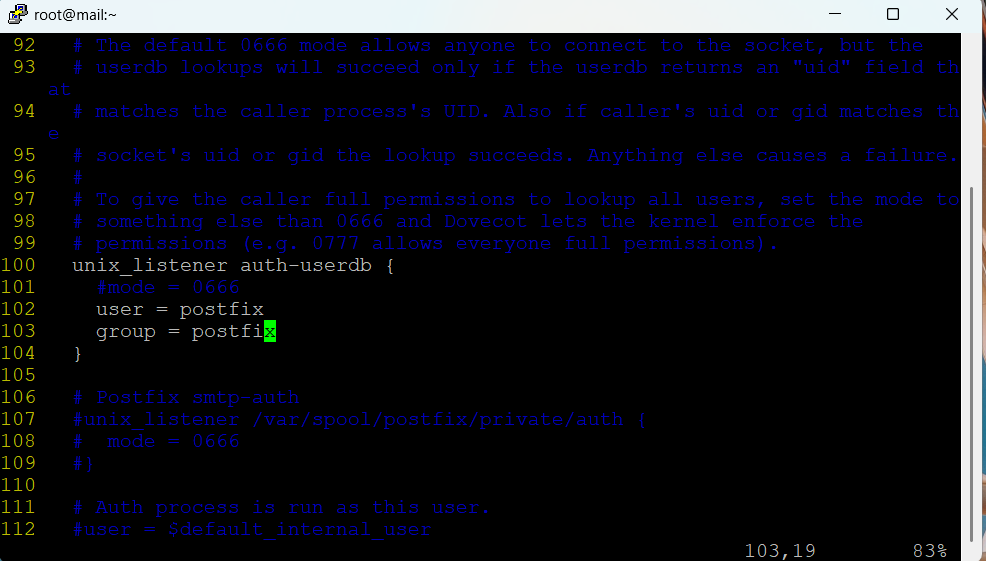
In “/etc/dovecot/conf.d/10-master.conf“, Uncomment and add “postfix” in line number 102 and 103. It will be like “user = postfix” and “group = postfix“.
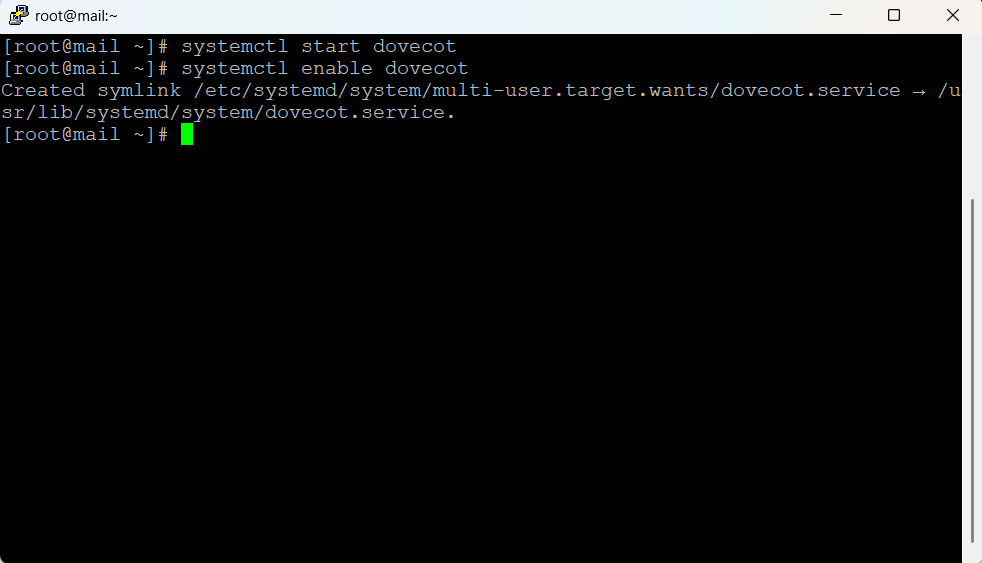
Dovecot configuration is done now. We have to start and enable the Dovecot service by “systemctl start dovecot” and “systemctl enable dovecot“.
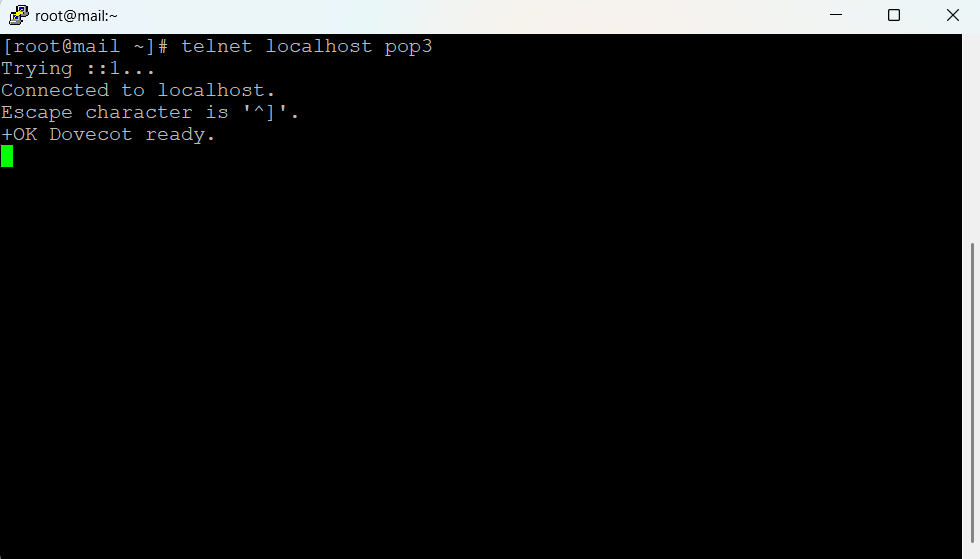
It’s time to test Dovecot configuration by “telnet localhost pop3” command. We will check our previous email sent to user sales.
Now you have to log in with “user (username)” and its “pass (password)“. In our case “user sales” and “pass akashsales“.
We can check our previous email sent to sales user by “retr 1“.
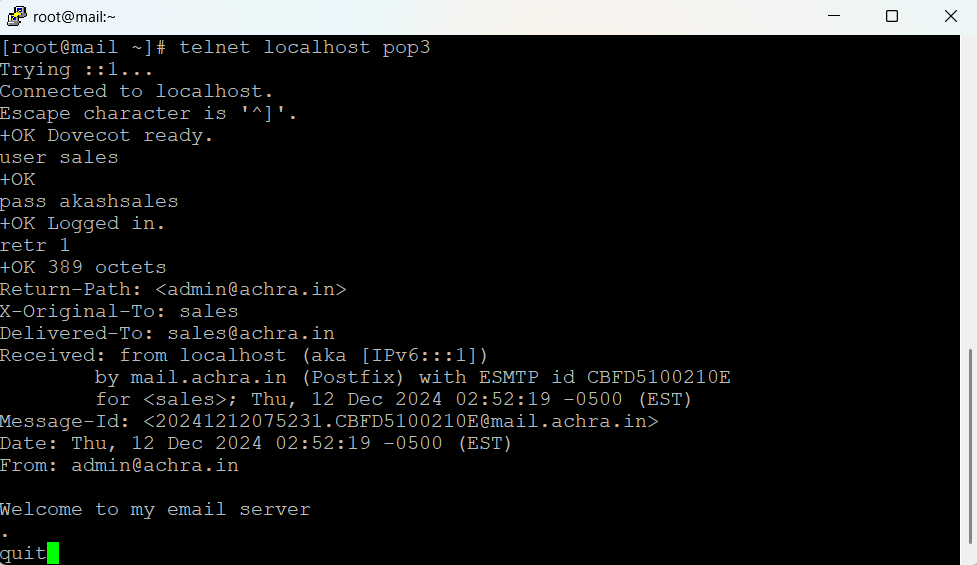
If you can see the email that means your dovecot is configured well.
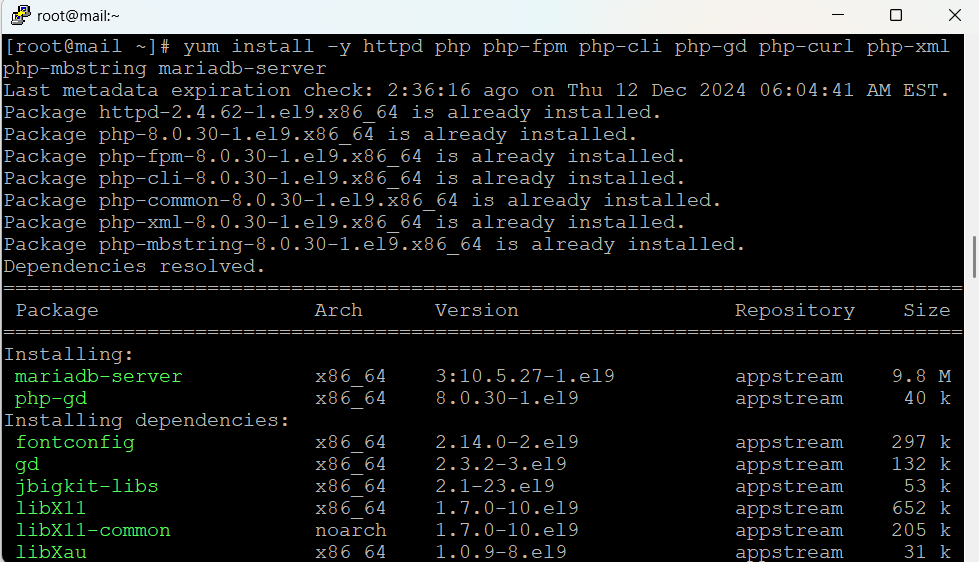
Before moving to Roundcube webmail client, Our server must have LAMP install in it. You can install it by “yum install -y httpd php php-fpm php-cli php-gd php-curl php-xml php-intl php-mbstring mariadb-server”. For setting up or more information about how to setup LAMP then click on the link.
To know more about Roundcube click on the link.
Now we will configure the date and timezone in “/etc/php.ini“. In line number 932, We will remove “;” and edit the line with “date.timezone = “Asia/Kolkata”“.

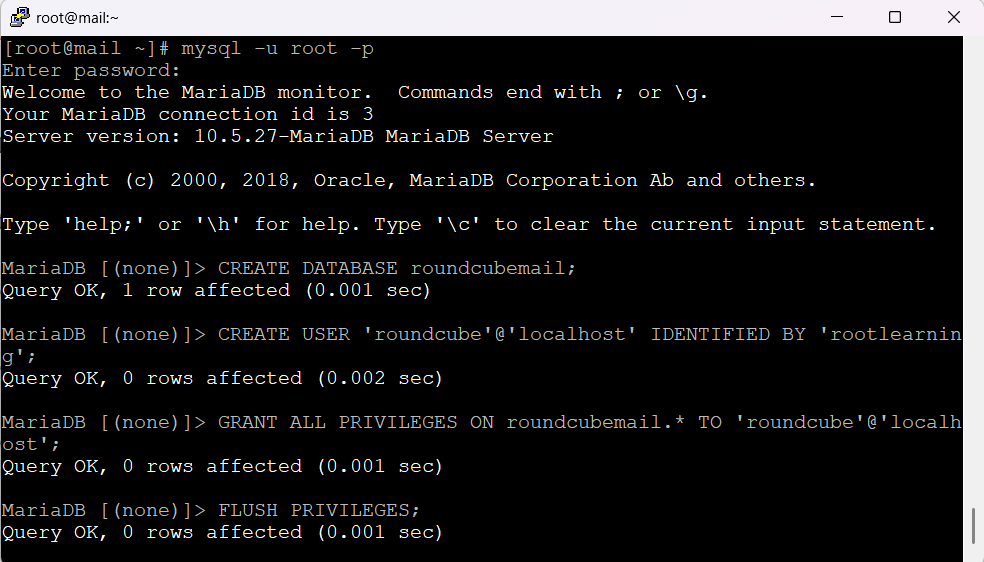
Now we have to make database for our email server. We will create the mariadb database by “mysql -u root -p” then we have to enter our root account password.
We will create database with the roundcubemail name by “CREATE DATABASE roundcubemail;“.
We will create user roundcube with a password by “CREATE USER ’roundcube’@’localhost’ IDENTIFIED BY ‘rootlearning’;“.
We will provide all the privileges to our roundcube user for roundcubemail database by “GRANT ALL PRIVILEGES ON roundcubemail.* TO ’roundcube’@’localhost’;”.
At last, We will reload the privileges and exit the mariadb by “FLUSH PRIVILEGES;” and “exit“.
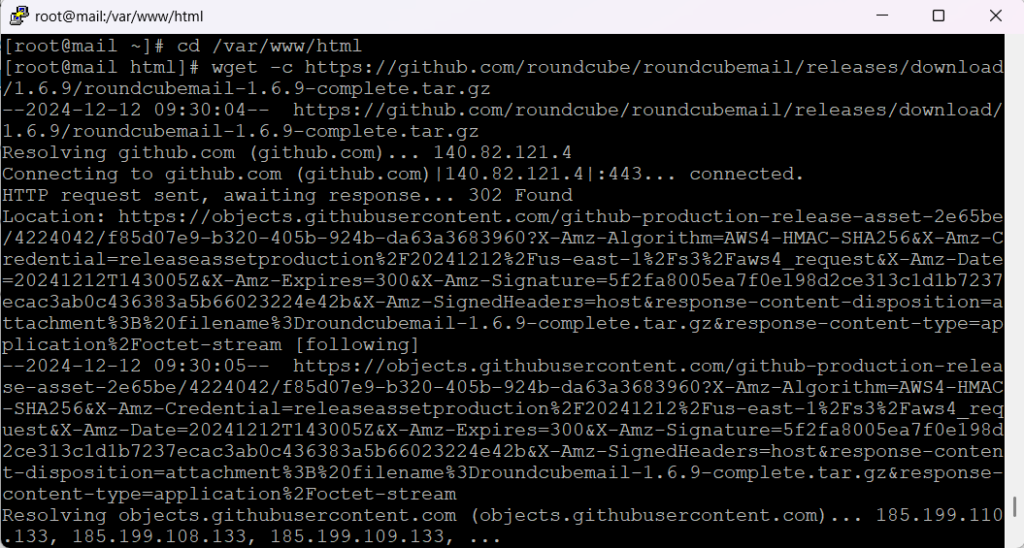
Let’s configure Roundcube now, You can download the latest stable version from the download link and upload the files into your webserver document root or you can run “wget -c https://github.com/roundcube/roundcubemail/releases/download/1.6.9/roundcubemail-1.6.9-complete.tar.gz” this command at “/var/www/html”.
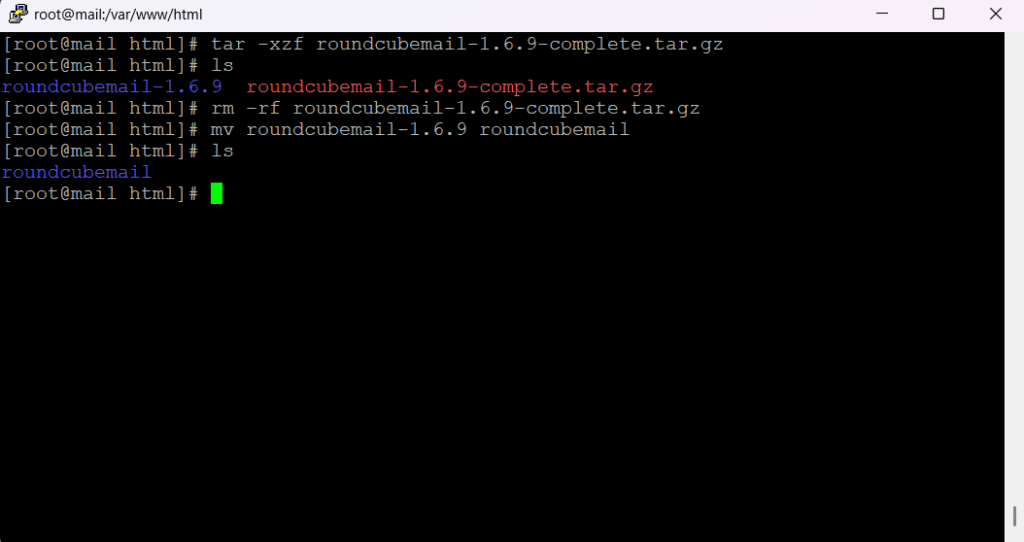
Next, We will open the tar directory by “tar -xzf roundcubemail-1.6.9-complete.tar.gz“. Also, we will rename to the roundcubemail name and remove the tar file.
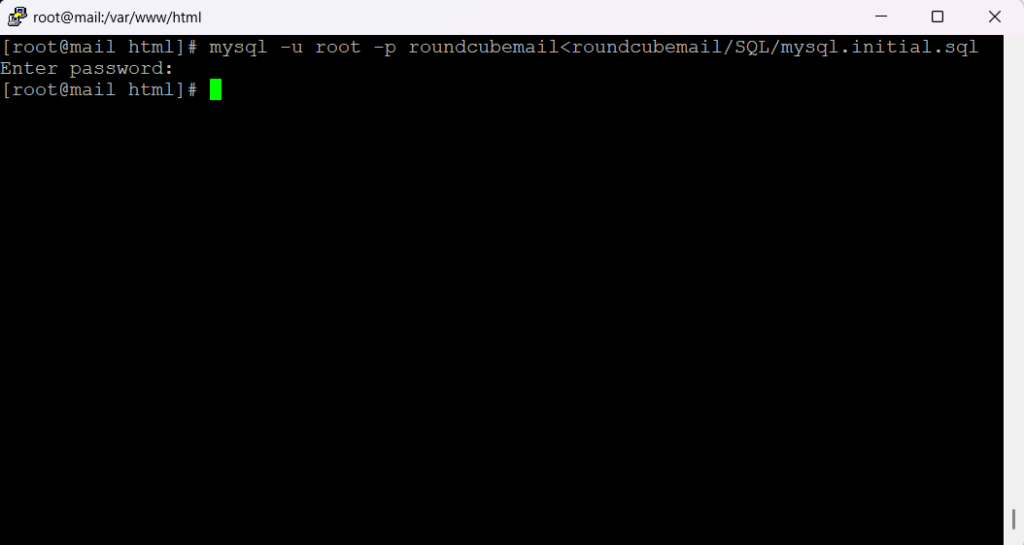
Now, We will run the command to setup the database initial of roundcube by “mysql -u root -p roundcubemail<roundcubemail/SQL/mysql.initial.sql” then enter the root password.
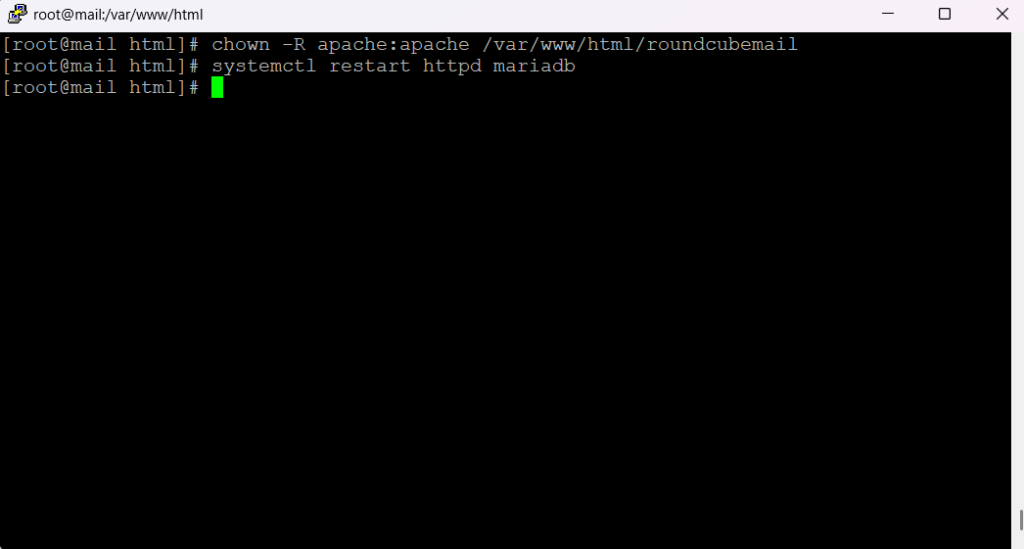
We have to provide the appropriate permission to roundcube directory to run properly by “chown -R apache:apache /var/www/html/roundcubemail“.
We will restart our database and webserver to reset our roundcube by “systemctl restart httpd mariadb“.
Now open your web browser and use the address:
http://mail.your.domain/roundcube/installer – Replace your.domain with your actual domain.
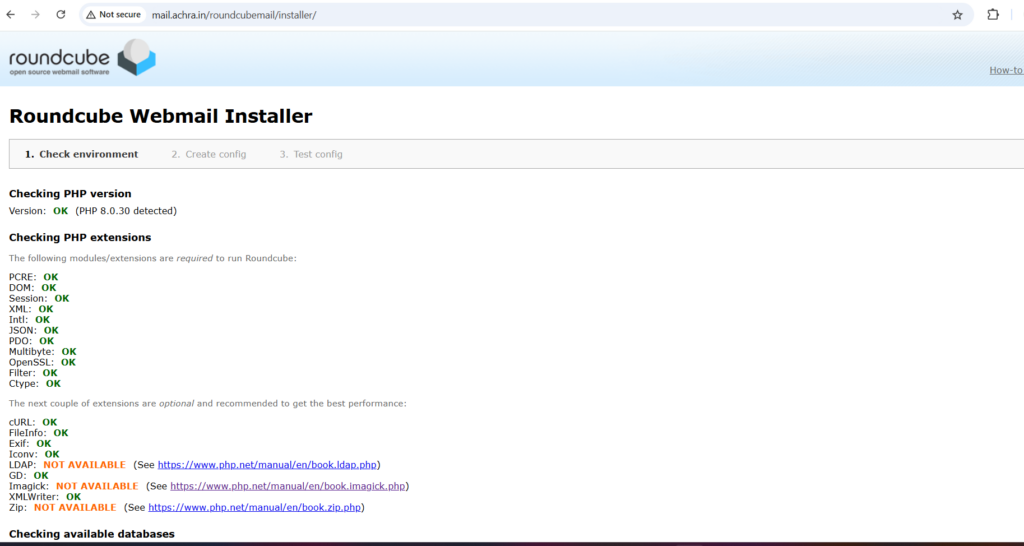
All our necessary extensions are installed so we can click on “NEXT“. If in your case some extensions shows missing in future then you can install it manually on your server.
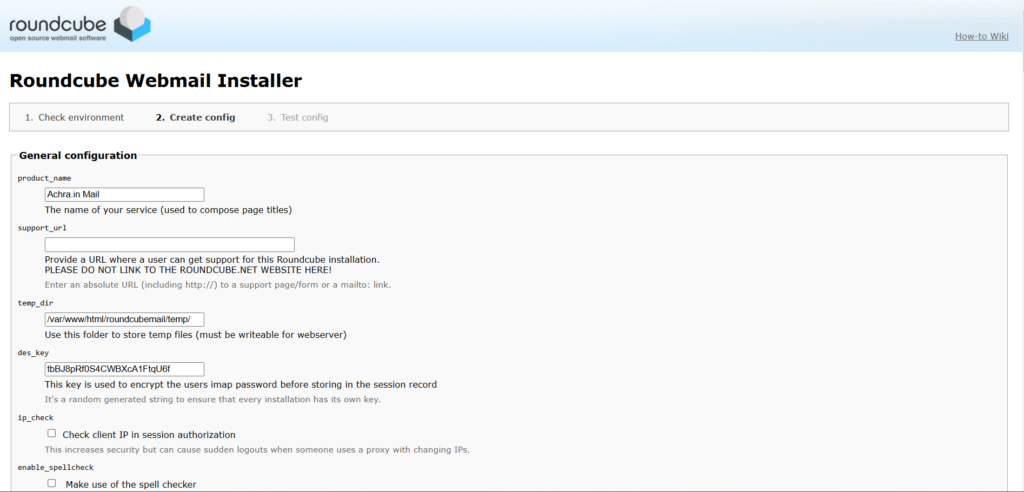
Next, We will be the “Create config” page. Here we will set our roundcube configurations.
In General configuration, We will set our product name as “Achra.in Mail“. Other settings we will keep it as a default.
In Database setup, We will enter our database details including database server as ‘localhost‘, Database name as ’roundcubemail‘, Database user name as ‘roundcube‘ and database password as ‘rootlearning‘.
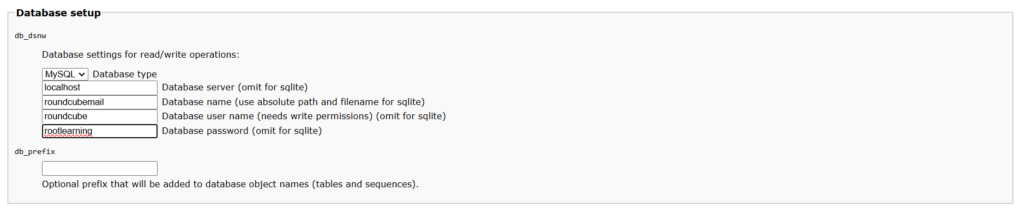
We will go with default option for every other setting and click on “CREATE CONFIG” at the bottom of the page.
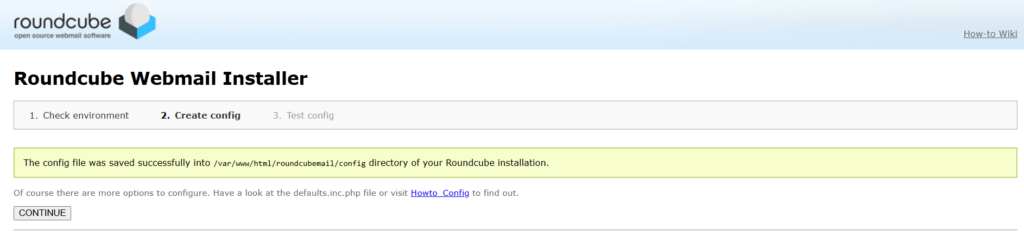
We will click on ‘Continue‘ to start Test config.
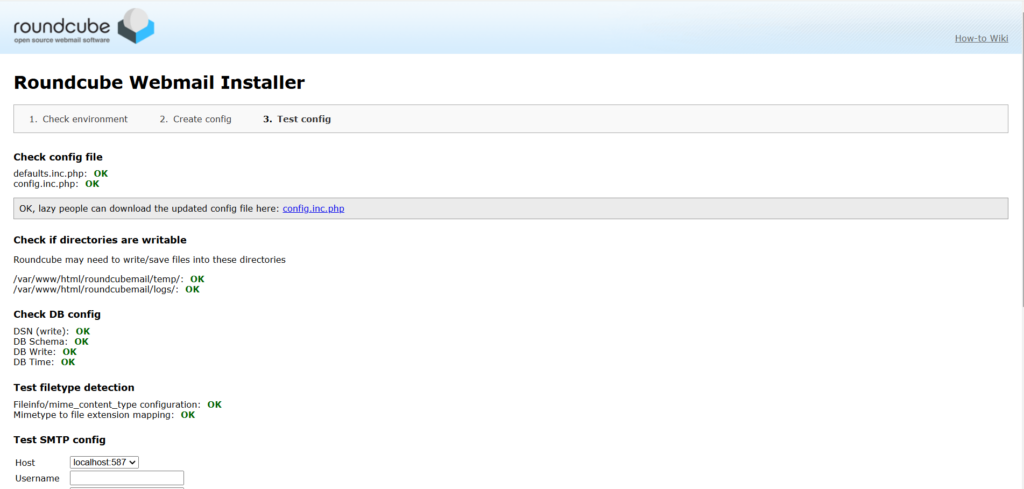
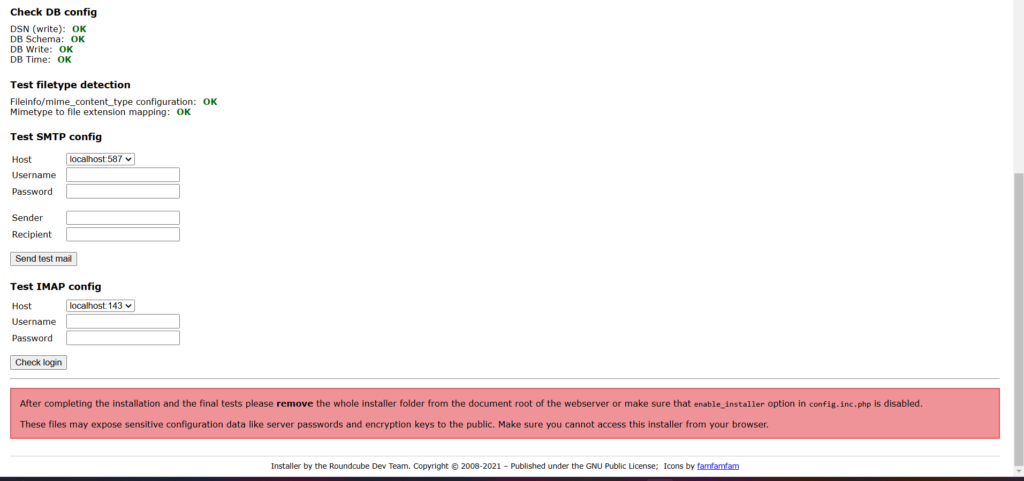
You can review your configuration and test it here. Also, after testing you have to remove the installer by “rm -rf /var/www/html/roundcubemail/installer“.
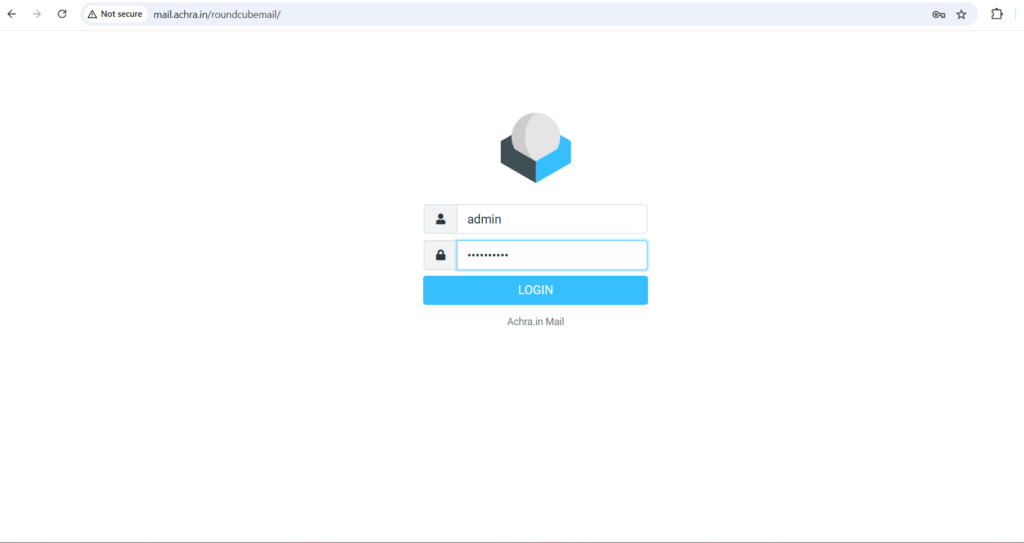
Finally, You can use the URL “http://mail.achra.in/roundcubemail” to access the Roundcube login page and enter your user name and password.
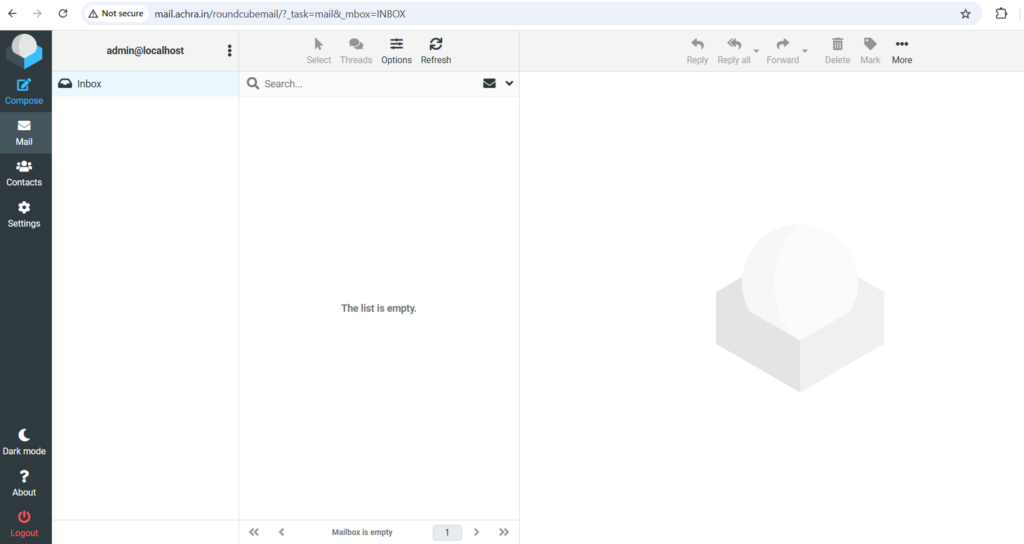
That’s all for the email server, Enjoy!!
FAQ on how to create your own email server for free with Postfix, Dovecot and Roundcube in CentOS 9
Q. What software stack is needed for an email server on CentOS 9?
A. A typical email server stack includes:
Postfix: For sending and receiving emails.
Dovecot: For managing IMAP/POP3 connections.
Roundcube: A webmail client for accessing emails via a browser.
Optional: Spam filters (e.g., SpamAssassin), antivirus (e.g., ClamAV), and DKIM/DMARC for email authentication.
Q. What ports need to be open for an email server?
A. SMTP: Port 25 (for receiving emails from other servers), Port 587 (for sending via authenticated clients).
IMAP: Port 143 (non-SSL), Port 993 (SSL).
POP3: Port 110 (non-SSL), Port 995 (SSL).
HTTP/HTTPS: Port 80/443 (for webmail like Roundcube).
Q. Why can’t I send emails externally from my email server?
A. Check:
DNS MX records for your domain.
SMTP relay settings.
Open port 587 for outgoing connections.
Q. What logs should I check for issues in my email server?
A. Postfix: /var/log/maillog
Dovecot: /var/log/dovecot.log
Roundcube: /var/log/roundcube/errors.log
Q. What DNS records are essential for an email server?
A. There are several records that are essential for an email server:
A Record: Points your domain to your server’s IP address.
MX Record: Specifies your mail server (e.g., mail.example.com).
SPF Record: Prevents spoofing by specifying which servers can send emails for your domain
DKIM: Adds a digital signature to emails. Use opendkim or similar tools.
DMARC: Protects against phishing
Q. Why are emails going to spam from my email server?
A. Ensure:
SPF, DKIM, and DMARC are correctly configured.
Your IP address is not blacklisted.
Use proper email content formatting and avoid spammy keywords.
Discover more from Root Learning
Subscribe to get the latest posts sent to your email.


Bro I am working professional and still I can’t explain this good to anyone
Hats off to you
Bhai majja aa gaya kasam se 🤘🏻
Bhaijan ab smjh aaya yeh market waly aese email bhejtey hay mujhy
I will never purchase professional email subscription from now, Thanks for saving my bucks 👍🏻
Lil long but worth it.
Where were you boss?? It is so useful.
It deserve popular posts section of yours.