Today, We will talk about how to download and install CentOS 10 ISO. It is in testing version so it is not recommend to use it for your production environment.
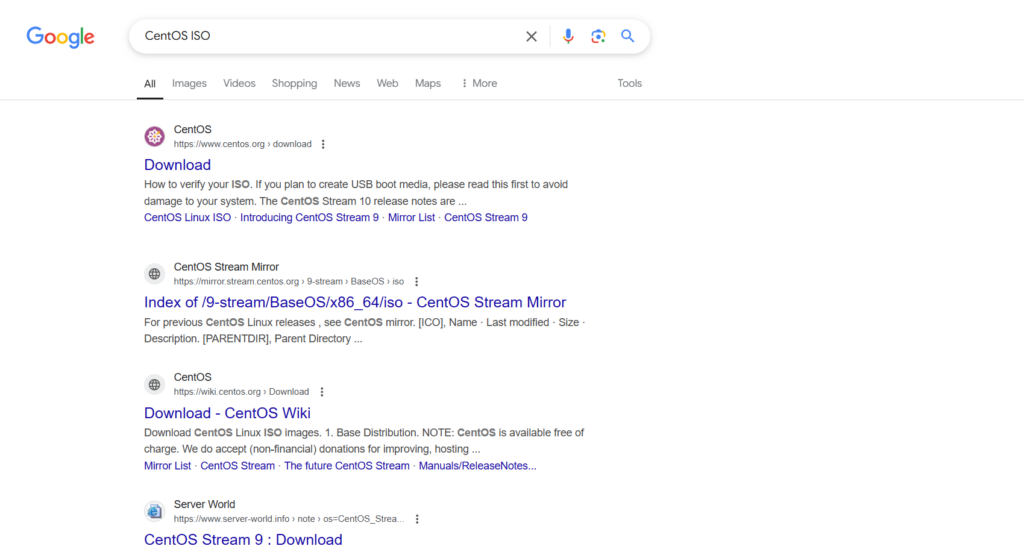
First, You have to download CentOS 10 ISO file. You can search on google for CentOS ISO and click on the first link or click on the link here.
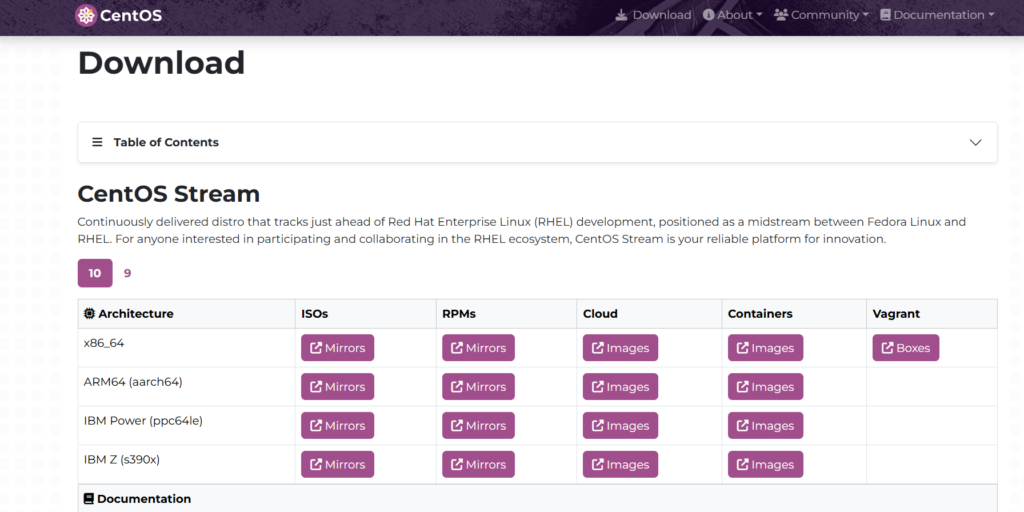
We will download “x86_64” Architecture from ISOs by clicking on the Mirrors. We have to wait for 10-15 minutes for downloading our CentOS 10 ISO as per our internet speed.
After the successful download of our ISO, We will create one virtual machine and set it up with our CentOS 10 ISO.
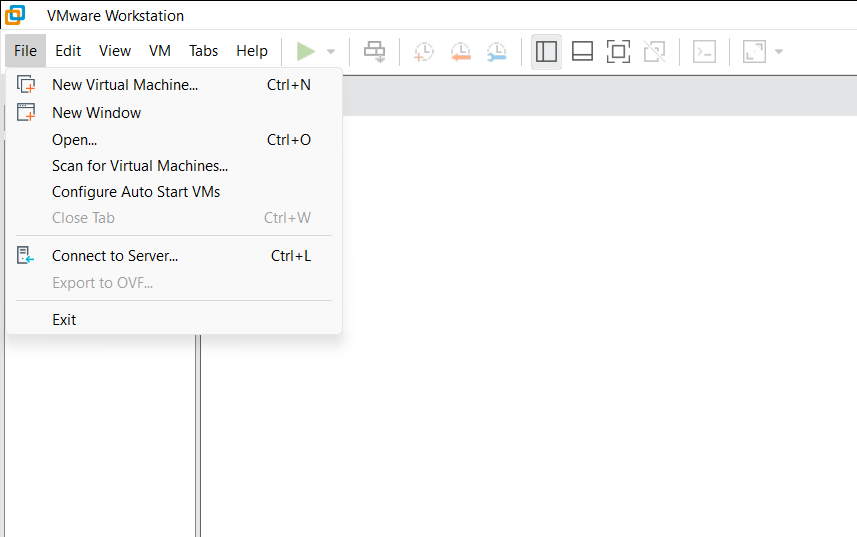
We will create the new virtual machine by clicking on “New Virtual Machine” from the File in menu bar.
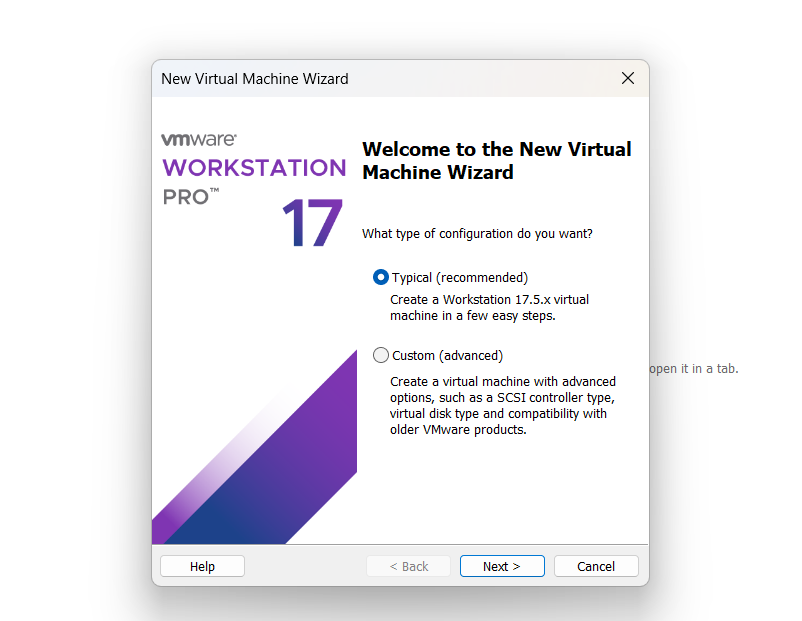
We will select the default option and click on Next.
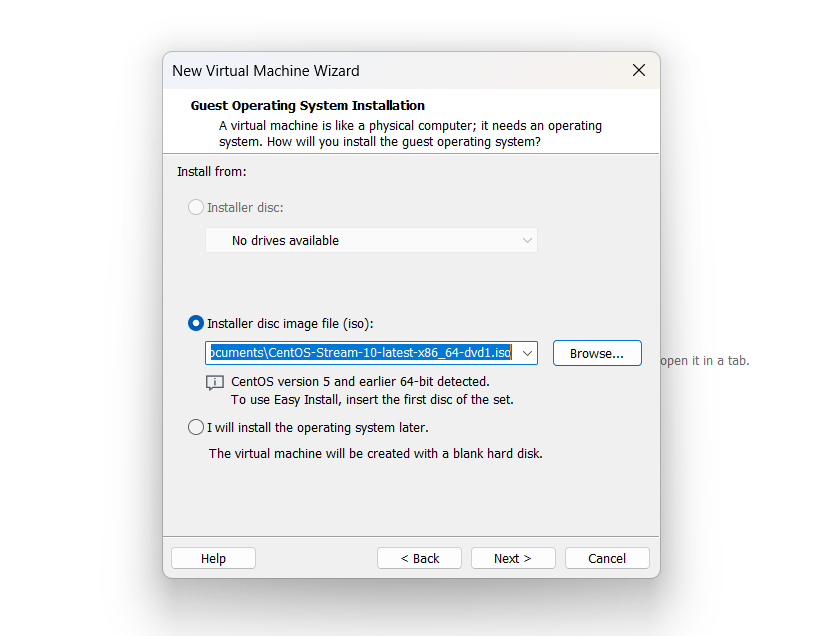
We will Browse and select our CentOS 10 ISO file from our local location and click on Next.
Now we will give a name to our virtual machine and click on Next. You can also change the location of your virtual machine data by clicking on Browse and select the new location.

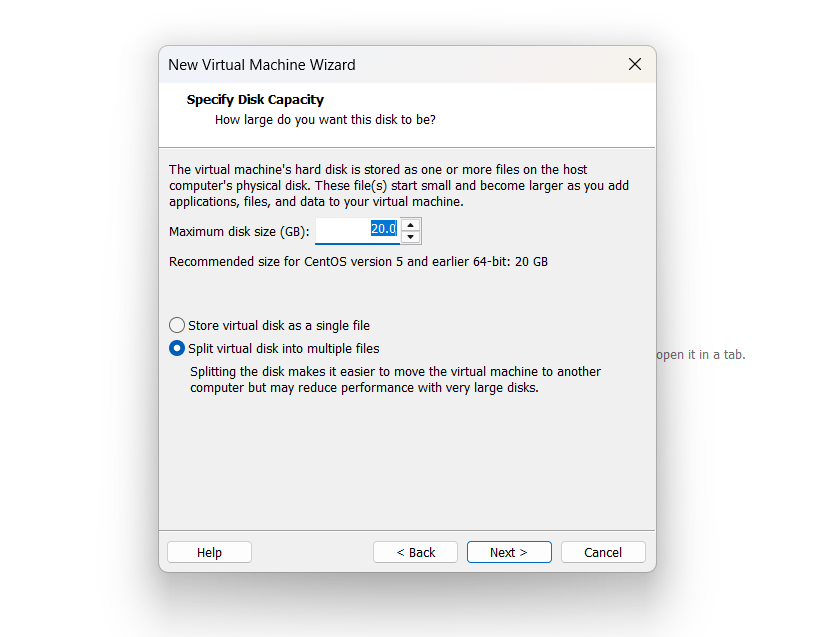
We have to provide the disk space to our virtual machine as it is beta version so I will go with the default 20 GB space and click on Next.
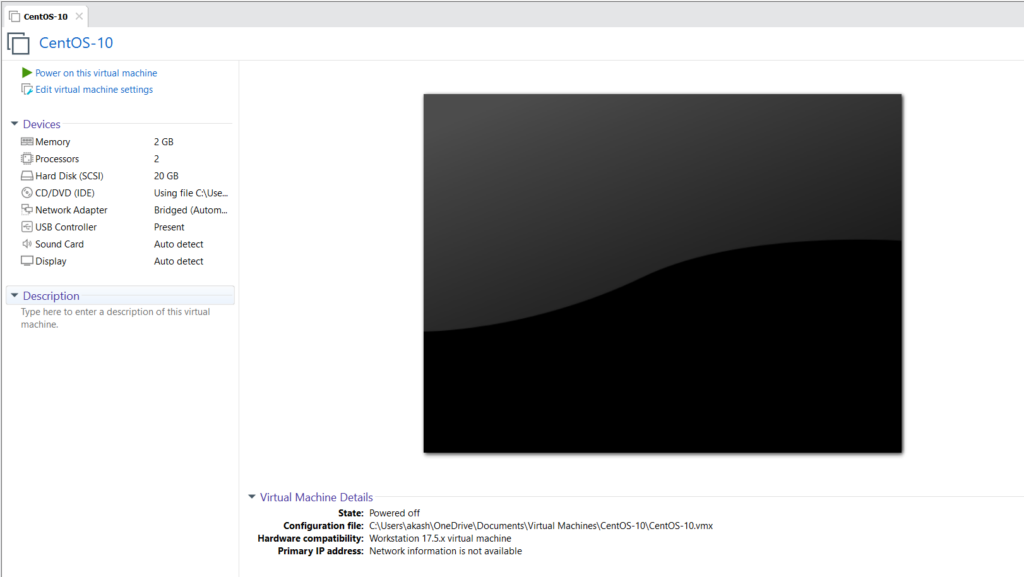
We will click on “Customize hardware” to customize our hardware that includes increasing the memory, increasing the processors and selecting the bridged on network
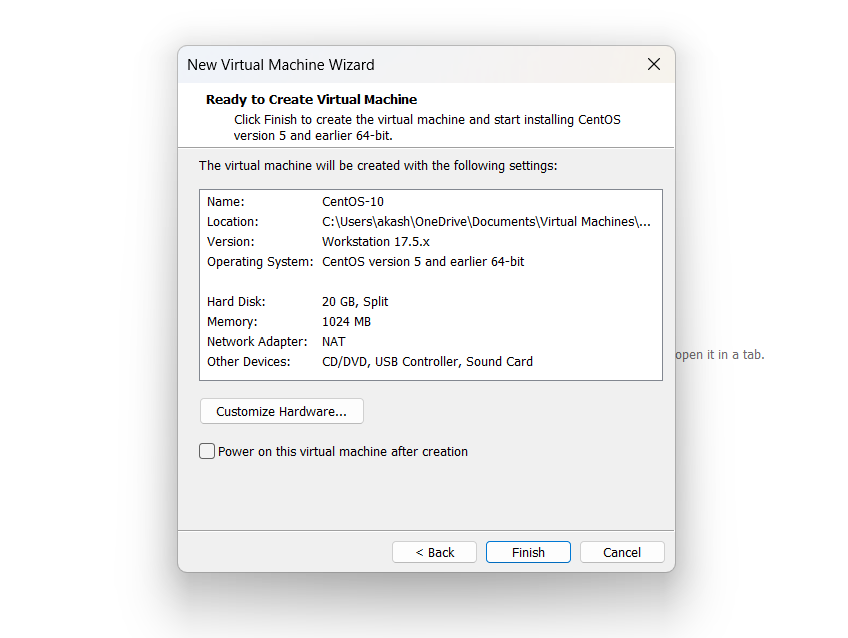
We will click on Finish and start the virtual machine by clicking on “Power on this virtual machine“.
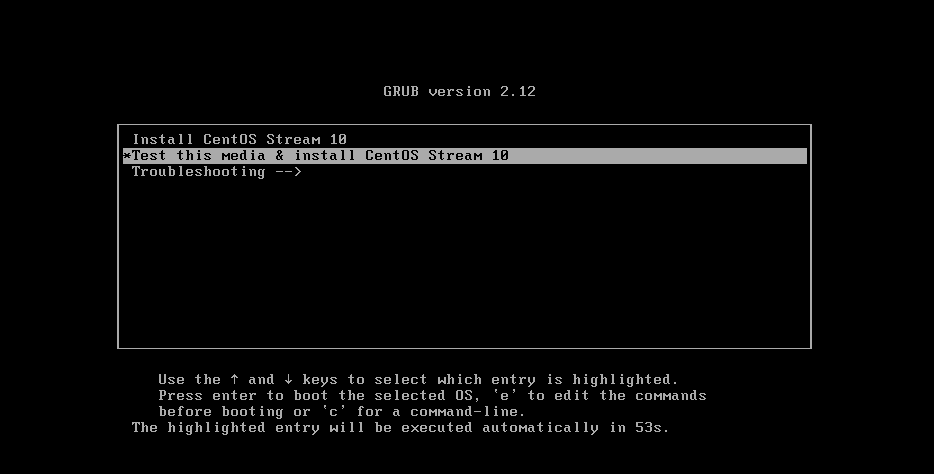
We will click on “Install CentOS Stream 10” by going up with the help of arrow key.
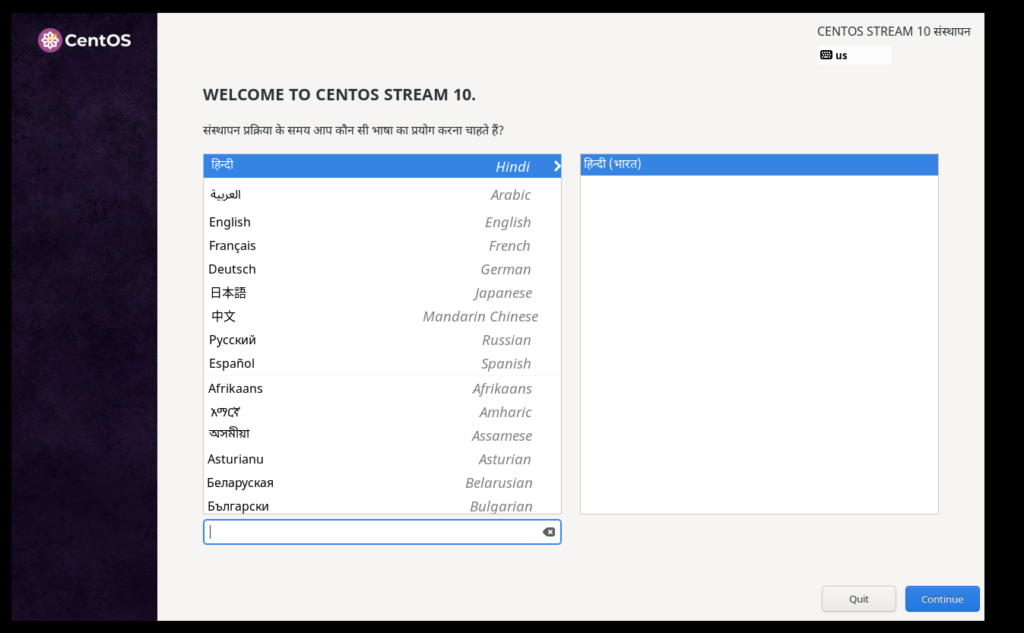
We will get the message “WELCOME TO CENTOS STREAM 10” and select our OS language. Click on Continue.
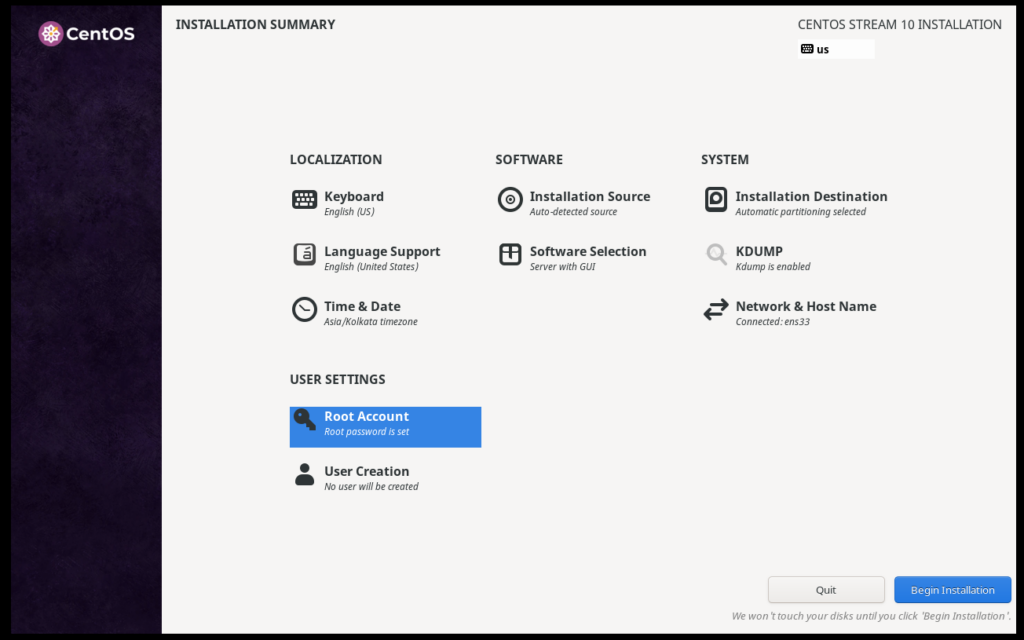
We will get “INSTALLATION SUMMARY” in which we have to select “Installation Destination” and do “USER SETTINGS“.
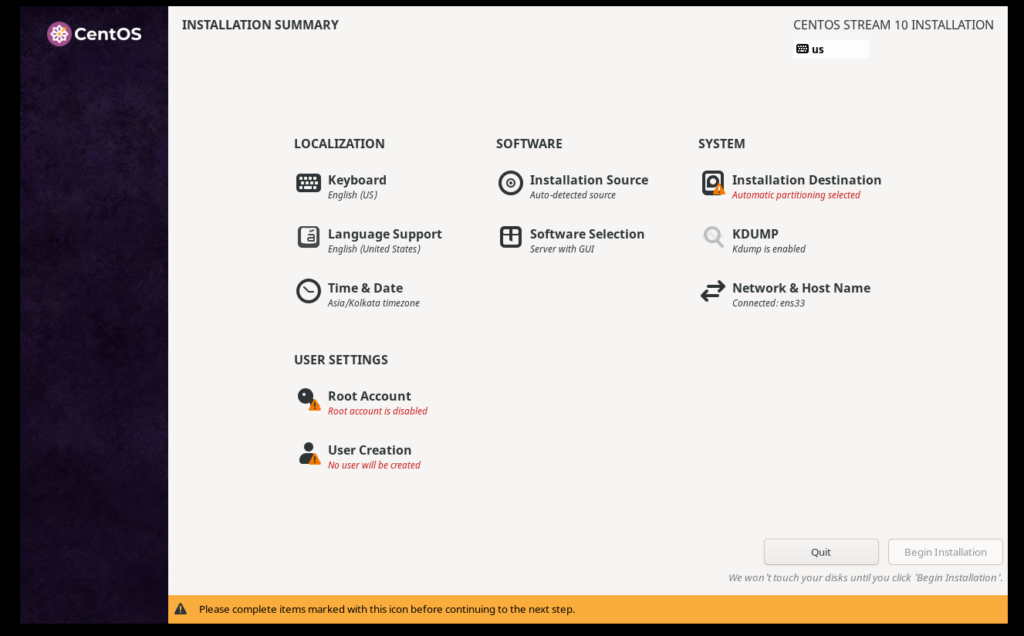
We will select automatic partitioning and click on Done and we will enable the root account by selecting “Enable root account” and create the password then we will click on Done.

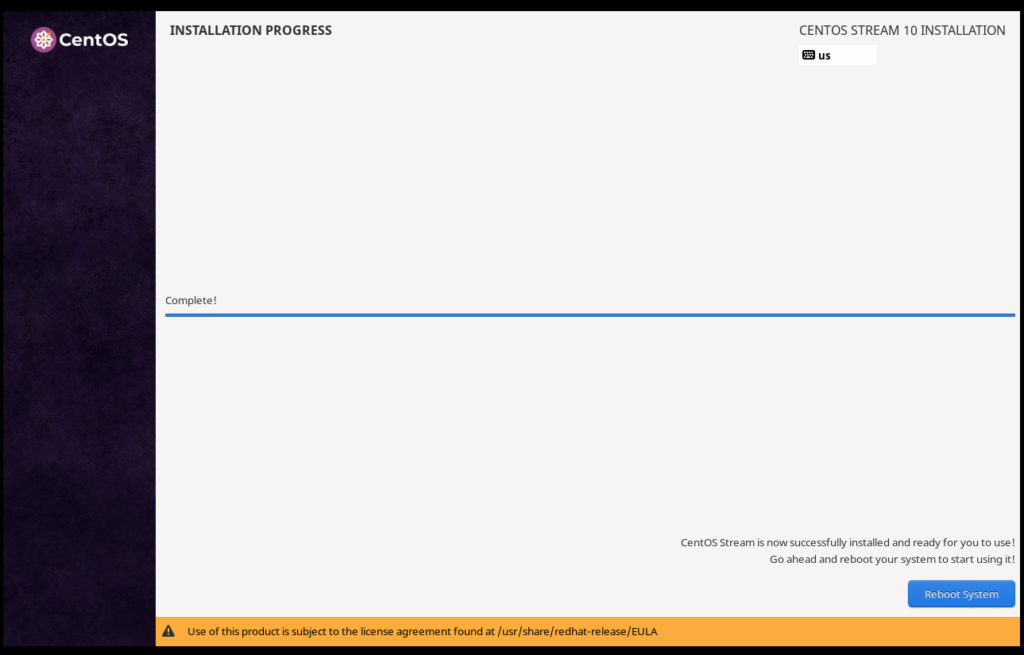
We will click on Begin Installation and wait for the installation to complete.
We will click on Reboot System to reboot CentOS 10.
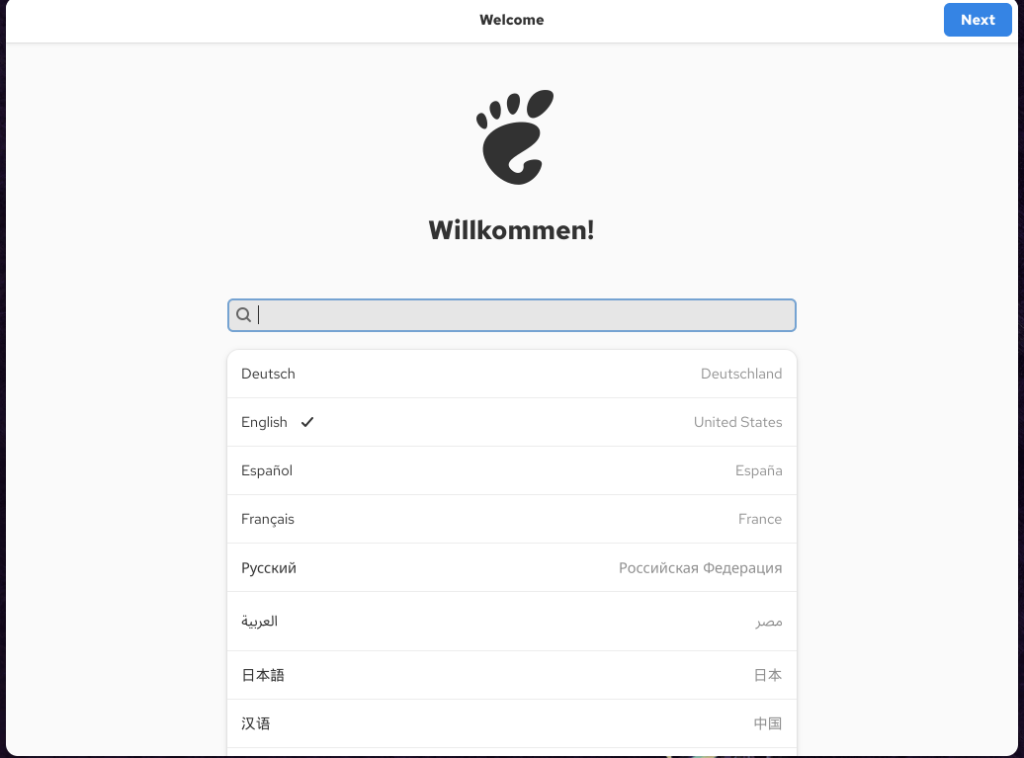
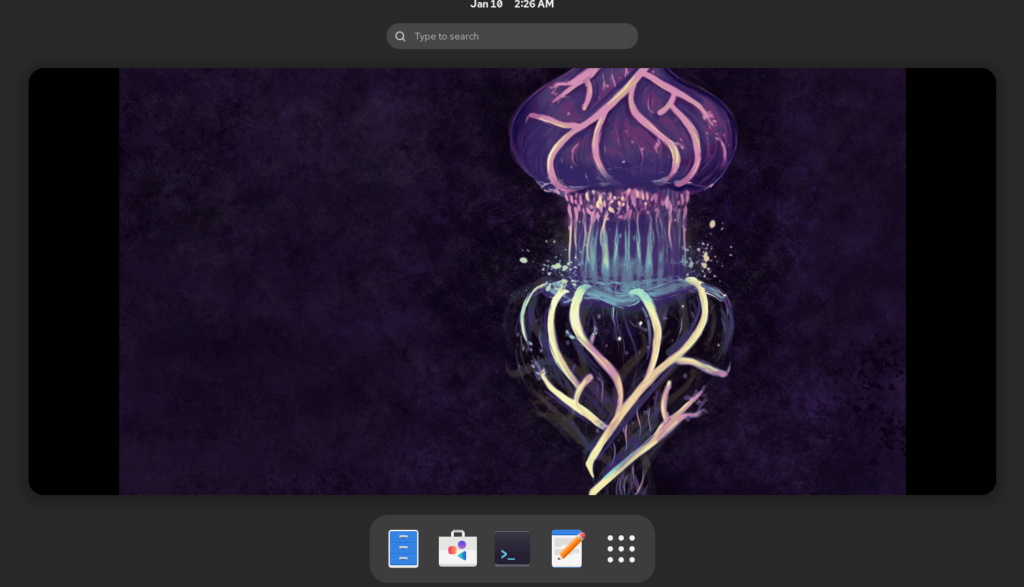
The first look of CentOS 10 is super fantastic but before that we have to setup few options from the screen.
We have to select the language again.
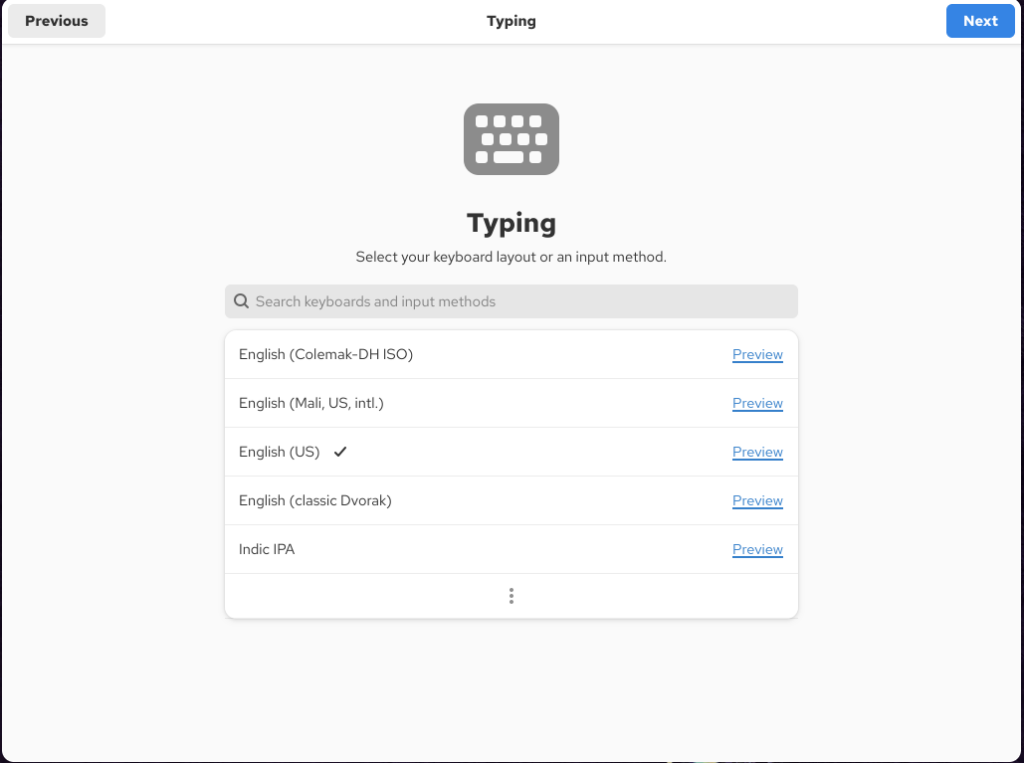
We will choose the keyboard for our system.
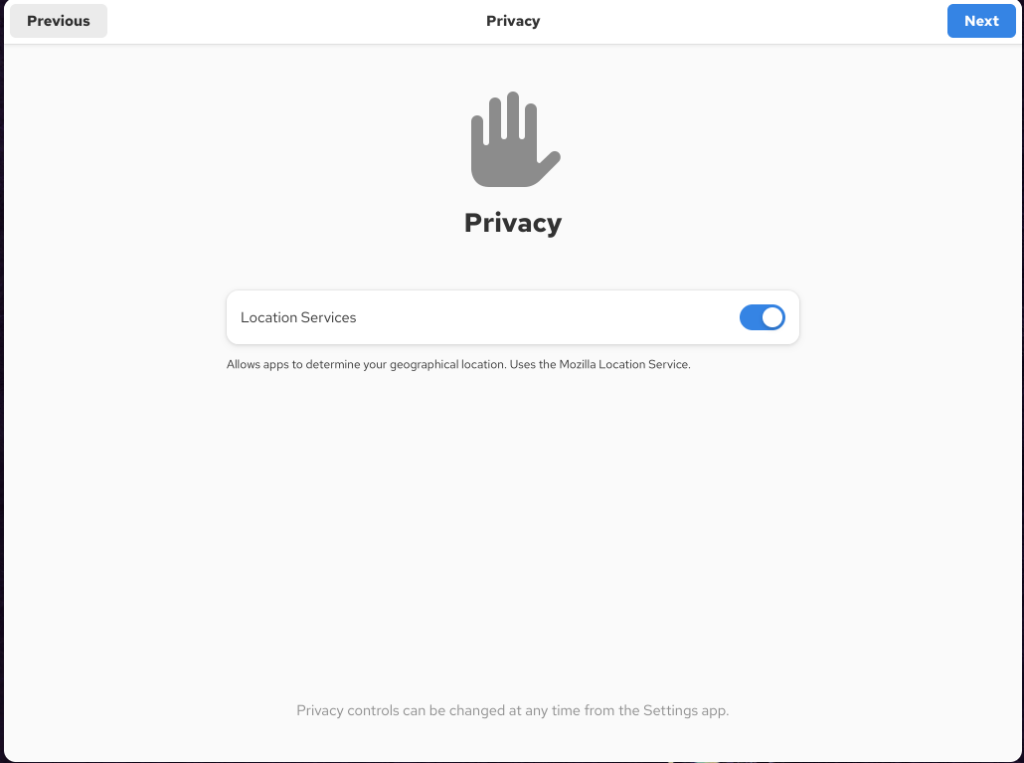
Next we have to choose the status for location services.
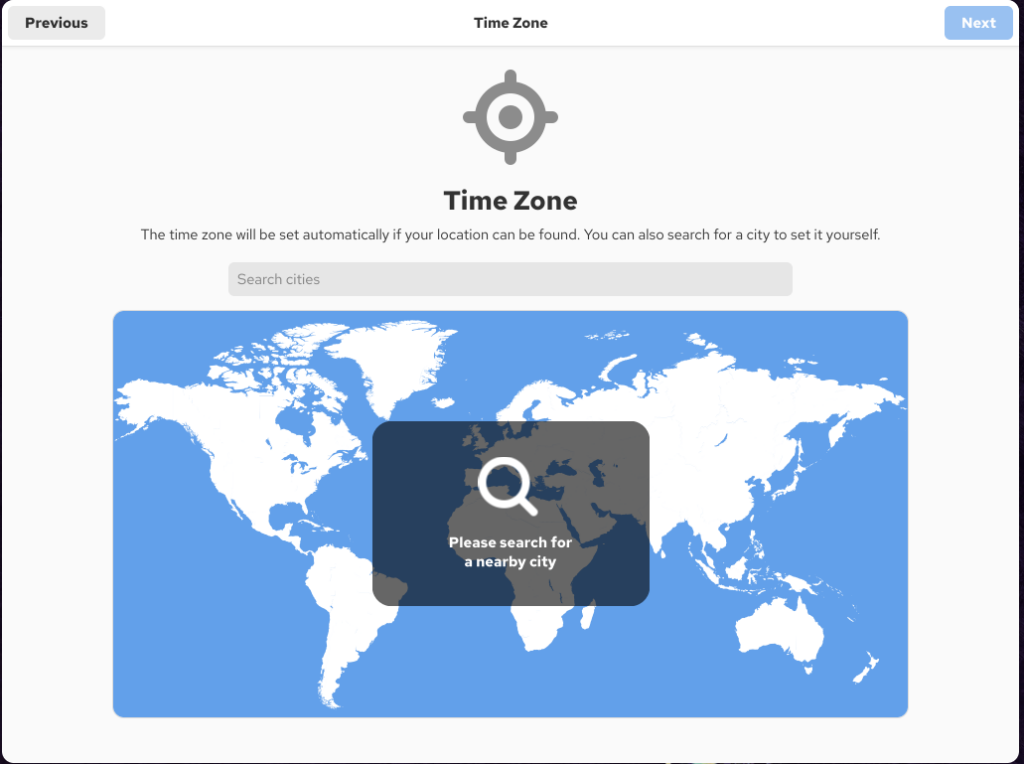
We have to choose our Time Zone also for our location.
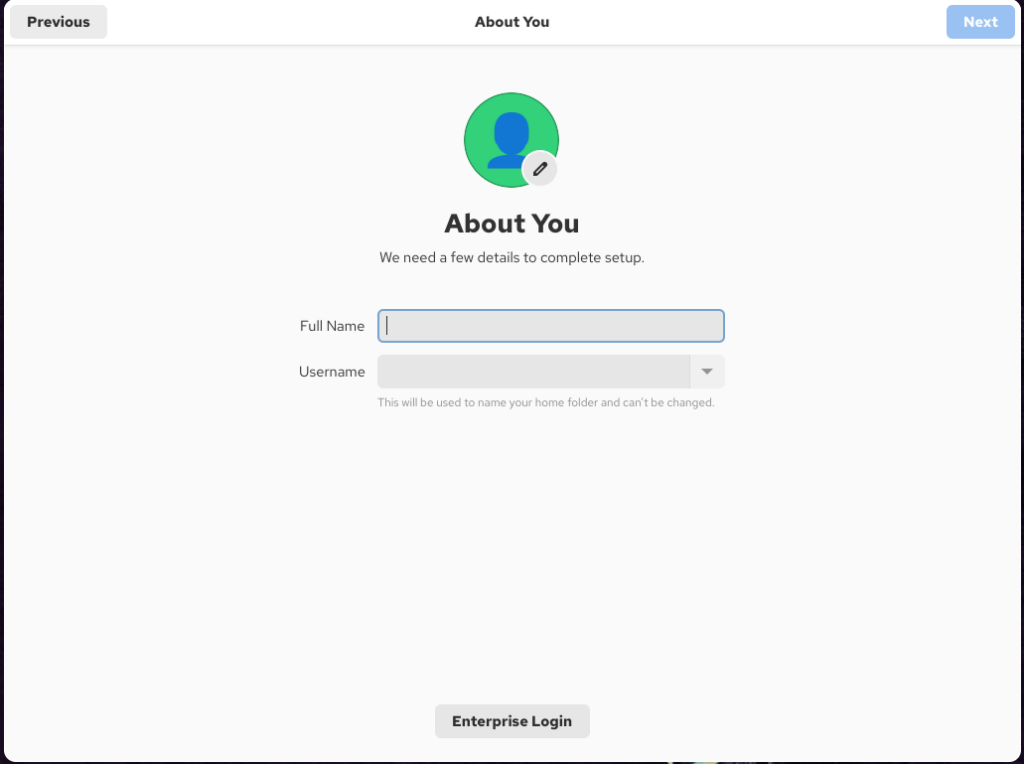
Lastly we have to create one user for our system by providing Full Name and Username. We have to create password for the new user on the next screen.

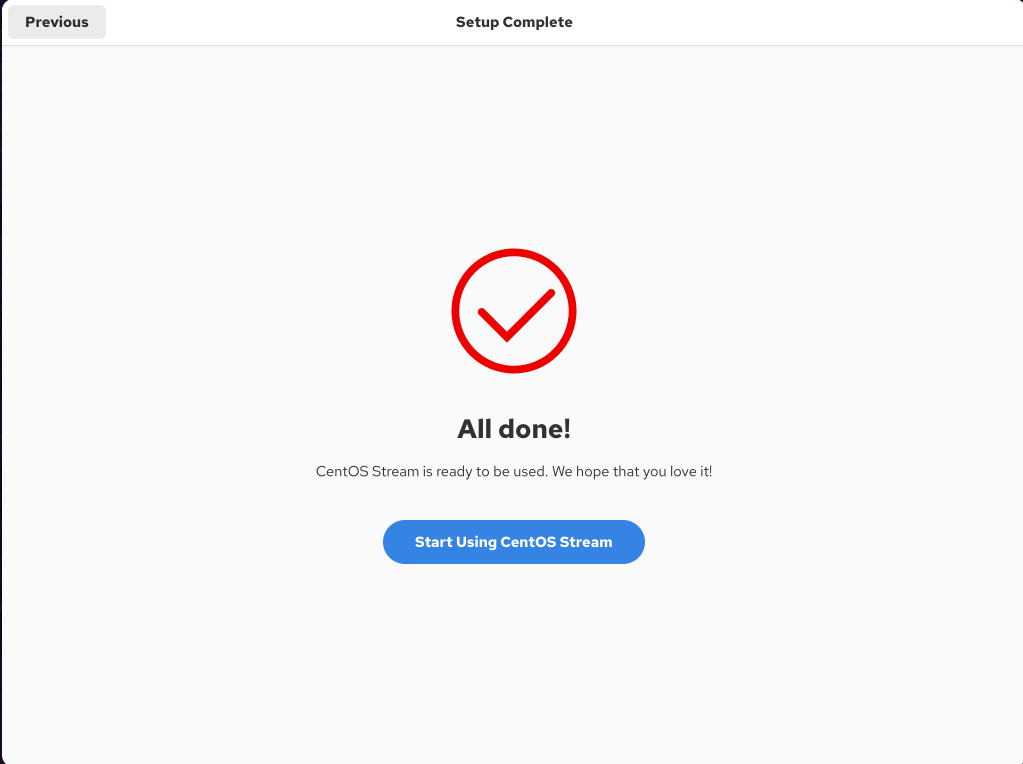
We will get All done! message on the screen and we have to click “Start Using CentOS Stream“.
That’s all about CentOS 10 ISO!!
You May Like Our Other Posts:
How to install CentOS 9 minimal
Table of Contents
FAQ on CentOS 10 ISO
Q. What is CentOS Stream 10?
A. CentOS Stream 10 is the upstream development platform for Red Hat Enterprise Linux (RHEL) 10. It provides a rolling-release model where updates and changes are made before they are included in RHEL.
Q. What are the system requirements for CentOS Stream 10?
A. Architecture: Requires x86_64-v3 support.
Intel: Haswell generation (2013) or newer.
AMD: Zen architecture or newer.
RAM: At least 2 GB (4 GB or more recommended for smoother operation).
Disk Space: Minimum of 20 GB (40 GB recommended for servers).
Q. What are the key differences between CentOS Stream 10 and previous versions?
A. Architecture Changes: Requires x86_64-v3, dropping support for older CPUs.
Rolling Release: Continuous updates, unlike traditional fixed-point releases.
Streamlined Development: Designed as a preview for future RHEL versions.
Q. Can CentOS Stream 10 be used in production?
A. No, because of the reasons:
It’s a rolling-release platform, so it may not have the same level of stability as CentOS Linux or RHEL.
Ideal for development and testing environments where early access to RHEL features is beneficial.
Discover more from Root Learning
Subscribe to get the latest posts sent to your email.


I’m extremely impressed together with your writing abilities
as neatly as with the structure on your weblog. Is this a
paid topic or did you modify it yourself? Anyway keep up the excellent high quality writing, it’s uncommon to see a nice weblog like this one these days.
Bhaijan mujhey ap ek copy de dengey?
Up to date post is actually what I want. Thanks for informing.
I am happy that at least your team mentioned it. Some of the big bloggers also not posting about it.
Our future is here!!
Post kafi achi hai bhaijaan
Dot work..
Thanks for this ahead of time blog….
Gazab yaar…Centos 10 bhi aa gyi or hum abhi takk Centos 7 mei jee rhe hai 😁😁😁