
Virtual machines have made it incredibly easy to explore new operating systems without risking your main setup. If you’ve been curious about Linux but didn’t want to replace Windows, installing Pop!_OS on VMware Workstation is the perfect starting point. This guide walks you through every step in a simple, human-friendly way—no prior experience needed.
Whether you’re a student, developer, or just exploring, this step-by-step guide will help you install Pop!_OS 24.02 LTS smoothly inside VMware.
Table of Contents
Why Choose Pop OS 24.02 LTS?
Before jumping into installation, it helps to understand why Pop!_OS in gaining popularity. Developed by System76,It is known for its clean interface, speed, and productivity-focused features.
The 24.02 LTS version offers long-term stability, making it ideal for beginners who don’t want frequent updates breaking their system. It also comes with improved hardware support, better window tiling, and a polished GNOME-based interface.
In short, it’s beginner-friendly yet powerful enough for advanced users.
What You Need Before Installation
To avoid interruptions, make sure you have everything ready:
A computer with at least 8 GB RAM (4 GB minimum), installed VMware Workstation (Pro or Player), a stable internet connection, at least 25 GB of free storage, and the Pop!_OS 24.02 LTS ISO file.
Having these ready ensures a smooth and frustration-free setup.
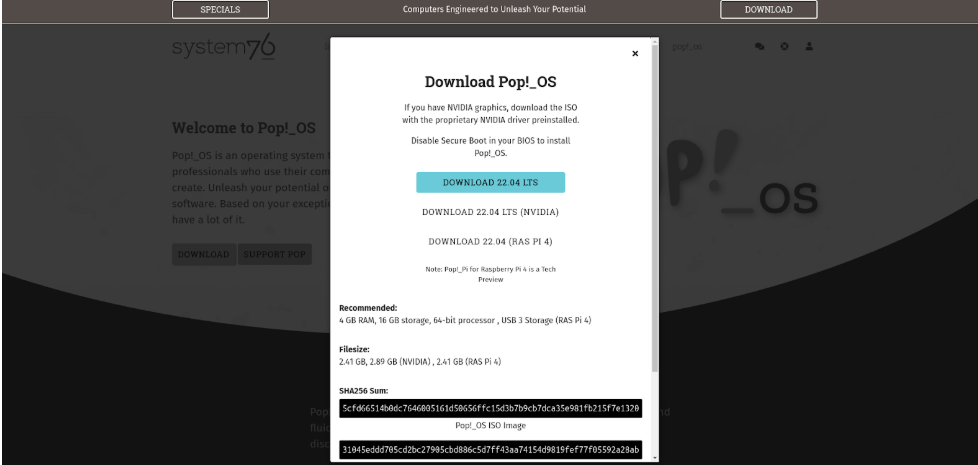
Step 1: Download Pop OS 24.02 LTS ISO
Visit the official website of System76 and download the latest version . You’ll usually find two versions: Intel/AMD for most systems and NVIDIA for systems with NVIDIA GPUs. If you’re unsure, go with the Intel/AMD version since it works perfectly in VMware.
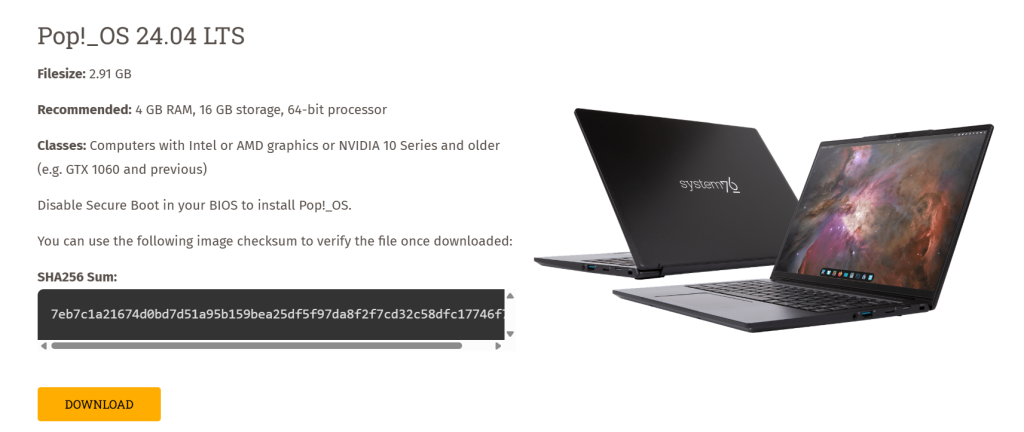
Once downloaded, keep the ISO file somewhere easy to access, like your Desktop or Downloads folder.
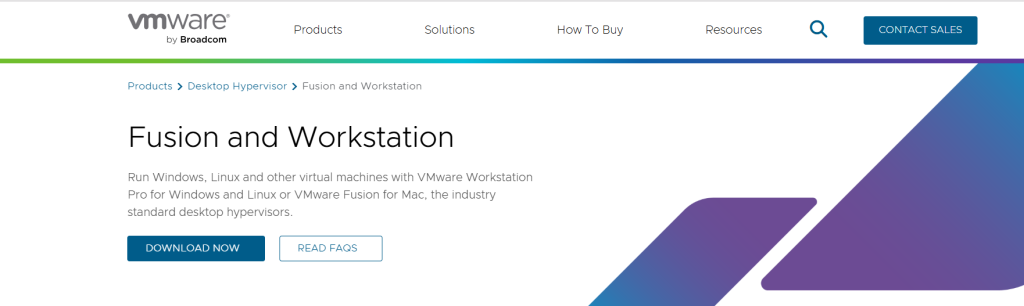
Step 2: Install and Open VMware Workstation
If you haven’t installed VMware yet, download it from the official website and complete the installation. Once installed, open VMware Workstation, click on Create a New Virtual Machine, and select Typical (Recommended). This option simplifies the process and is ideal for beginners.
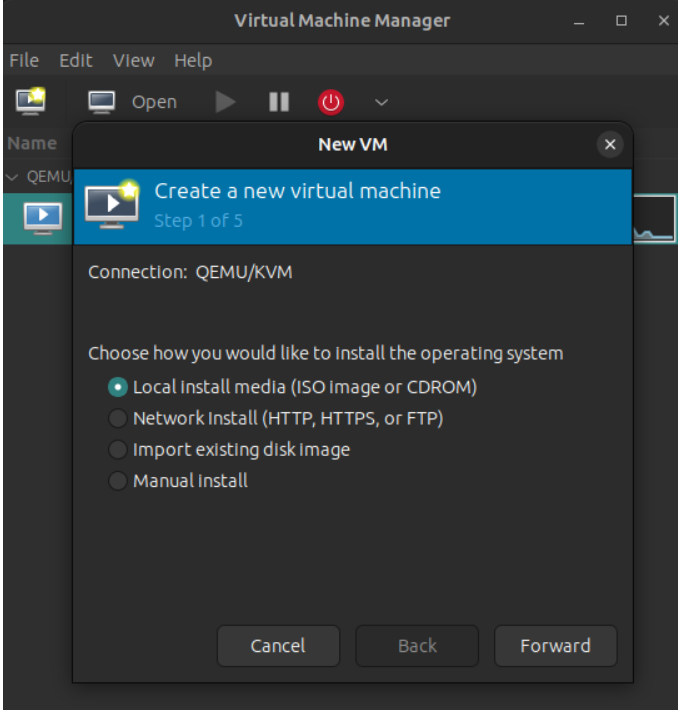
Step 3: Load the Pop OS ISO File
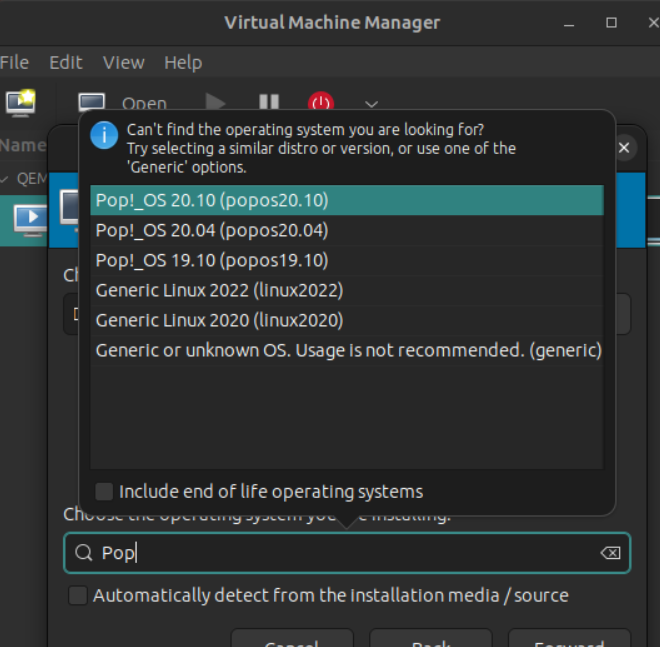
Now VMware will ask how you want to install the operating system. Select Installer disc image file (ISO), browse your system, and choose the Pop!_OS ISO file. Since VMware may not automatically detect Pop!_OS, manually select Linux as the guest OS and choose Ubuntu 64-bit as the version.
Step 4: Name Your Virtual Machine
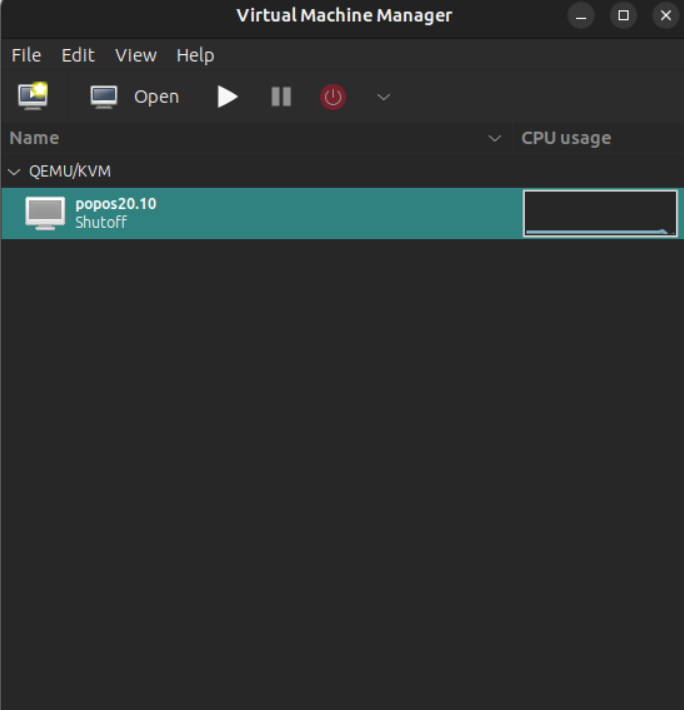
Give your virtual machine a simple and recognizable name such as Pop!_OS 24. Choose a storage location, or keep the default setting if you’re unsure. Then proceed to the next step.
Step 5: Allocate Disk Space
Here you define how much storage your virtual machine will use. A recommended range is between 25 GB and 40 GB. Choose the option to store the virtual disk as a single file for better performance and simplicity.
Step 6: Customize Hardware Settings
Before finishing setup, customize your hardware for better performance. Allocate at least 4 GB RAM, though 6–8 GB is recommended. Assign a minimum of 2 CPU cores, but 4 cores will provide smoother performance if your system allows it. Also, enable 3D acceleration under display settings to improve graphical performance.
Step 7: Start the Virtual Machine
Click Finish and power on your virtual machine. The system will boot using the ISO file and display the Pop!_OS welcome screen. Choose the option to try or install the operating system, and the installer interface will load shortly.
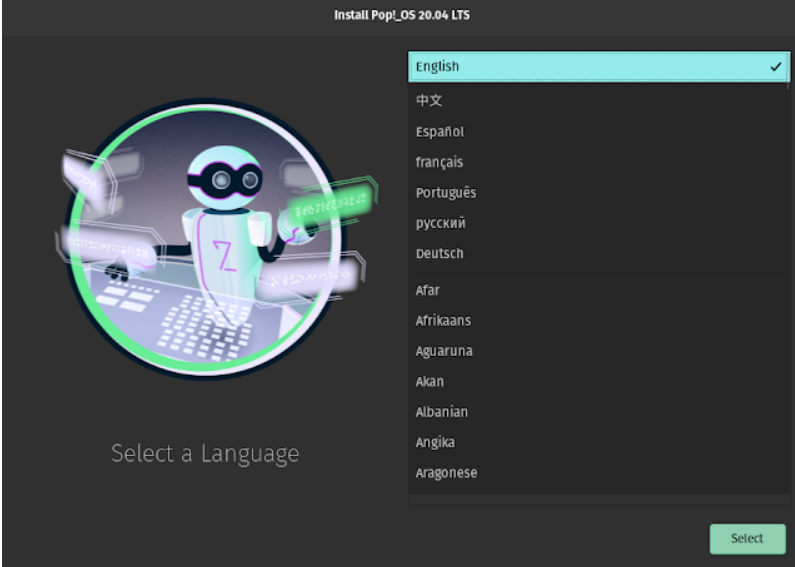
Step 8: Begin Pop!_OS Installation
Start by selecting your preferred language and keyboard layout. When prompted, choose the Clean Install option. This only affects the virtual machine and ensures a fresh setup without complications.
Step 9: Create User Account
Set up your user profile by entering your full name, username, and password. This password will be required for system updates and administrative tasks, so make sure to remember it.
Step 10: Install the System
Click Install and allow the system to complete the setup. This process usually takes between 5 to 15 minutes depending on your system’s performance. Once finished, you’ll be prompted to restart the virtual machine.
Step 11: Restart and Remove ISO
After restarting, open your virtual machine settings and disconnect or remove the ISO file. This step ensures that your system boots into the installed operating system instead of reloading the installer.
Step 12: First Boot into Pop!_OS
After rebooting, you’ll enter the Pop!_OS desktop environment. The interface is clean, modern, and easy to navigate. Take some time to explore the application menu, system settings, and built-in tools.

Step 13: Install VMware Tools (Important)
To improve performance and usability, install VMware Tools. This allows features like full-screen mode, better graphics, and smoother mouse movement. Open the VM menu, select Install VMware Tools, mount the virtual disk inside Pop!_OS, extract the files, and run the installer using the terminal.
Common Issues and Fixes
Some users may encounter a black screen after boot, which is usually caused by graphics settings. Enabling 3D acceleration and allocating more RAM often resolves this. Slow performance can be fixed by increasing RAM and CPU allocation. Mouse lag or screen resizing issues are typically solved by installing VMware Tools.
Tips for Better Performance
For the best experience, avoid running heavy applications on your host system while using the virtual machine. Allocate more RAM and CPU resources if possible, keep your system updated, and use SSD storage for faster performance.
Why Use Pop!_OS in VMware?
Running Pop!_OS inside VMware allows you to experiment freely without affecting your main operating system. It’s perfect for learning Linux, testing software, or even doing development work in a safe and controlled environment.
Final Thoughts
Installing Pop!_OS 24.02 LTS on VMware Workstation is one of the easiest ways to explore Linux without any risk. The process is simple, beginner-friendly, and requires minimal technical knowledge. Once installed, you’ll have a stable and powerful Linux environment ready to use.
Is this Linux distribution suitable for beginners using a virtual machine?
Yes, this Linux distribution is widely considered one of the most beginner-friendly options, especially when used inside VMware Workstation. It offers a clean interface, intuitive navigation, and minimal setup complexity, making it ideal for users who are new to Linux environments. Since everything runs inside a virtual machine, beginners can experiment freely without worrying about damaging their primary operating system, which makes the learning process far more comfortable and risk-free.
How much system memory should be allocated for smooth performance?
For a stable and responsive experience, allocating at least 4 GB of RAM is necessary, but 6–8 GB is strongly recommended if your system allows it. When running inside VMware Workstation, the virtual machine shares resources with your host system, so having extra memory ensures smoother multitasking, faster application launches, and fewer slowdowns during usage, especially when running development tools or multiple applications simultaneously.
Can this operating system be used for coding and development tasks?
Absolutely, this operating system is highly suitable for programming and development work due to its Linux-based environment and compatibility with a wide range of tools and frameworks. Whether you’re working with Python, web development stacks, or system-level programming, it performs reliably inside VMware Workstation. Many developers prefer it because of its stability, efficient resource usage, and built-in support for productivity features that enhance workflow.
Why does the virtual machine sometimes feel slow or laggy?
Performance issues usually arise when insufficient resources are allocated to the virtual machine or when additional optimizations are not applied. If you experience lag while using VMware Workstation, increasing RAM, assigning more CPU cores, and enabling 3D acceleration can significantly improve responsiveness. Installing VMware Tools also plays a crucial role in enhancing graphics performance, fixing mouse lag, and ensuring smoother interaction between the host and guest systems.
Is it necessary to remove the ISO file after installation is complete?
Yes, removing or disconnecting the ISO file after installation is an important step because it ensures that the virtual machine boots directly into the installed operating system rather than restarting the installation process each time. In VMware Workstation, this can be done easily through the settings menu, and it helps avoid confusion while also speeding up the boot process for future use.
Discover more from Root Learning
Subscribe to get the latest posts sent to your email.