Cron is one of the most useful tools available on any Linux system, including AlmaLinux — it lets you schedule commands or scripts to run automatically at fixed times, dates, or intervals, without needing to be logged in or manually trigger anything yourself. Whether you need to back up a database every night, clean up temporary files weekly, or run a monitoring script every five minutes, background jobs handle it reliably in the background. This guide walks through everything you need to know to set up, manage, and troubleshoot automated tasks on AlmaLinux.
Table of Contents
What Is Cron, and How Does It Work?
The system is a time-based job scheduler built into Linux and Unix-like operating systems, including AlmaLinux. It runs continuously as a background service (called a daemon), checking a schedule table — called a layout sheet — once every minute to see if any scheduled tasks need to be executed. If a match is found, the utility runs that command or script automatically, without any manual intervention.
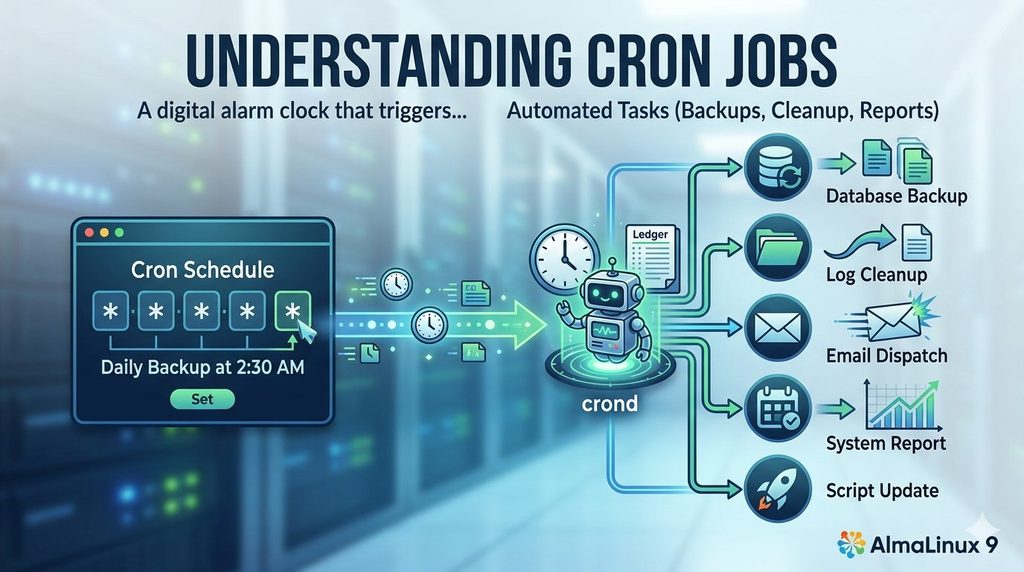
Each user on an AlmaLinux system can have their own personal scheduling file, and the system itself also maintains system-wide files that apply more broadly. This flexibility makes the utility equally useful for personal scripting tasks and larger system administration needs.
Checking If the Service Is Installed and Running
On most AlmaLinux installations, the background daemon — typically provided by the core engine package — comes pre-installed. To confirm it’s installed, run:
rpm -q cronieIf it’s not installed, you can install it with:
sudo dnf install cronie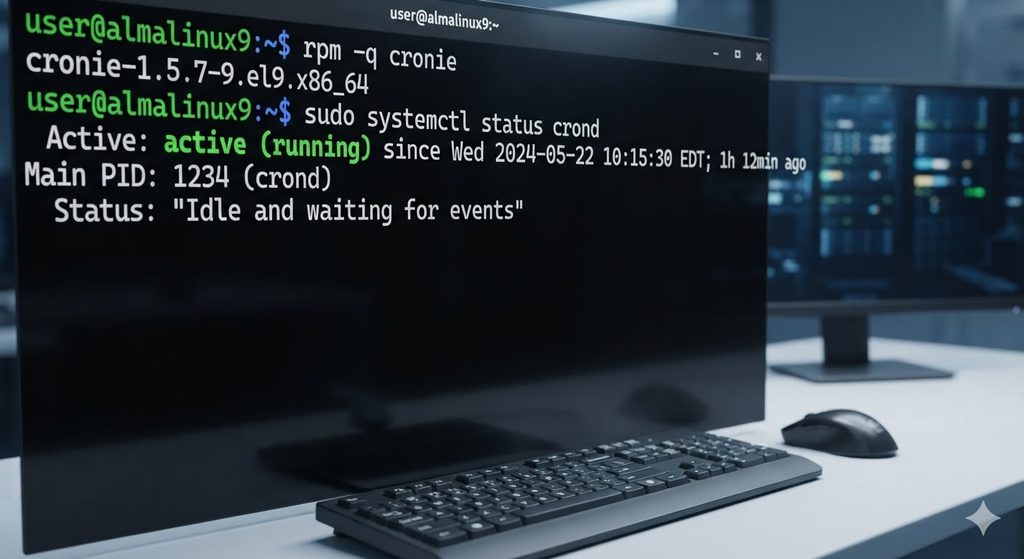
Next, check whether the scheduling service is actually running:
sudo systemctl status crondIf it’s not active, start it and enable it to launch automatically on boot with:
sudo systemctl start crond
sudo systemctl enable crond
Understanding the Scheduler’s Time Syntax
Every scheduled task job follows a specific five-field time syntax, followed by the command to run. The structure looks like this:
* * * * * command-to-executeEach of the five asterisks represents a different unit of time, in this order:
- Minute (0–59)
- Hour (0–23)
- Day of the month (1–31)
- Month (1–12)
- Day of the week (0–7, where both 0 and 7 represent Sunday)
An asterisk (*) in any field means “every” value for that field. So a job scheduled as * * * * * would run every single minute, while 0 3 * * * would run once daily at 3:00 AM, and 0 0 1 * * would run at midnight on the first day of every month.
You can also use additional symbols for more advanced scheduling:
- Comma (
,) — Specify multiple values, e.g.,0,30 * * * *runs at the top and bottom of every hour. - Hyphen (
-) — Specify a range, e.g.,0 9-17 * * *runs every hour between 9 AM and 5 PM. - Forward slash (
/) — Specify step values, e.g.,*/15 * * * *runs every 15 minutes.
Creating Your First Scheduled Task
To create or edit your personal crontab, run:
crontab -eThe first time you run this, AlmaLinux may prompt you to choose a default text editor (commonly vi ). Once inside the editor, add your scheduled job on a new line, following the five-field syntax described above. For example, to run a backup script every day at 2:30 AM:
30 2 * * * /home/username/scripts/backup.shSave and exit the editor (in nano, that’s Ctrl + O to save, then Ctrl + X to exit; in vi, type :wq and press Enter). The daemon will automatically pick up the new job without needing a restart.
Editing and Viewing Existing Configurations
To view your current execution entries without editing them, run:
crontab -lThis displays all scheduled configurations for your current user. To make changes, use the edit command again, which reopens the same file in your default editor, letting you add, modify, or remove lines as needed.
Removing an Automated Task
There are two ways to remove a clean up your schedule. If you only want to remove one specific entry, open the schedule file with crontab -e, delete that line manually, then save and exit. If you want to remove all automated jobs for the current user at once, run:
crontab -rUse this command carefully, since it deletes your entire configuration immediately, without asking for confirmation.
System-Wide Tasks vs. User-Level Scheduling
Beyond individual user schedules, AlmaLinux also supports system-wide automatin sheets, which are useful for tasks that need to run regardless of which user is logged in, or that require root-level permissions. These are typically placed in one of the following locations:
/etc/crontab— A system-wide configuration file, which includes an additional field specifying which user the command should run as./etc/cron.d/— A directory where you can place additional system-wide configuration job files, each following the same format as/etc/crontab./etc/cron.daily/,/etc/cron.weekly/,/etc/cron.monthly/— Directories where you can simply drop executable scripts, which the system automatically runs on the corresponding daily, weekly, or monthly schedule, without needing to write any scheduling syntax at all.
System-wide scheduling entries require an extra field for the username, right after the time fields and before the command:
30 2 * * * root /usr/local/bin/system-backup.shUsing Special Shortcut Strings
For common scheduling patterns, the engine supports several shorthand strings that save you from writing out the full five-field syntax:
@reboot— Runs the command once, at system startup.@yearlyor@annually— Equivalent to0 0 1 1 *(once a year, on January 1st).@monthly— Equivalent to0 0 1 * *(once a month, on the 1st).@weekly— Equivalent to0 0 * * 0(once a week, on Sunday).@dailyor@midnight— Equivalent to0 0 * * *(once a day, at midnight).@hourly— Equivalent to0 * * * *(once every hour).
For example, instead of writing 0 0 * * *, you could simply write:
@daily /home/username/scripts/cleanup.shRedirecting Task Output and Logging
By default, the daemon sends any output or errors from a job to the crontab owner’s local mail, which most modern AlmaLinux setups don’t have configured for actual email delivery — meaning that output can effectively disappear if you’re not careful. To avoid losing important output, it’s good practice to explicitly redirect it to a log file:
30 2 * * * /home/username/scripts/backup.sh >> /home/username/logs/backup.log 2>&1Here, >> appends standard output to the specified log file, while 2>&1 ensures error messages are redirected to the same location instead of being lost or emailed. This makes it far easier to troubleshoot a job later if something doesn’t run as expected.
Common Automation Mistakes to Avoid
A handful of recurring mistakes tend to trip up even experienced users when working with background automation on AlmaLinux:
- Using relative file paths instead of absolute paths. Background tasks don’t run with the same environment or working directory as your interactive shell session, so a script or command that works fine when run manually may fail under system automation simply because it can’t find a relative file path. Always use full, absolute paths for scripts and any files they reference.
- Assuming environment variables are available. Automated pipelies run with a minimal environment, meaning variables you rely on in your regular shell session (like a custom
PATH) may not be present. If a script depends on specific environment variables, define them explicitly within the script itself or at the top of the crontab. - Forgetting to make scripts executable. If a script doesn’t have execute permissions, cron will fail to run it. Use
chmod +x scriptname.shto ensure it’s executable. - Not testing the script manually first. Always run a new script directly from the command line before scheduling it in cron, to rule out basic errors before adding scheduling into the mix.
Troubleshooting Background Jobs That Aren’t Running
If an automated task doesn’t seem to be executing as expected, a few checks usually resolve the issue:
- Confirm the service is actually running with
sudo systemctl status crond. - Double-check your crontab syntax using
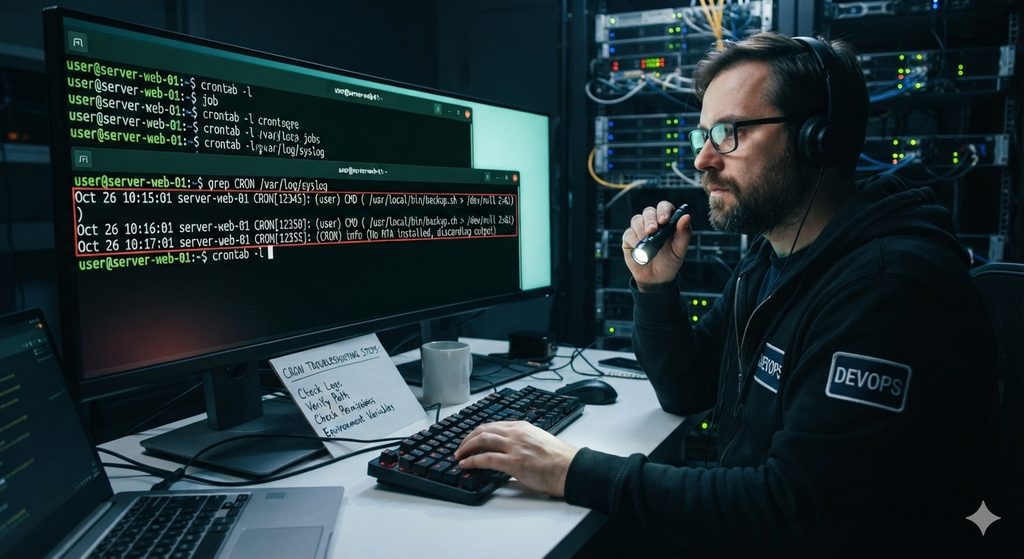
crontab -l, paying close attention to the five time fields. - Check system logs for task activity, which can reveal whether the job attempted to run and what happened:
sudo journal -u crond- Verify file permissions and paths, ensuring the script is executable and all paths used within it are absolute rather than relative.
- Check for SELinux restrictions, since AlmaLinux ships with SELinux enabled by default, and it can occasionally block task from executing certain scripts depending on their context and location.
Conclusion
This time-based utility remains one of the simplest and most reliable ways to automate recurring tasks on AlmaLinux, from routine backups to system maintenance scripts. Once you’re comfortable with the basic five-field syntax, creating, editing, and troubleshooting automated jobs becomes second nature, and small additions like output redirection and absolute file paths can save you significant debugging time down the road. With the fundamentals covered in this guide, you should be well-equipped to start automating tasks on your own AlmaLinux system with confidence.
FAQs
1. How do I check what automated tasks are currently scheduled?
Run crontab -l to view all scheduled configurations jobs for your current user account.
2. Why isn’t my cron job running even though the syntax looks correct?
Common causes include using relative file paths instead of absolute ones, missing execute permissions on the script, or the cron service itself not running. Check sudo systemctl status crond and review /var/log/cron for clues.
3. Can I schedule a task to run only once?
The utility is designed for recurring tasks, but you can use the @reboot special string to run a command once at system startup, or use the at command instead, which is specifically designed for one-time scheduled tasks.
4. What’s the difference between a user configuration and a system crontab?
A user sheet (edited with crontab -e) only affects the current user and doesn’t require specifying a username. A system layout file (like /etc/crontab) requires an additional field specifying which user account the command should run as.
5. Does AlmaLinux come with cron pre-installed?
Most AlmaLinux installations include the cronie package by default, but you can verify with rpm -q cronie and install it manually using sudo dnf install cronie if it’s missing.
Discover more from Root Learning
Subscribe to get the latest posts sent to your email.