
Virtualization has become one of the easiest ways to explore new operating systems without affecting your main computer. If you want to experience a powerful and visually appealing Linux distribution, installing Garuda Linux on VMware Workstation 16 is a great place to start. Garuda Linux is known for its modern design, high performance, and gaming-friendly features. It is based on Arch Linux, but unlike the traditional Arch experience, Garuda makes everything beginner-friendly with a graphical installer and ready-to-use tools.
In 2026, many Linux enthusiasts and learners prefer running operating systems in virtual machines before installing them on real hardware. Virtualization software allows users to test systems, practice commands, and explore features safely. VMware Workstation 16 provides a stable and smooth environment where you can run Garuda Linux without changing your main operating system.
This complete beginner’s guide will walk you through the entire process of installing Garuda Linux on VMware Workstation 16 in a simple and practical way. Even if you have never installed Linux before, this guide will help you understand every step clearly.
Table of Contents
Understanding Garuda Linux and Its Popularity
Garuda Linux has quickly gained popularity among Linux users because of its performance and design. Built on the foundation of Arch Linux, Garuda uses a rolling release model, which means the system receives continuous updates instead of large version upgrades.
One of the most attractive features of Garuda Linux is its stunning desktop environment. Many editions come with the KDE Plasma interface, which offers smooth animations, customization options, and a modern user experience. Garuda also includes tools like a system maintenance assistant and built-in gaming optimizations.
For beginners who want to experience Arch-based Linux without dealing with complex installations, Garuda Linux provides an easy solution. The graphical installer simplifies the process, making it accessible even for users who are completely new to Linux.

Why Use VMware Workstation for Garuda Linux
Running Garuda Linux inside a virtual machine offers several benefits. Instead of installing it directly on your computer, virtualization allows you to run the system inside a window while keeping your main operating system unchanged.
VMware Workstation 16 is one of the most reliable virtualization platforms available today. It allows users to create virtual machines, allocate system resources like RAM and CPU, and run multiple operating systems simultaneously.
For beginners, this setup is ideal because it removes the fear of damaging your main system. If something goes wrong during testing, you can simply delete the virtual machine and start again. This makes VMware Workstation an excellent learning environment for Linux experimentation.
Preparing Your System for Installation
Before installing Garuda Linux, it is important to prepare a few essential components. First, ensure that VMware Workstation 16 is already installed on your computer. This software will act as the platform where Garuda Linux runs.
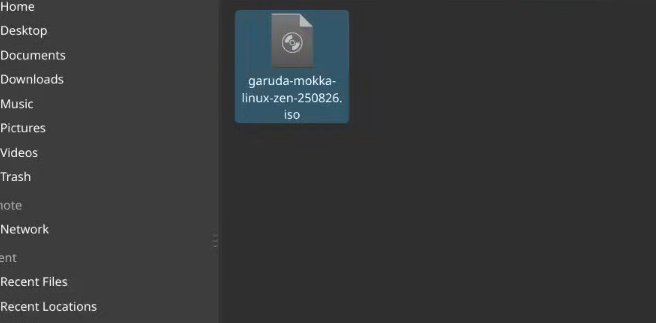
Next, download the official Garuda Linux ISO file from the project’s website. The ISO file contains the complete operating system and installer. Most beginners prefer the KDE edition because it offers a visually rich and user-friendly interface.
Your computer should also have enough resources to run a virtual machine smoothly. At least 8 GB of RAM is recommended so that both the host system and the virtual machine can operate without performance issues.
Once these requirements are ready, you can move forward with creating the virtual machine.
Creating a Virtual Machine in VMware Workstation 16
After opening VMware Workstation 16, the first step is to create a new virtual machine. This process allows you to define how much storage, memory, and processing power the virtual system will use.
Start by selecting the option to create a new virtual machine. VMware will ask whether you want a typical or custom setup. For beginners, the typical configuration works perfectly because it automatically sets most parameters.
Next, choose the option to install the operating system later. This allows you to configure the virtual hardware first. Once the setup begins, select Linux as the operating system type and choose an appropriate Linux version if available.
The virtual machine will then ask for disk size. A storage allocation of around 40 GB usually provides enough space for Garuda Linux and additional software.
After finishing these steps, the virtual machine environment will be ready to load the Garuda Linux installer.
Loading the ISO File
Once the virtual machine is created, the next step is to connect the Garuda Linux ISO file to the virtual system. This ISO acts like a virtual installation disc.
Open the settings of the virtual machine and locate the section related to CD or DVD devices. Here you can select the downloaded Garuda Linux ISO file from your computer.
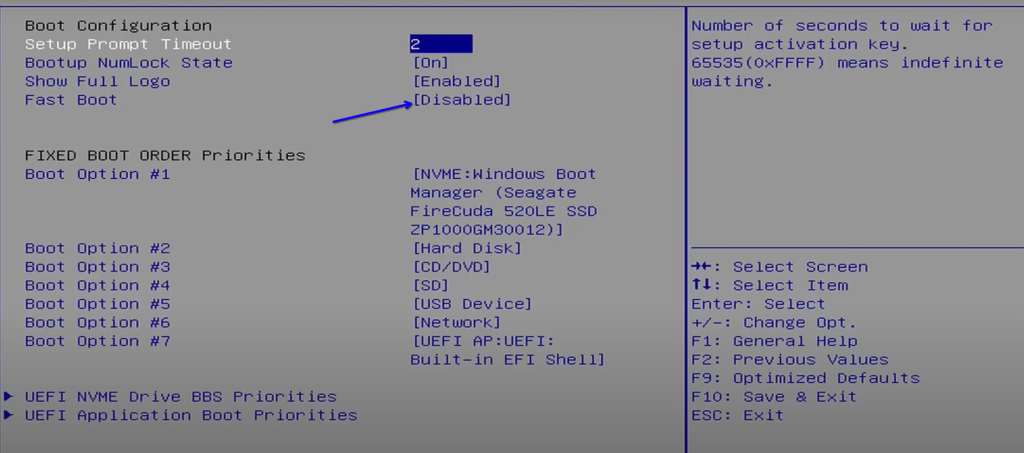
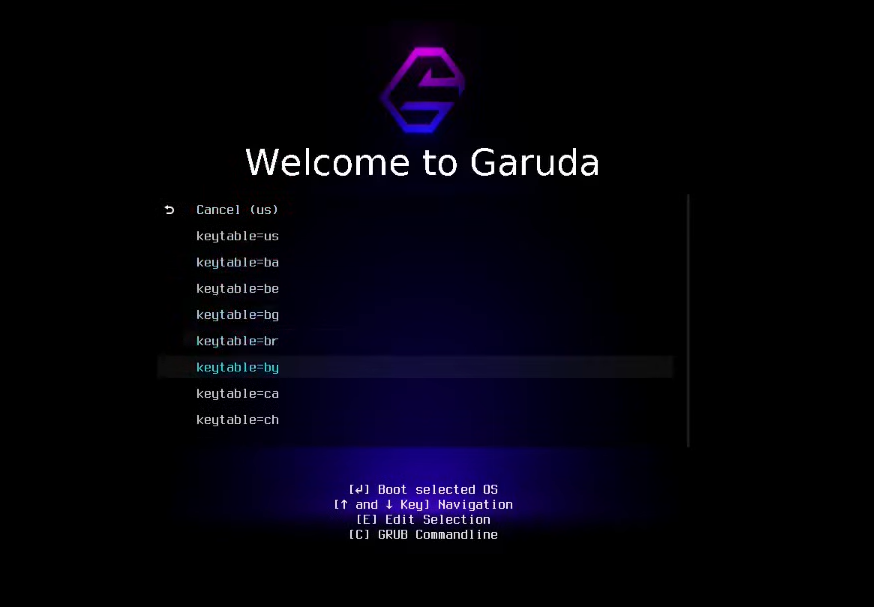
After attaching the ISO file, start the virtual machine. VMware will boot from the ISO image, and within a few seconds, the Garuda Linux welcome screen will appear.
This environment allows you to either test Garuda Linux in live mode or start the installation process directly.
Starting the Installation
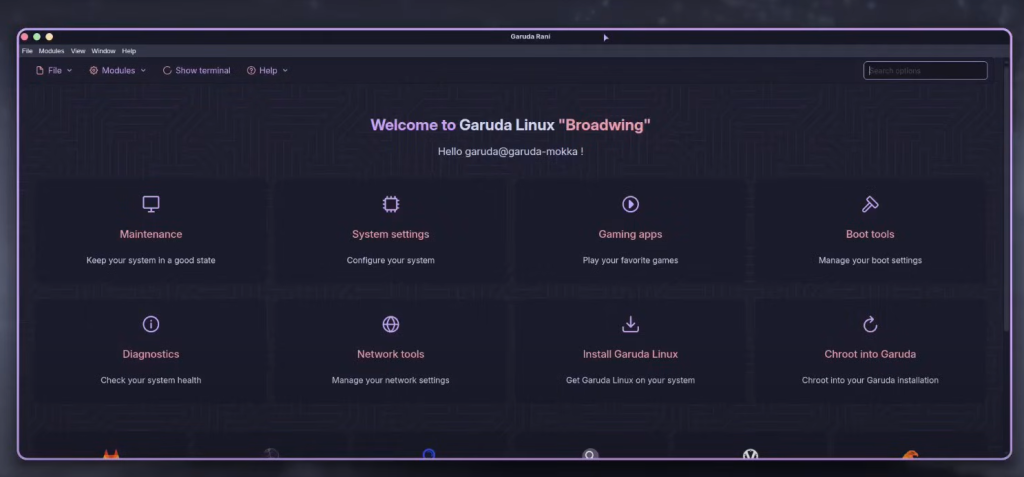
When the Garuda Linux live environment loads, you will see a desktop interface similar to a regular operating system. This environment allows users to explore the system before installation.
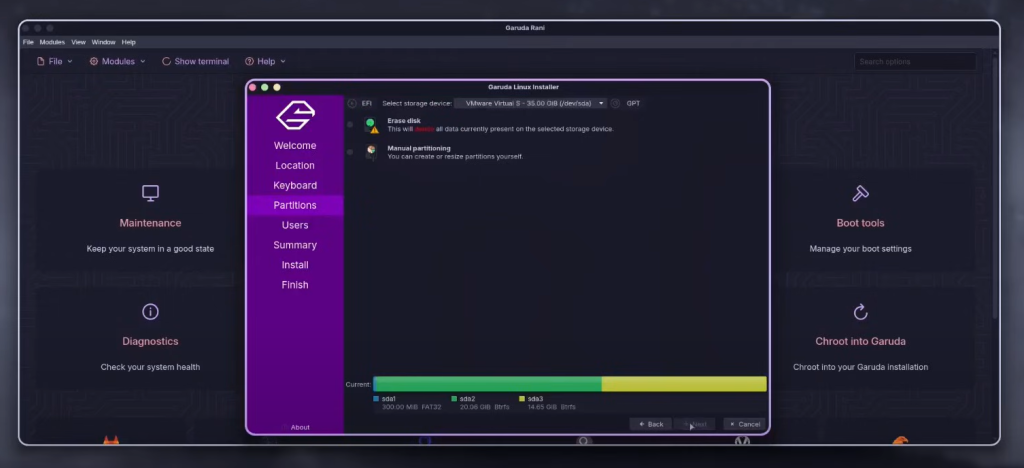
To begin the installation, locate the installer icon on the desktop. Garuda Linux uses the Calamares Installer, a graphical installation tool used by many modern Linux distributions.
The installer will guide you through several configuration steps such as language selection, time zone, and keyboard layout. These settings help customize the system according to your location and preferences.
Because the installation is happening inside a virtual machine, the disk partitioning process is extremely simple. Choosing the automatic partition option allows the installer to configure everything without manual adjustments.
Configuring User and System Settings
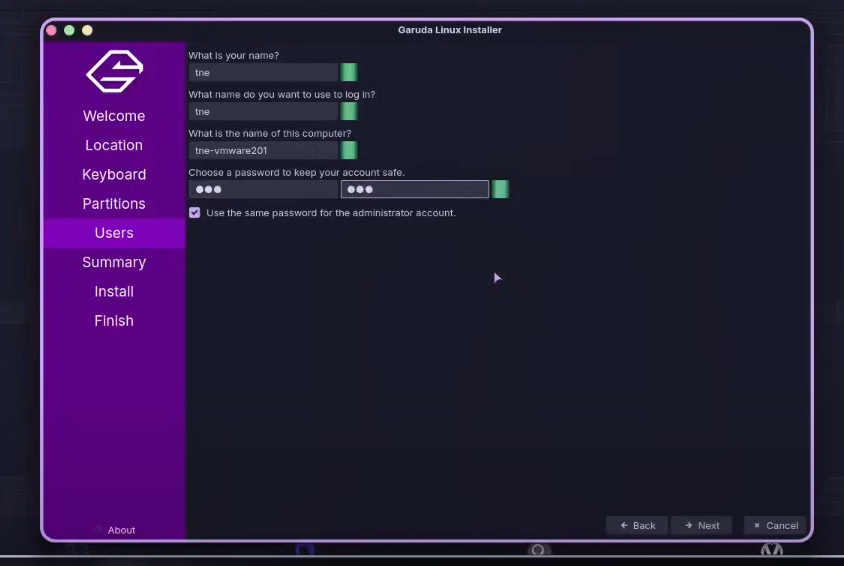
During the installation process, the installer will ask you to create a username and password. This account will be used to log into Garuda Linux and perform administrative tasks.
It is also possible to set the same password for system administrator access, often referred to as root privileges. This simplifies system management for beginners.
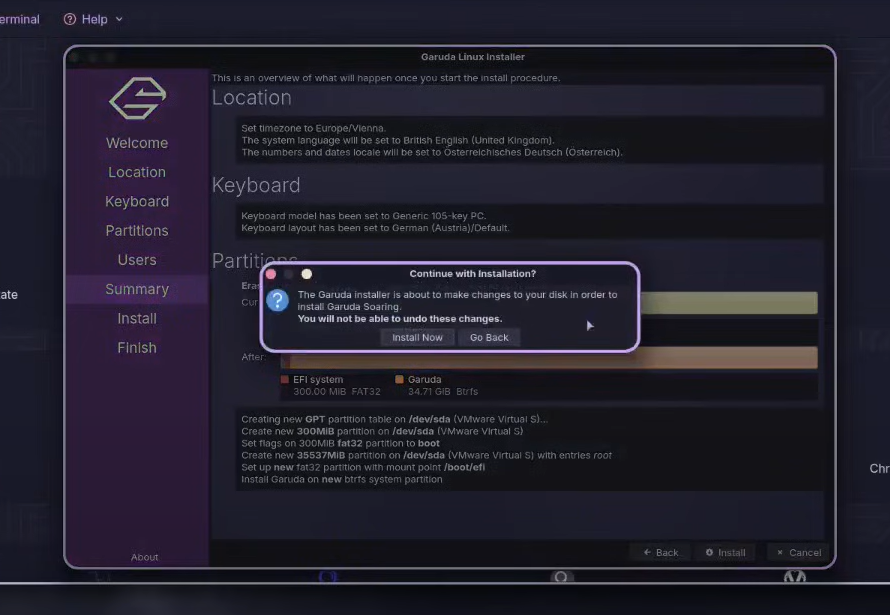
Once the account details are configured, the installer will display a summary of all chosen settings. This final review allows you to confirm everything before the installation begins.
After confirming the configuration, the system will start copying files and setting up the operating system.
Completing the Installation Process
The installation process usually takes around ten to fifteen minutes depending on system performance. During this stage, Garuda Linux installs the desktop environment, system packages, drivers, and utilities.
When the process finishes, the installer will prompt you to restart the virtual machine. Before rebooting, VMware may ask you to remove the installation media. Simply disconnect the ISO file from the virtual machine settings.
After restarting, the system will boot directly into the newly installed Garuda Linux environment.
At this point, the installation is complete, and you can begin exploring the operating system.
First Boot Experience in Garuda Linux
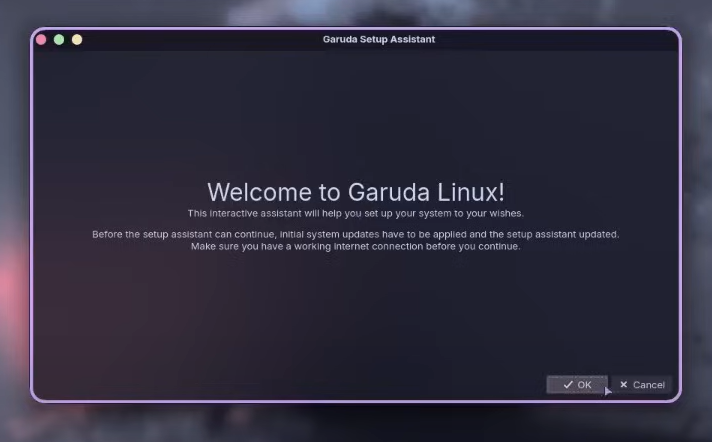
The first boot of Garuda Linux is usually impressive, especially for beginners experiencing it for the first time. The KDE Plasma desktop environment provides smooth animations, modern icons, and customizable panels.
Garuda also includes a welcome assistant that introduces important tools and system features. One of these tools is the Garuda Assistant, which helps manage system updates, clean packages, and optimize performance.
Because Garuda Linux follows a rolling release model, updating the system regularly ensures that you always have the latest software and security improvements.
For users experimenting with Linux through VMware, this environment provides a safe and flexible learning platform.
Tips for Better Performance in VMware
Running Garuda Linux smoothly inside VMware depends on proper resource allocation. Increasing RAM and CPU cores for the virtual machine can significantly improve performance.
Installing VMware tools is another helpful step. These tools enhance graphics performance, enable better mouse integration, and allow full-screen display modes.
If the system feels slow, adjusting graphical settings in the KDE desktop environment can also improve responsiveness. Since Garuda Linux is visually rich, reducing certain effects may help on lower-powered machines.
With the right settings, Garuda Linux can run surprisingly well even inside a virtual machine.
Why Beginners Love Garuda Linux in 2026
Garuda Linux has become one of the most beginner-friendly Arch-based distributions available today. Its combination of performance optimization, modern interface, and powerful tools makes it appealing for both new and experienced users.
Running it through VMware Workstation allows users to explore Linux without committing to a full installation. This approach is particularly helpful for students, developers, and tech enthusiasts who want to learn Linux safely.
As Linux continues to grow in popularity across development, cybersecurity, and cloud computing, experimenting with distributions like Garuda Linux provides valuable experience.
Conclusion
Installing Garuda Linux on VMware Workstation 16 is one of the best ways for beginners to explore the Linux ecosystem in 2026. The process is simple, safe, and highly educational.
With the help of VMware virtualization, users can run Garuda Linux without modifying their main operating system. The graphical installer and beginner-friendly tools make the setup process straightforward even for those with no prior Linux experience.
Once installed, Garuda Linux offers a powerful and visually stunning environment that showcases the flexibility and potential of Linux systems. Whether you are learning Linux for development, system administration, or personal curiosity, this setup provides the perfect starting point.
By following the steps outlined in this guide, anyone can successfully install Garuda Linux in VMware and begin their journey into the world of open-source operating systems.
What is the easiest way to install this Arch-based operating system on VMware Workstation 16?
The easiest way is to download the official ISO file, create a new virtual machine in VMware Workstation 16, attach the ISO image, and follow the graphical installation steps using the Calamares Installer.
Can beginners install this Arch-based system in VMware without prior Linux experience?
Yes, beginners can install it easily because the installation process uses a graphical interface. Unlike traditional Arch Linux installations, this distribution simplifies everything through an automated installer.
How much RAM is recommended to run this system smoothly in VMware?
At least 4 GB of RAM is recommended for basic usage, but allocating 6–8 GB provides a smoother experience, especially when using the KDE Plasma interface.
Is virtualization safe for testing new operating systems?
Yes, virtualization is considered one of the safest ways to test new operating systems. Using VMware Workstation 16 allows users to experiment without affecting their main operating system or files.
Why do many users prefer running Linux distributions in virtual machines first?
Many users prefer virtual machines because they allow testing, learning, and experimenting without risking system stability. Virtual environments make it easy to install, delete, or reset an operating system anytime.
Discover more from Root Learning
Subscribe to get the latest posts sent to your email.