First of all, Happy New Year to all our viewers. Today, We will talk about how to create AWS account for free. This is our first post of 2025 and we have started this year with cloud services.
Let’s start, We will search AWS account on Google and click on the first AWS link.

We will click on the “Create a Free Account” button for creating an AWS account.

We will sign up for AWS account by filling the details that is user email address and account name. We will click on “Verify email address” after filling the details.

It will ask for confirmation by sending a verification code to your email address. Enter the verification code and click on Verify.

After verification, You will get a message “It’s you! Your email address has been successfully verified.” on the screen.
Now you have to create Root user password and confirm it, This is the step 1 out of step 5. Click on Continue after creating the password.

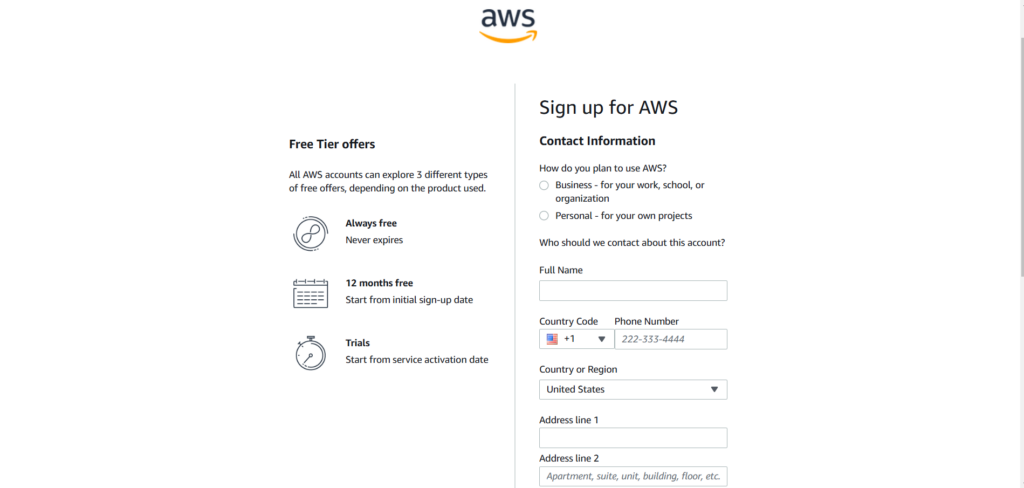
Next, We will add our contact information like Full Name, Phone Number, Country, Address line, City, State, Postal Code and we have to select our plan to use AWS.
At last, We have to read and agree to terms of the AWS and click on Continue.
We have to add our debit or credit card for billing but in free tier account you won’t get charge for anything that covers in free tier of AWS. After that click on “Verify and continue” button.
We will get OTP for Rs 2 that we have to enter on the bank screen.


Now we have to confirm our identity by selecting “Primary purpose of account registration” as Personal use and “Ownership type” as Individual if you are creating the for your personal use for practice.
We have to add our Date of birth, PAN and front image of our PAN. We can also change the document type to voter ID card, Driving License or Passport.

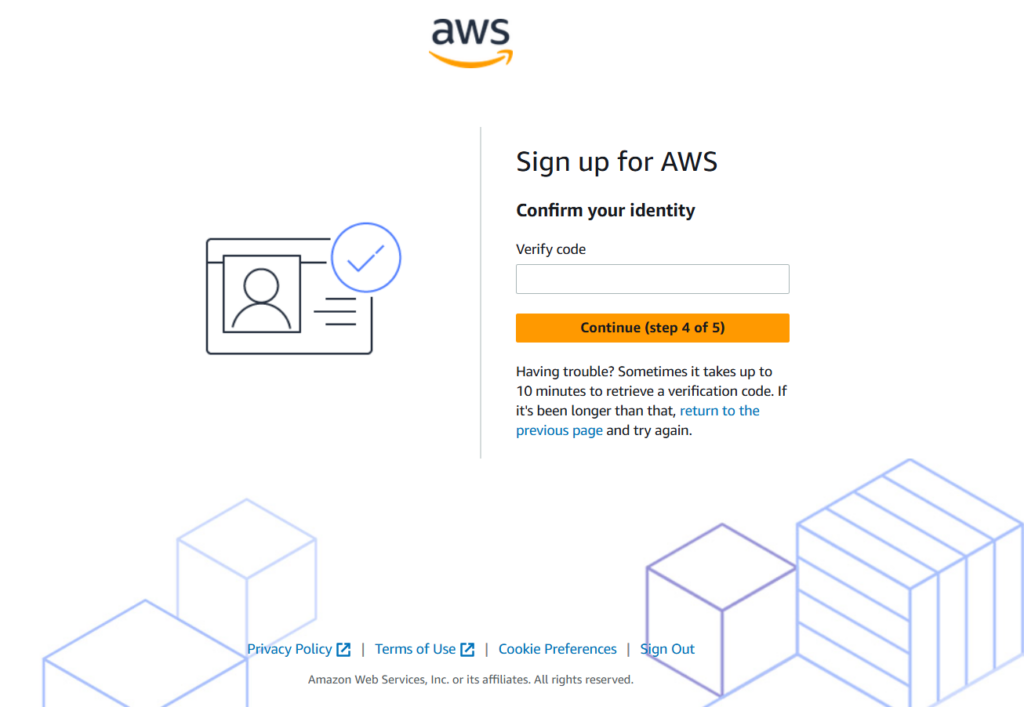
We have to “Confirm your identity” by the verification code. It can be send by Text message or by Voice call.

It will ask for Security Verification and after entering that we have to enter code in Verify code.

Next, We have to select a support plan and click on “Complete sign up” button. We will select Basic support that is free of cost.

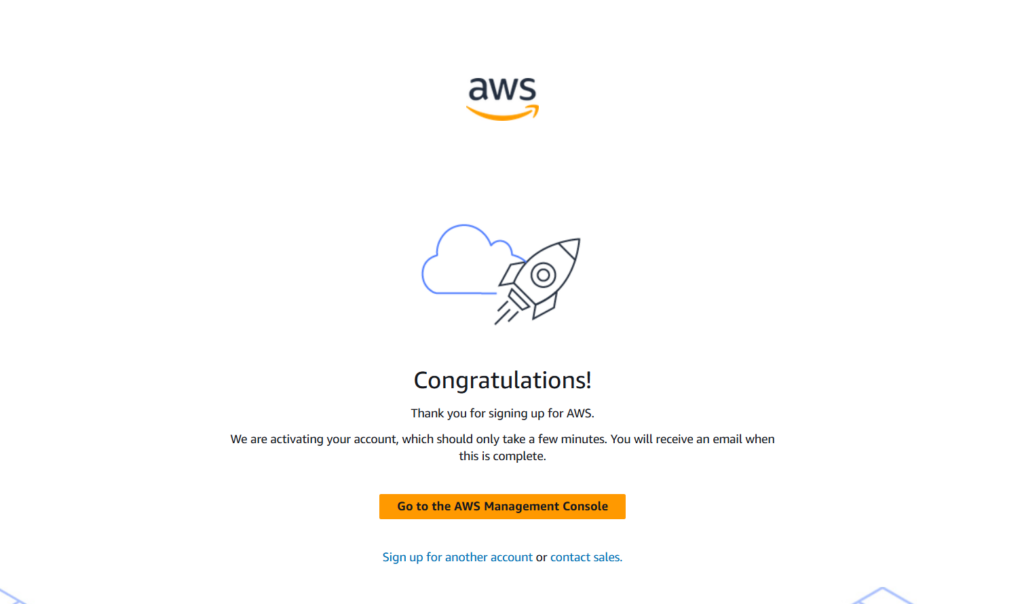
We will get “Congratulations!” message on the screen from AWS. We can explore AWS console by clicking on the “Go to the AWS Management Console“.
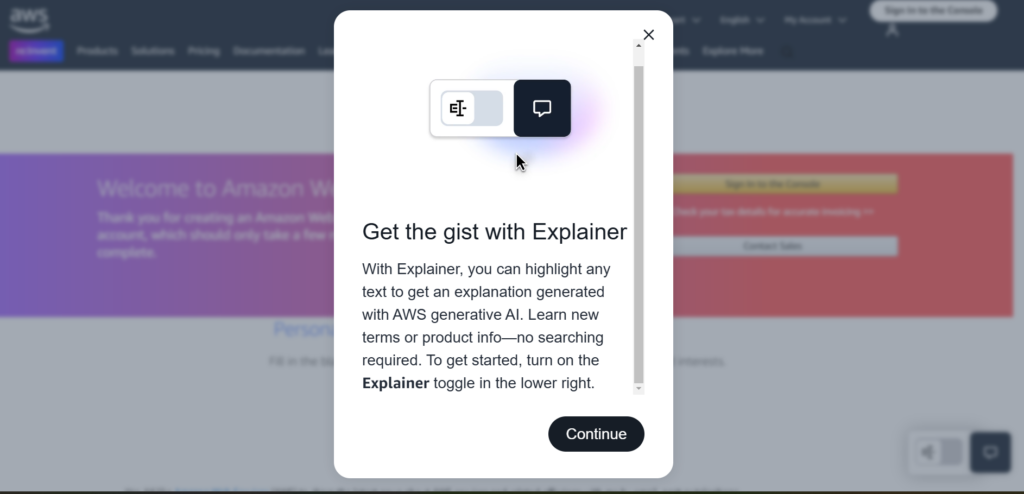
In Management Console, You will get option for Explainer that will highlight text to get an explanation generated with AWS generative AI. We will click on Continue.
Next we will get option for choosing “My role is” and “I am interested in“. We will choose the role and interest then click on Submit.

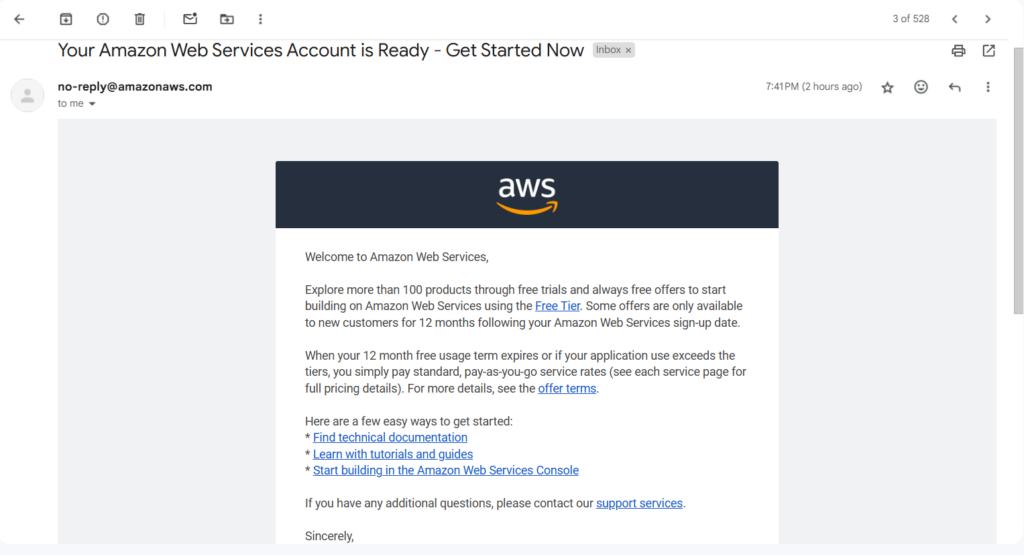
We have received the email from AWS for Welcoming us.
Now we will log in and check our AWS dashboard.

That’s all for how to create AWS account for free. We will talk more about AWS in our upcoming posts.
You may like our other posts:
How to connect a domain to a server
How to Install WordPress on Localhost
FAQ on how to create AWS account for free
Q. What is an AWS account?
A. An AWS (Amazon Web Services) account is a user account that allows you to access and manage the services provided by Amazon Web Services. AWS offers a cloud platform that provides services such as computing power, storage, databases, networking, machine learning, and analytics.
Q. How do I create an AWS account?
A. To create an AWS account:
Visit the AWS website (aws.amazon.com).
Click on the “Create a Free Account” button.
Follow the on-screen instructions to fill in personal details, payment methods and identity verification.
Once your account is created, you can access the AWS Management Console to start using AWS services.
Q. Is there a cost for an AWS account?
A. Creating an AWS account is free. However, many AWS services have associated costs based on usage (e.g., EC2, S3, Lambda). AWS also offers a Free Tier with limited usage for new accounts for the first 12 months. This includes a certain amount of resources for free like 750 hours of EC2 compute time or 5GB of S3 storage.
Q. How do I secure my AWS account?
A. AWS provides several ways to secure your account:
Use IAM (Identity and Access Management) to create users with specific permissions.
Enable Multi-Factor Authentication (MFA) for an added layer of security.
Regularly review the access control and permissions for your AWS resources.
Enable AWS CloudTrail to monitor activity in your account.
Discover more from Root Learning
Subscribe to get the latest posts sent to your email.


I’m extremely inspired with your writing skills as smartly as with the layout to
your blog. Is this a paid topic or did you customize
it your self? Either way stay up the nice high quality
writing, it’s rare to see a great weblog
like this one nowadays.
Thoughtful post!!
Ab may bhy apna aws ka account bnaunga bhaijan shukriya
Free mey ban jaata h kya?
Excellent post!!!
Your posts really encourage middle class people like me
Finally I got the place for updated AWS console, waiting for your more posts..
It is great that you are starting AWS series 👌🏻