
Now it is time for Part 2 of setting up your own CentOS server for free. In this section, we will configure the CentOS server step by step so you can run applications, host websites, and manage system resources efficiently. A properly installed CentOS server ensures better stability, security, and performance for your projects.
Whether you are practicing in a virtual environment or deploying on a live machine, understanding how to configure a CentOS server is an essential skill for Linux administrators and hosting professionals.
In this guide, we will cover installation basics, network configuration, user setup, and essential security settings to make your server ready for real-world use. By the end of this part, you will have a fully functional server environment that you can use for learning, testing, or production purposes.If you haven’t seen our part 1 then click on the link. So let’s begin.
Table of Contents
Part 2
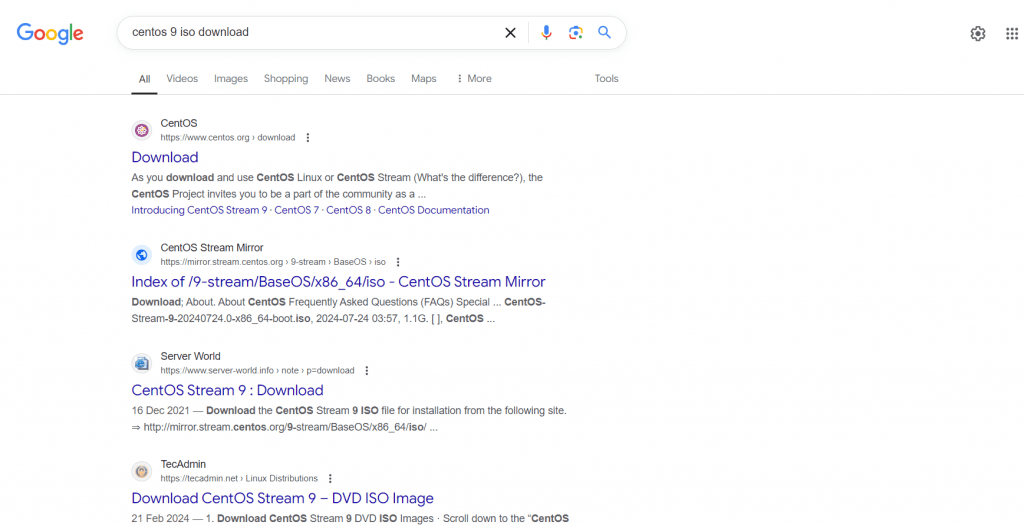
First, Search on google for CentOS 9 iso download and click on first link.
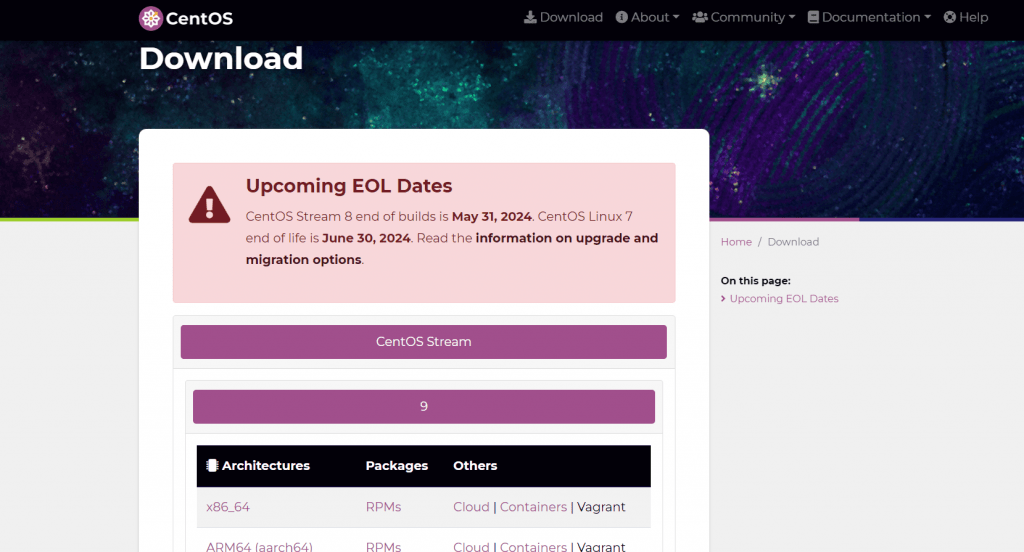
Now select on first link to download an ISO file that is x86_64 for your creation of virtual machine. Wait for Downloading to be over and then open VMware Workstation that we have downloaded earlier in part 1. If you have miss that part you can start from part 1 from the given link.
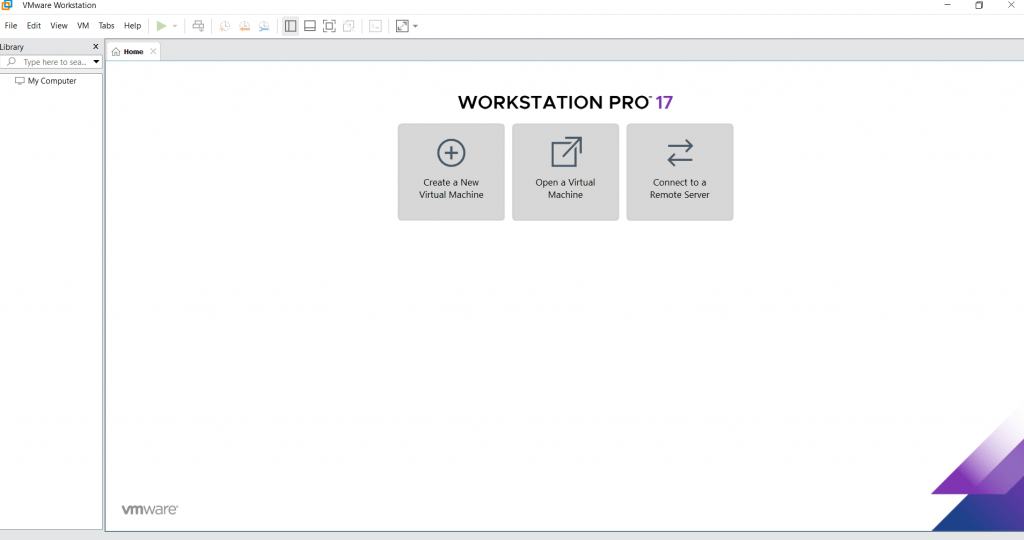
After opening VMware Workstation, we have to click on “Create a New Virtual Machine“.
You can see the message window of Welcome to the New Virtual Machine Wizard to be appear on the screen.
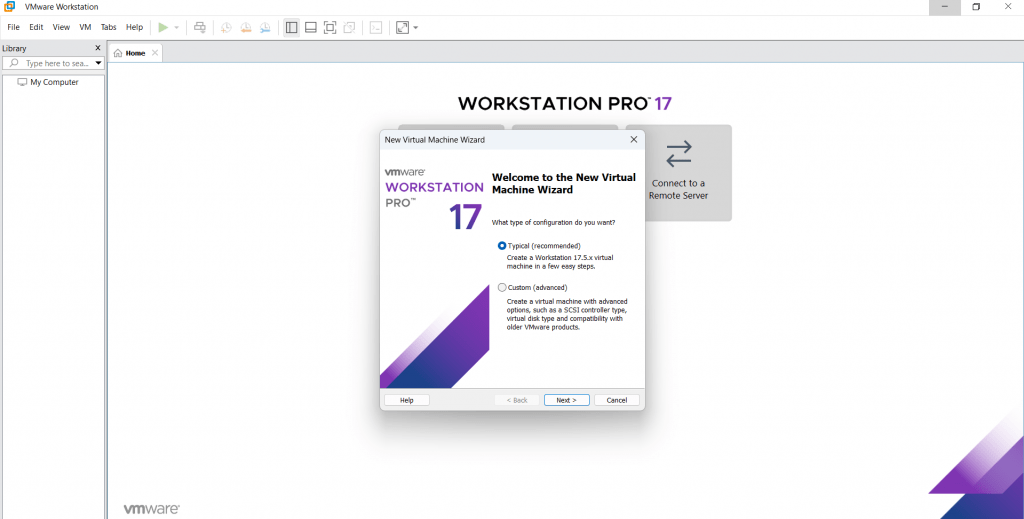
For the new users, I will recommend to go for the default settings provided my VMware. So Click on Next by choosing default option ‘Typical‘.
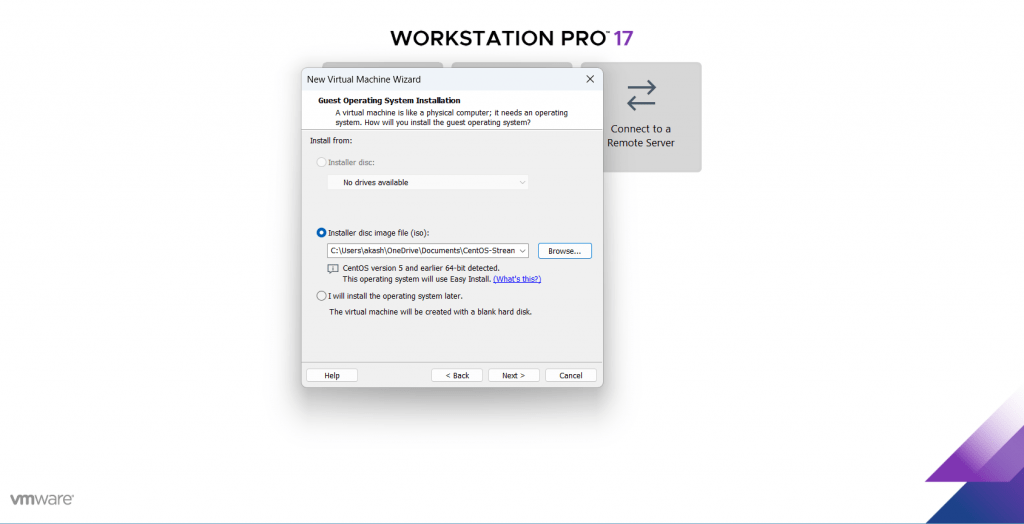
For the next option, Please select the Centos 9 iso file that you have downloaded earlier by clicking on the ‘Browse‘ button on Installer disc image file (iso): and click on Next.
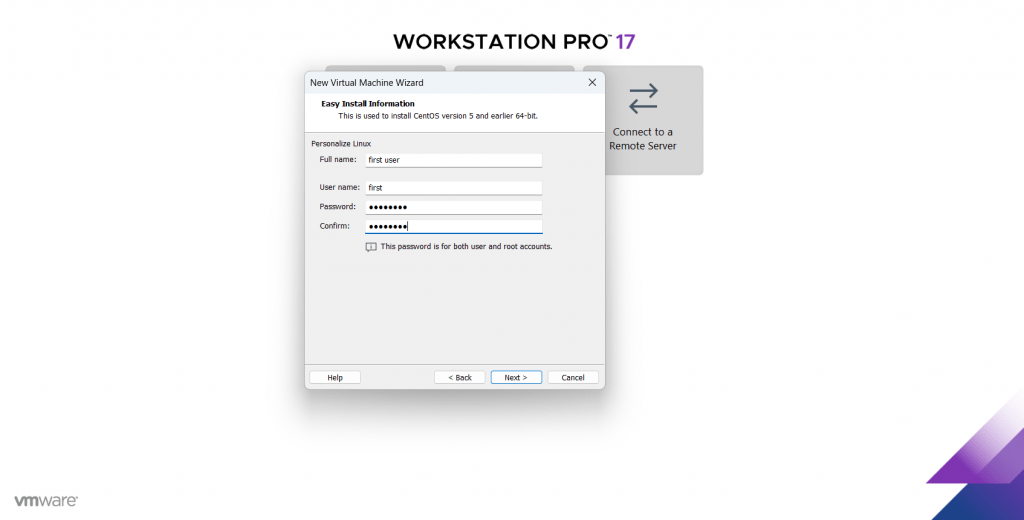
Next, write the Full name, User name, Password of your choice and click on Next.
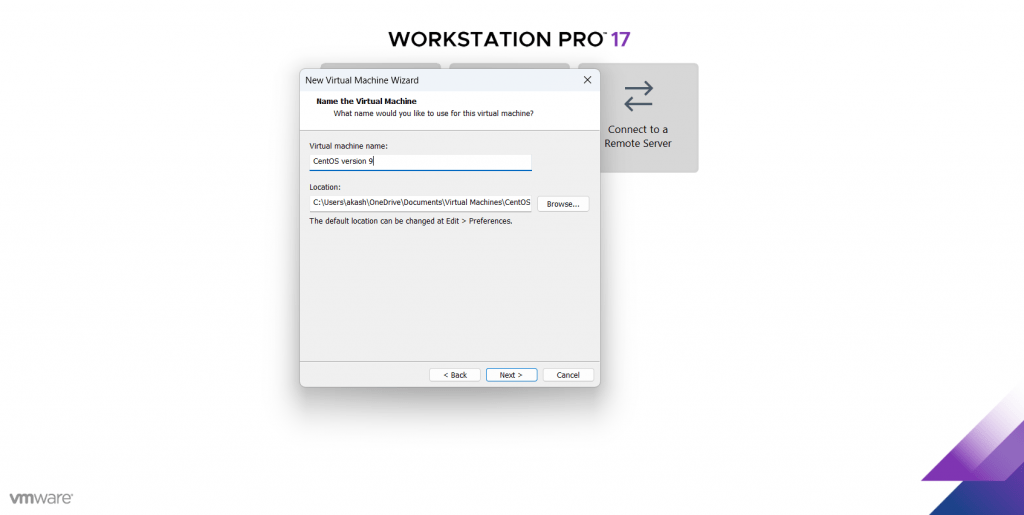
Now, write the name of your choice that you want to give to your machine and also select the path of its installation and for its files. click Next after doing that.
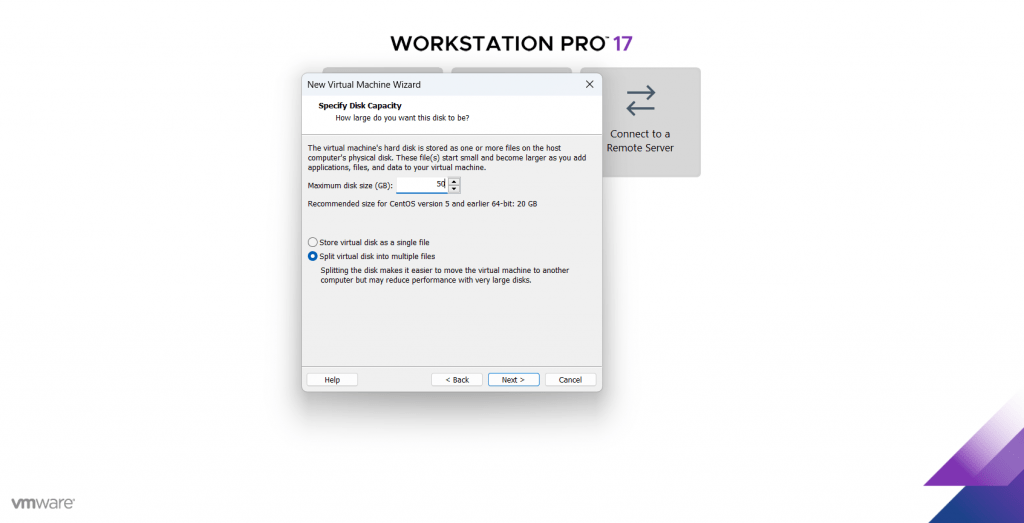
Next give the hard disk size to your virtual machine and also keep selecting the default option for hard disk that is “Split virtual disk into multiple files“.
Recommend disk size is 50 GB according to me but it is all about your choice.
Last step for making the virtual machine is to untick the button of “Power on this virtual machine after creation” and click on Finish.
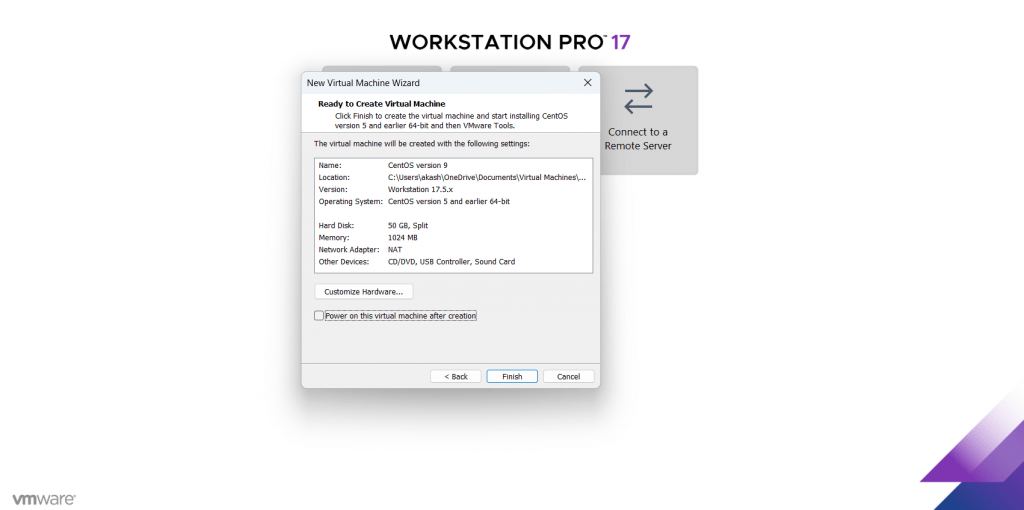
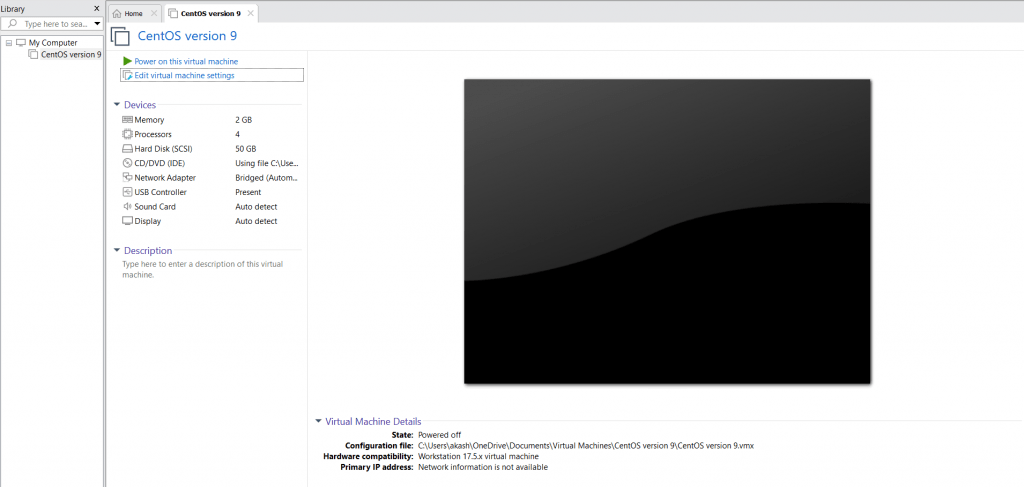
You will get your screen like this before we will start editing few things for smooth working of our own server.
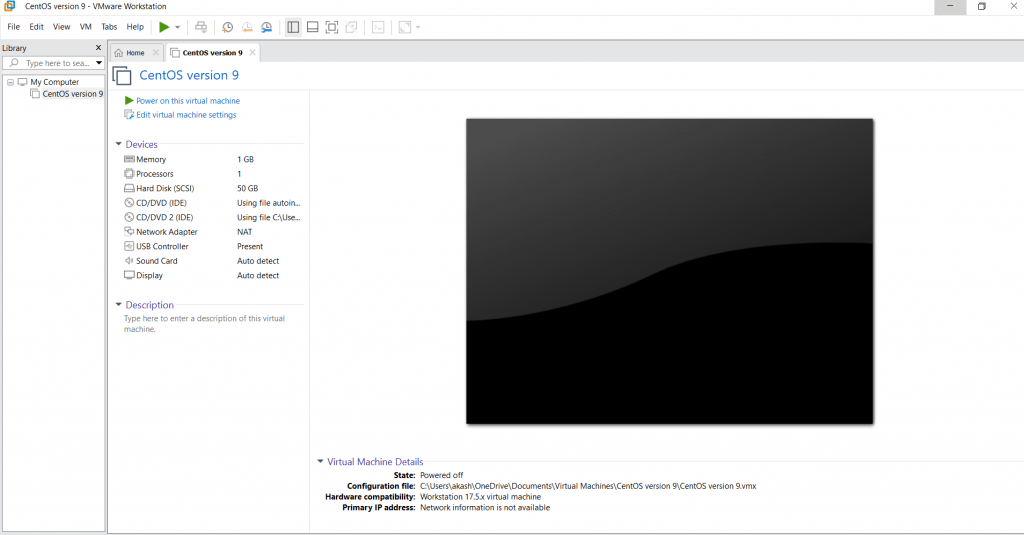
Let’s start editing our virtual machine settings for smooth working of it by clicking on “Edit virtual machine settings“.
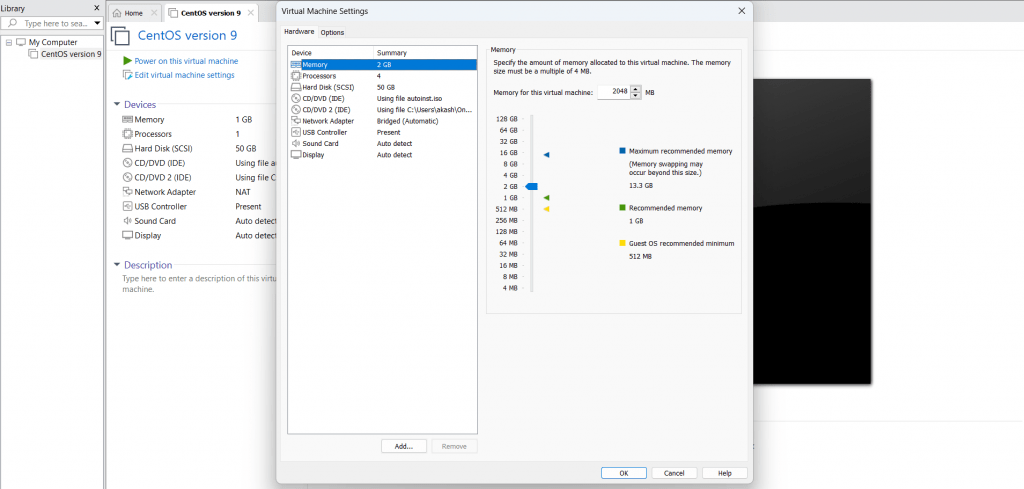
Now, we will start making changes that would be making Memory as 2 GB (2048 mb),Processors also 4 but you can select 2 also according to your base system and Network adapter as bridged. You can see all the changes in picture given below.
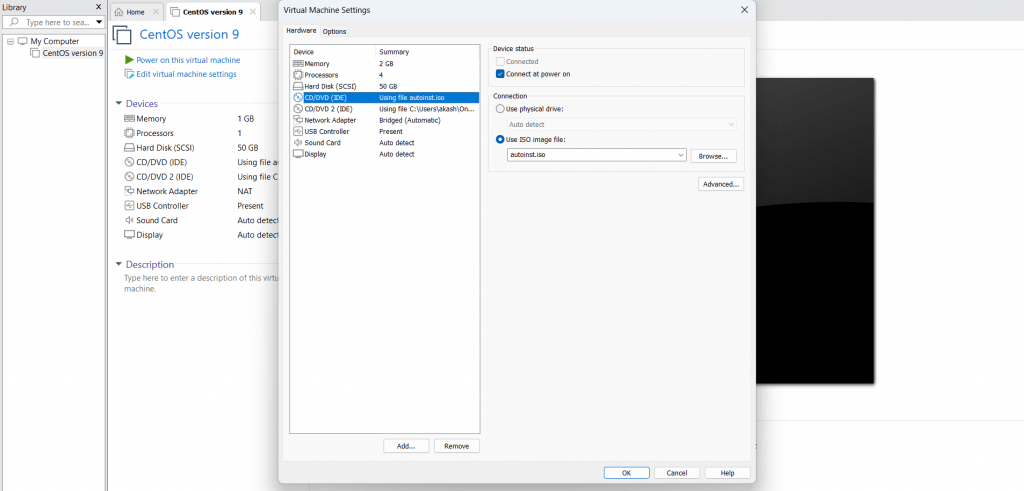
Now we have to delete autoinst.iso from CD/DVD option to customize our Centos 9 server at the time of installation. We can do that by selecting the CD/DVD – autoinst.iso and click on Remove at the bottom of the menu. Click on OK after removing that.
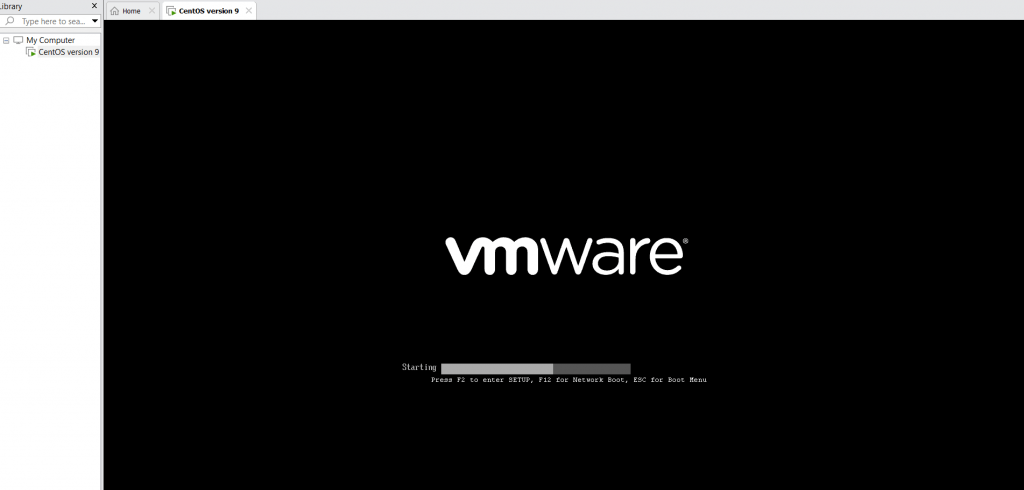
Click on “Power on this virtual machine” for starting the server of your own and also to start customizing it.
You will see the below screen after powering on your virtual machine
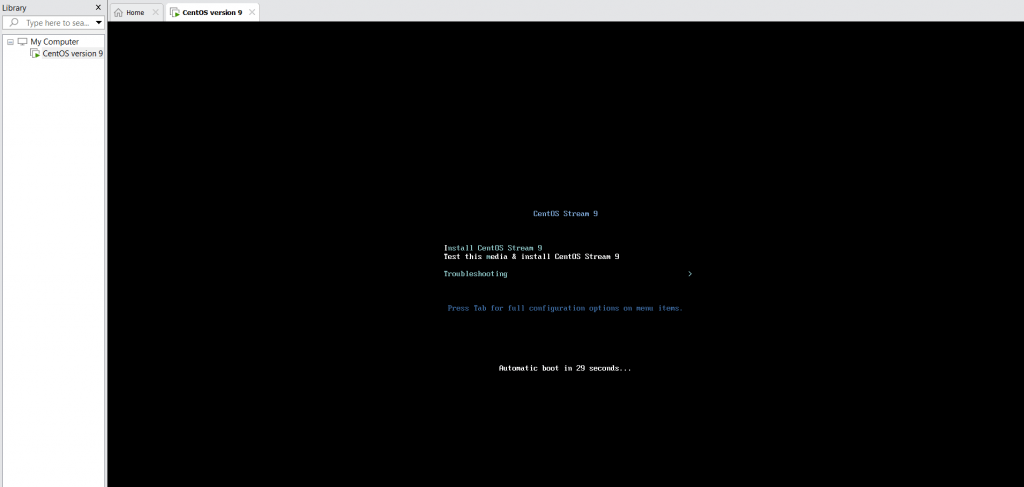
Next, You will get the screen with 3 options in which you have to choose “Install CentOS Stream 9” by clicking on the screen and use to the up arrow key to select that and press Enter.
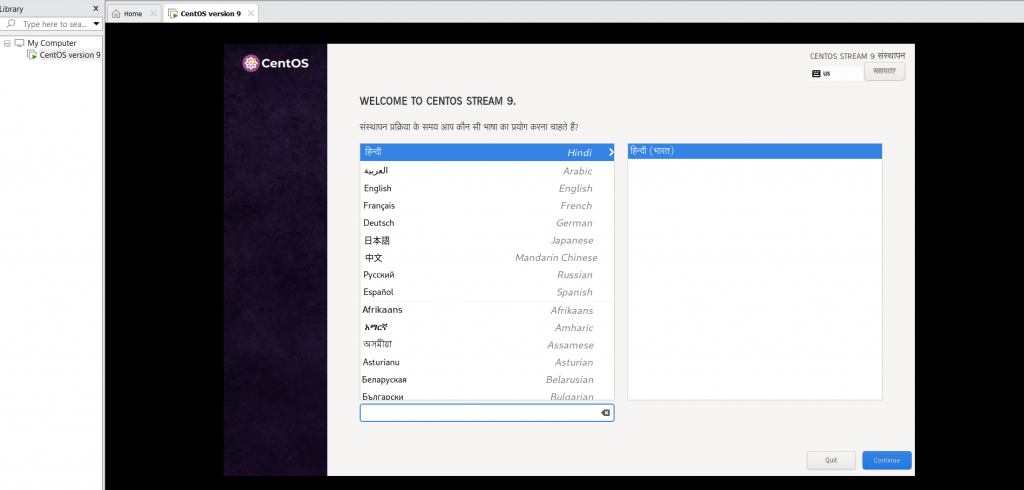
After clicking on Install CentOS Stream 9 option, Some OK for drivers and software’s will come and you have to wait for it to finish. After sometime you will see “WELCOME TO CENTOS STREAM 9‘ and you have to choose the language you want your server to work with. Press Continue after selecting it.
Next, You will see the “INSTALLATION SUMMARY” screen. You can customize all the options you want but necessary options to start the installation are Installation Destination, Root Password and User Creation(Optional).
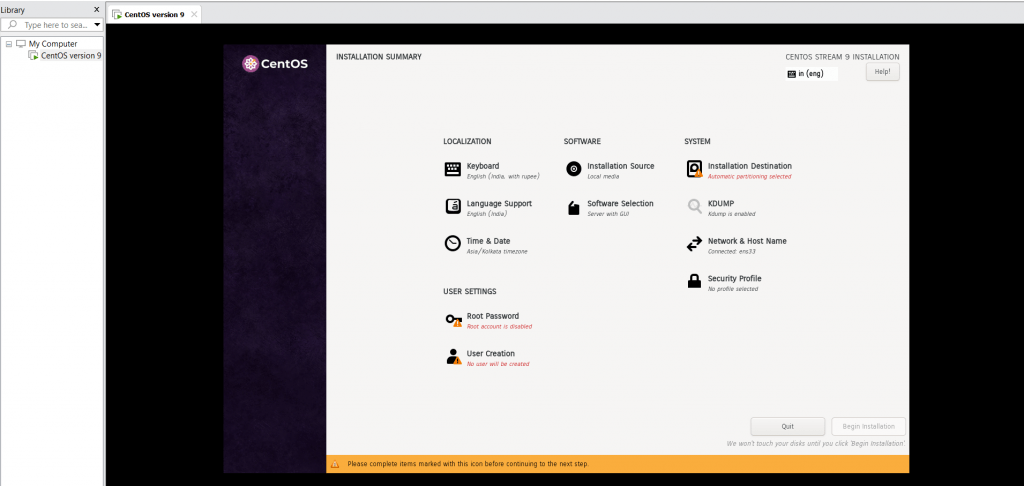
Let’s start with Installation Destination by clicking on it. As we know we have created a hard disk of 50 GB on VMware and this option is just confirming that from us. So, we need to click on Done at top left corner of the screen.

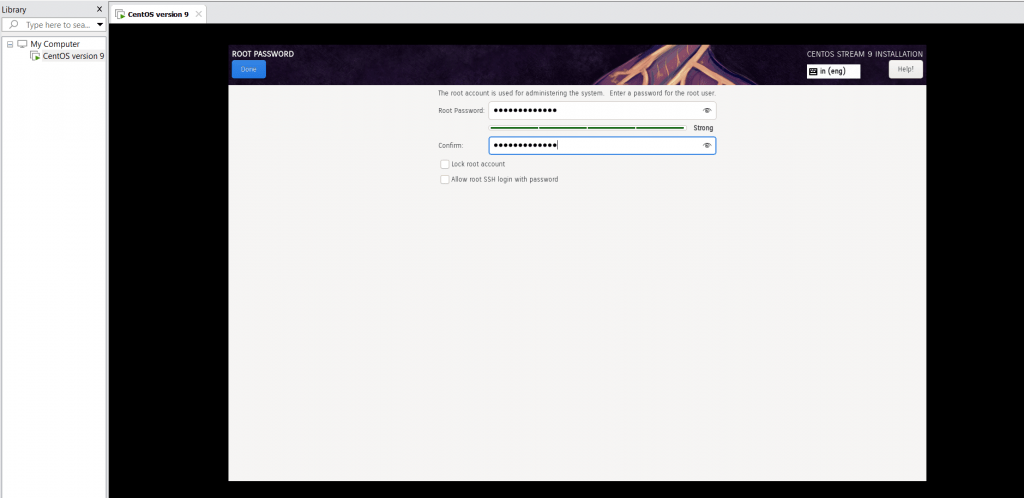
Now we have to click on Root Password and provide a password to our root account that is administrator account in linux. Also, Untick on “Lock root account“.
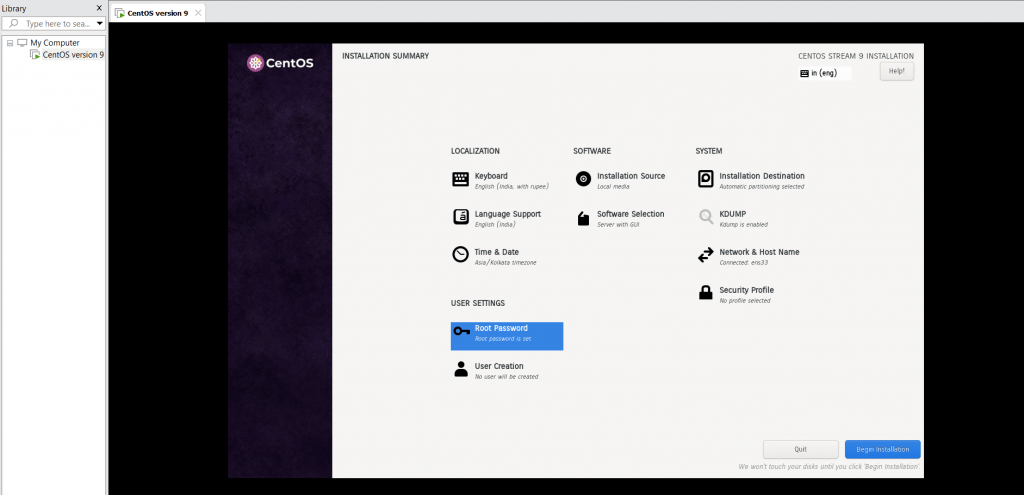
User Creation is optional so we are avoiding it for now. Click on Begin Installation to start installing OS on your server.
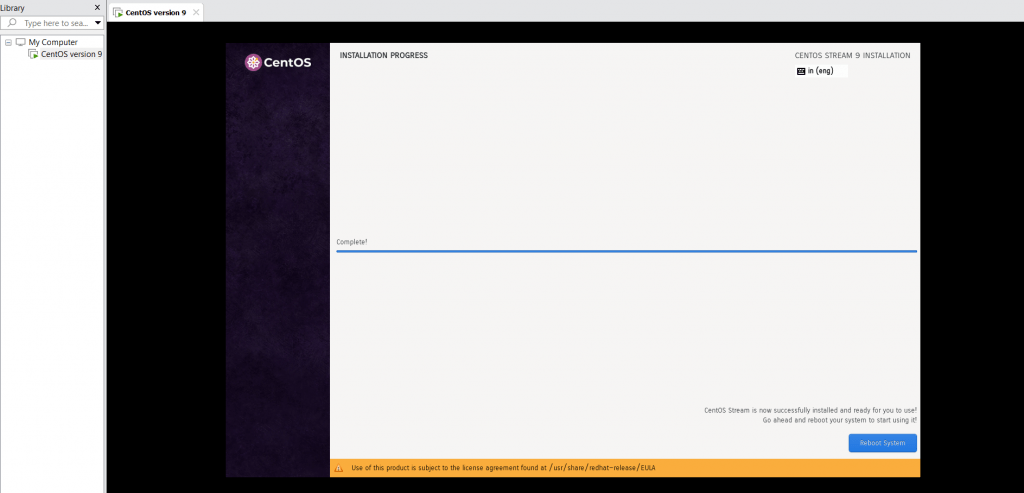
You will get the screen below while installation is in progress.
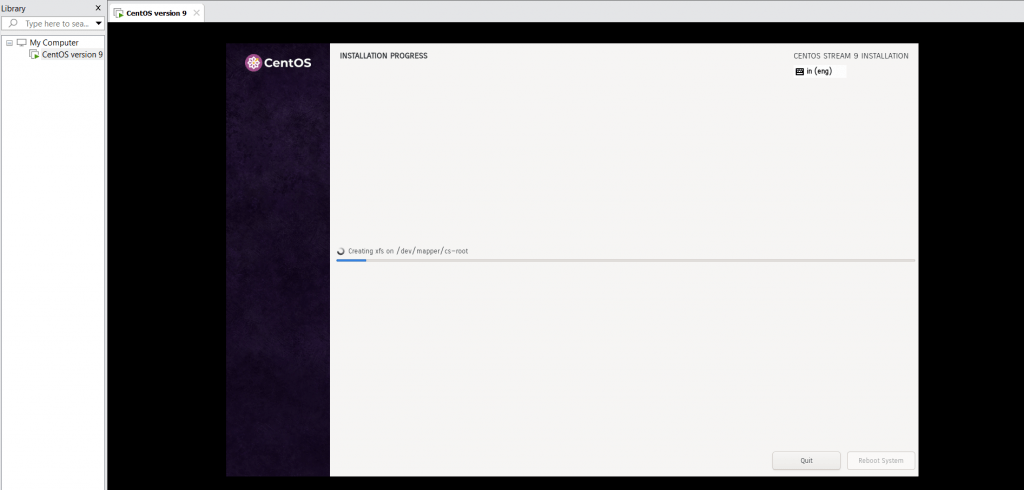
After installation would be done, You have to click on Reboot System.
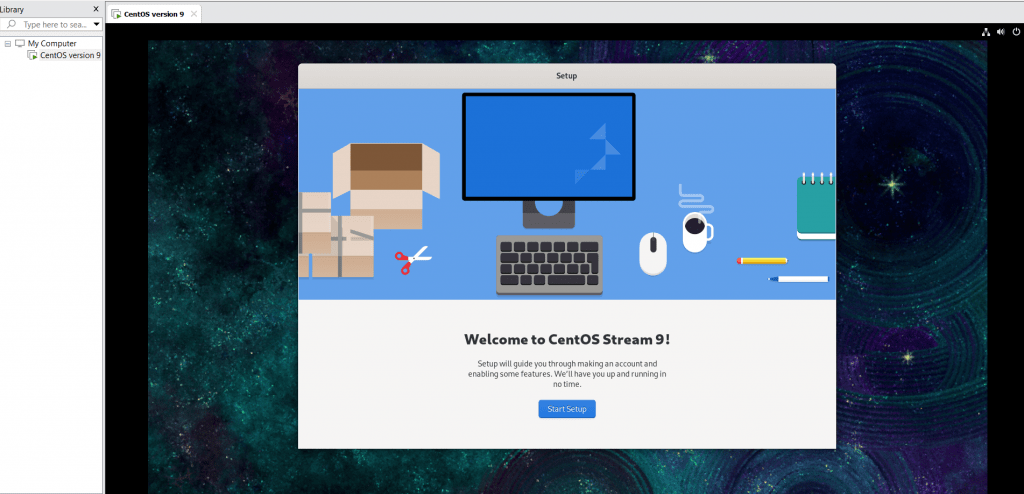
After Rebooting, You will get your server started with the display message of “Welcome to CentOS Stream 9!“
That’s How you can get your own local CentOS server for free. Enjoy!!
FAQ on how to get your own local CentOS server for free
Q. What is CentOS server for free?
A. CentOS (Community Enterprise Operating System) server is a free and open-source Linux distribution based on Red Hat Enterprise Linux (RHEL). It is popular for server environments due to its stability, security, and community support.
Q. What are the differences between CentOS Stream and CentOS Linux?
A. CentOS Stream: A rolling-release version that provides a preview of the next RHEL minor release. Ideal for development and testing.
CentOS Linux: A stable version directly derived from RHEL (discontinued for new releases after CentOS 8).
Q. What are the system requirements for running CentOS server?
A. Processor: Minimum 1 GHz (64-bit recommended).
Memory: Minimum 1GB RAM (2GB or more recommended).
Storage: Minimum 10GB disk space (20GB or more for better performance).
Q. How do I monitor CentOS server performance?
A. Use tools like:
top or htop: Real-time resource monitoring.
df -h: Check disk usage.
free -m: View memory usage.
systemctl status service-name: Check the status of a service.
Discover more from Root Learning
Subscribe to get the latest posts sent to your email.


Majja aa gya janab 👌🏻
Good Explanation!
Nicely explained, I am impressed with your work. Are you up for some collab?
Both the parts are nicely done with practical knowledge. Good Work
Part 1 and part2 completes what most people can’t. Fantastic Work on Server
FAQs are really helpful, Could you please increase to minimum 10 questions.